E36 325i backyard build

Slicks_21

Member
Update#5
Good morning everyone, Thank you for the positive feedback. Yes there was a few times I got called crazy and thought that I might be crazy for doing this, but I just kept on wrenching.😅

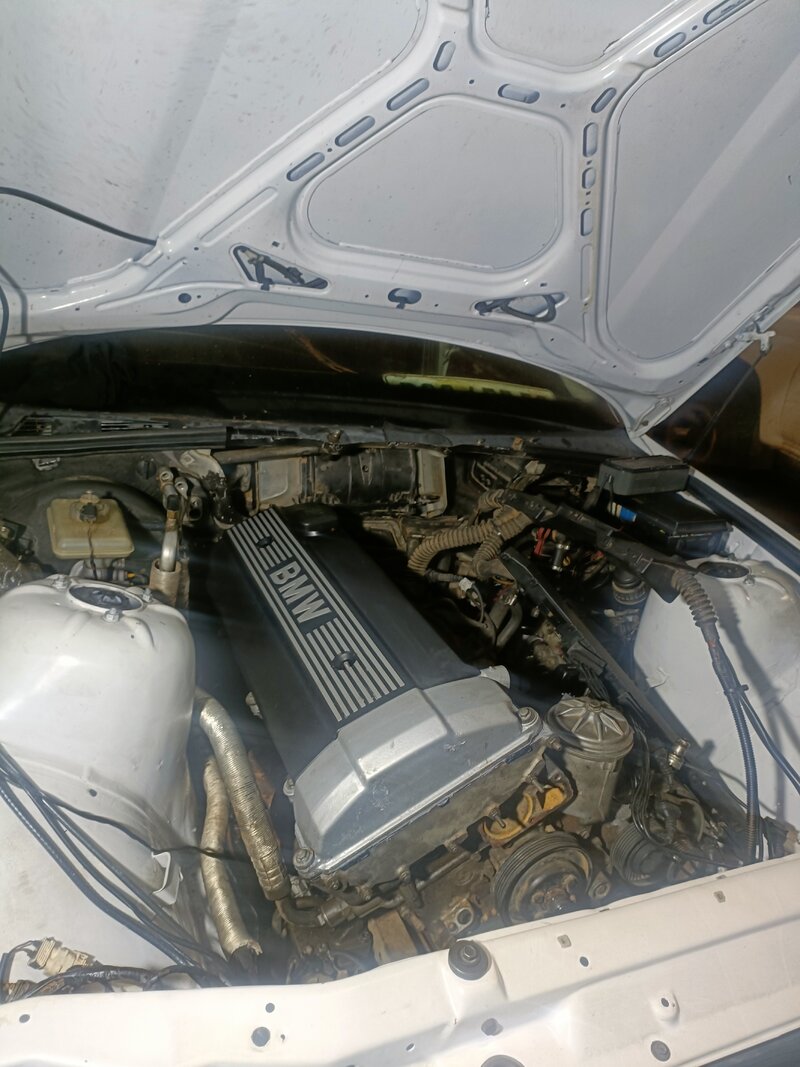
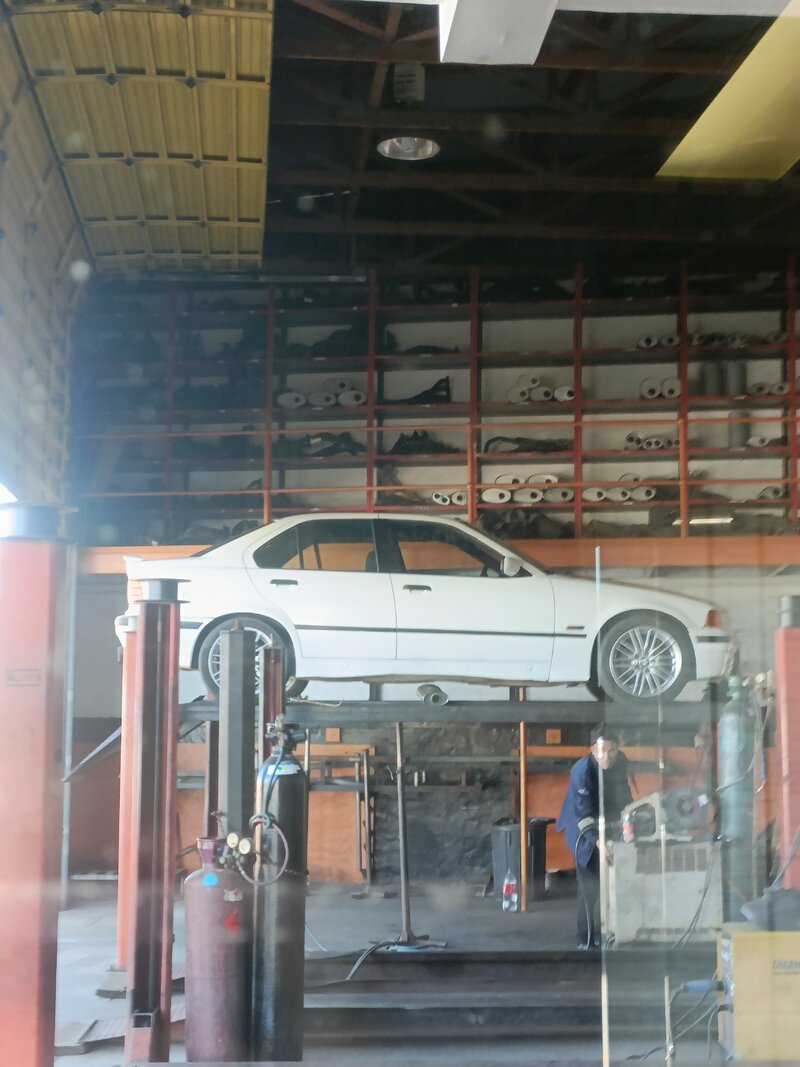
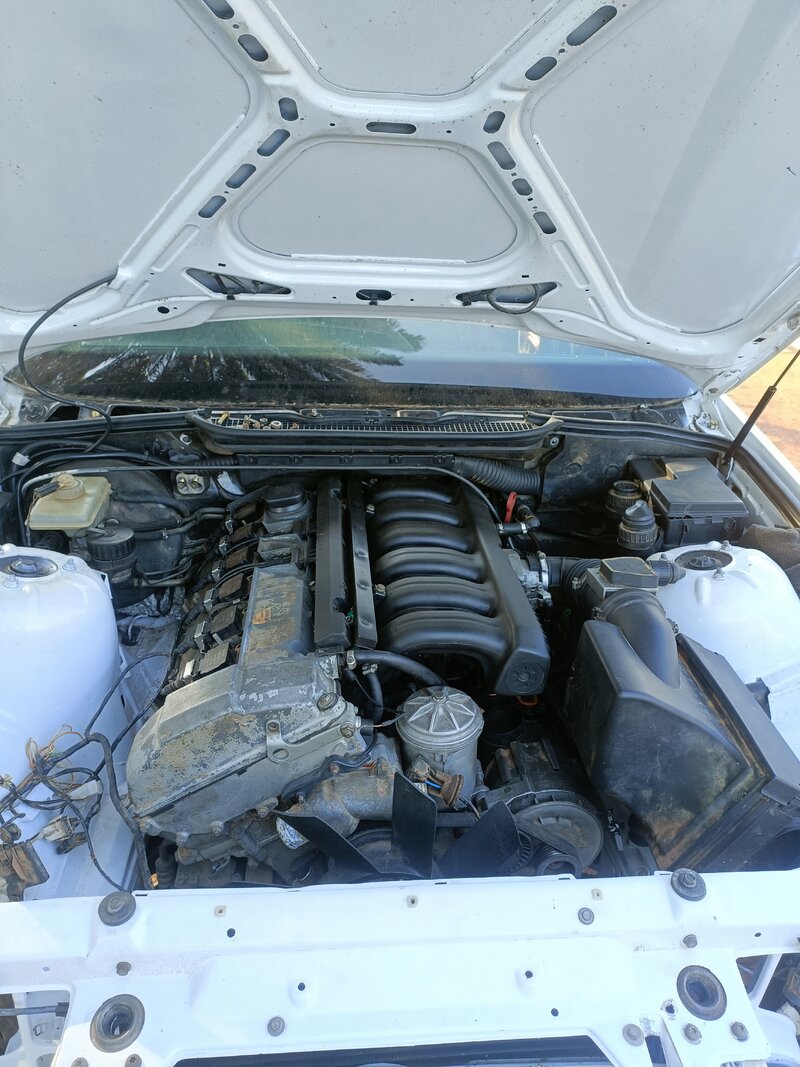
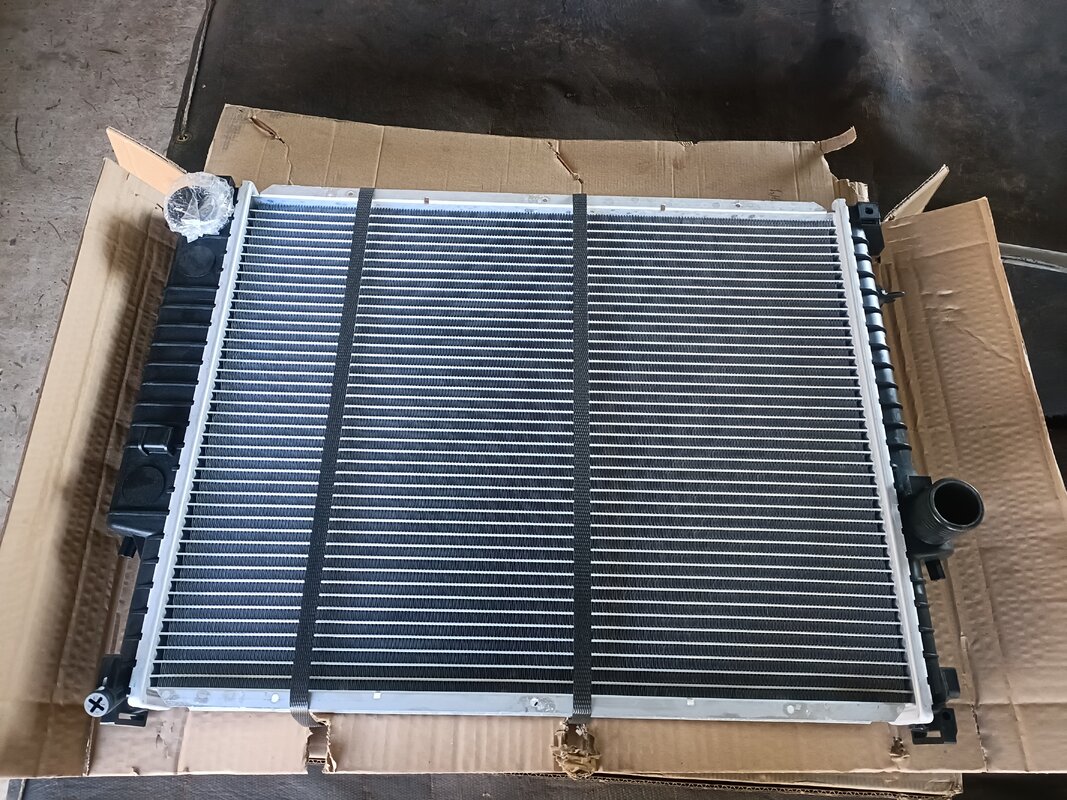
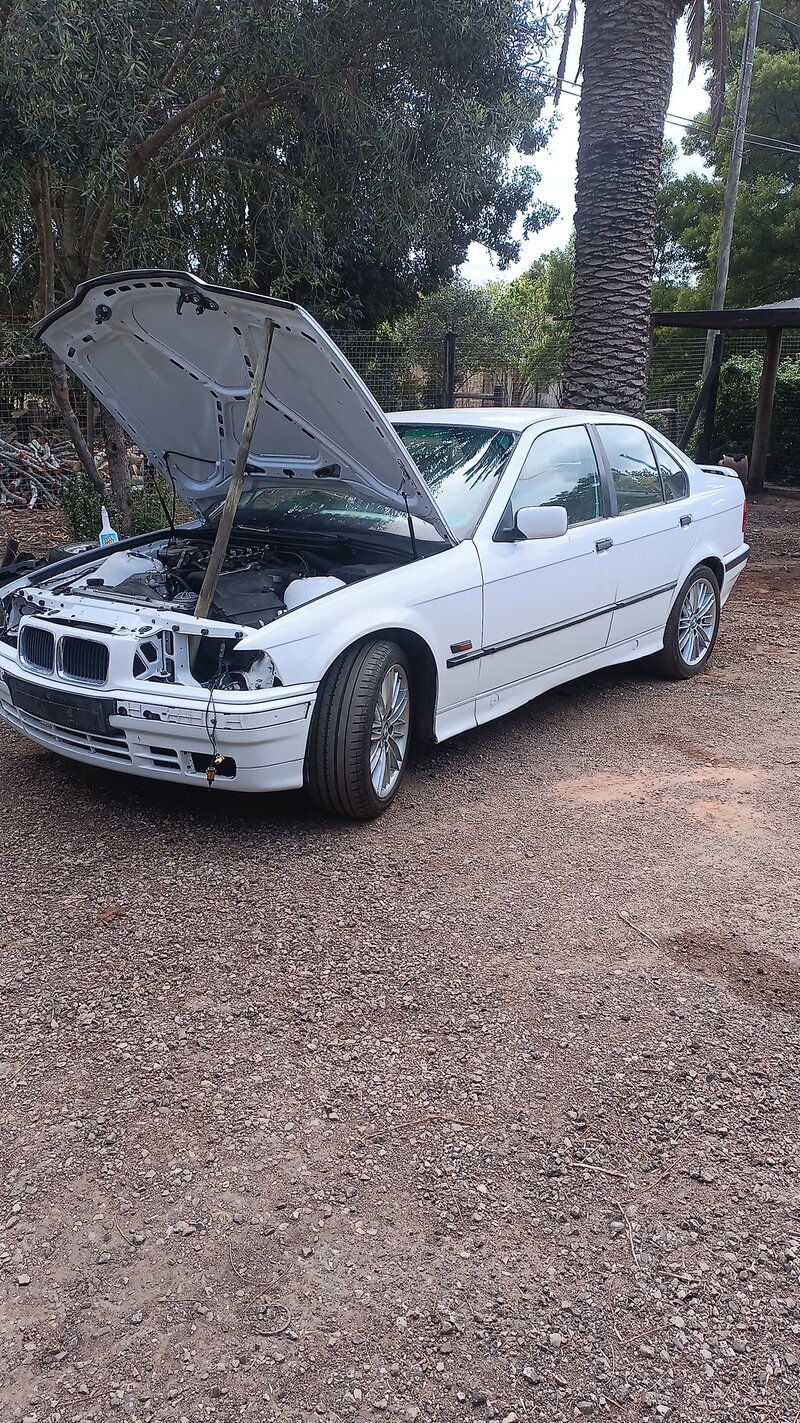
So after I installed the engine, I made the car ready to drive. I installed the 3.15 diff, the driveshaft,rest of the exhaust ,the radiator and radiator hoses and gave my car a good service.
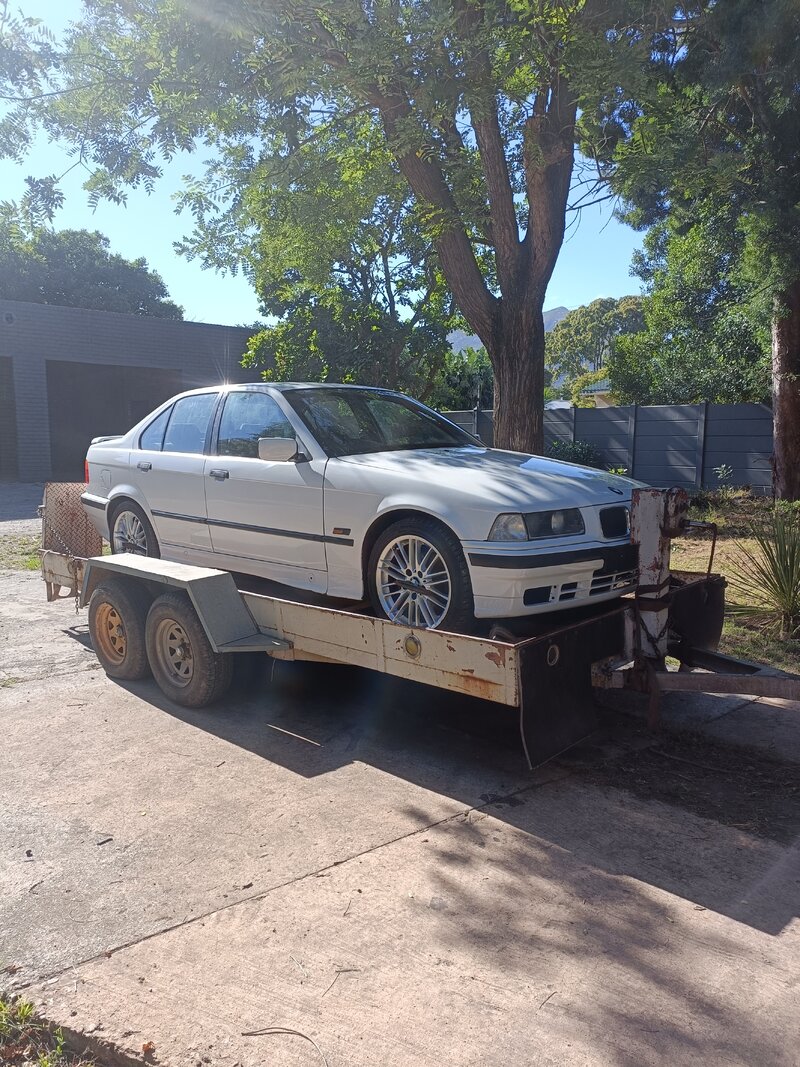
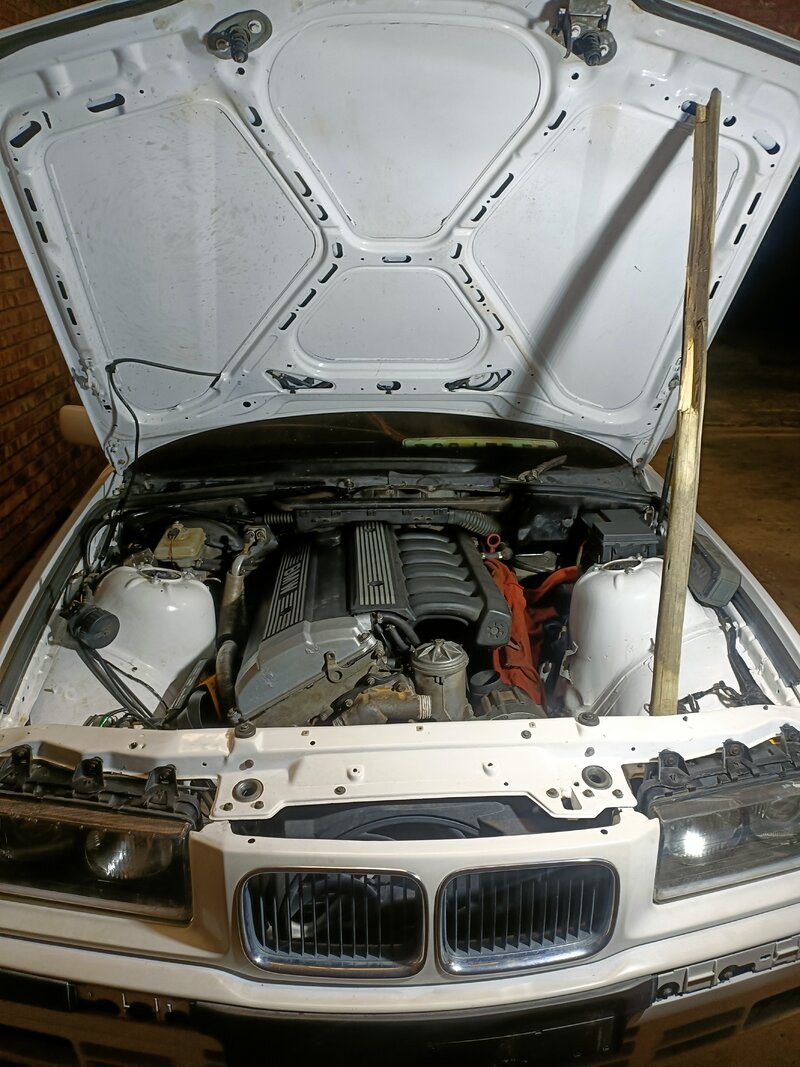
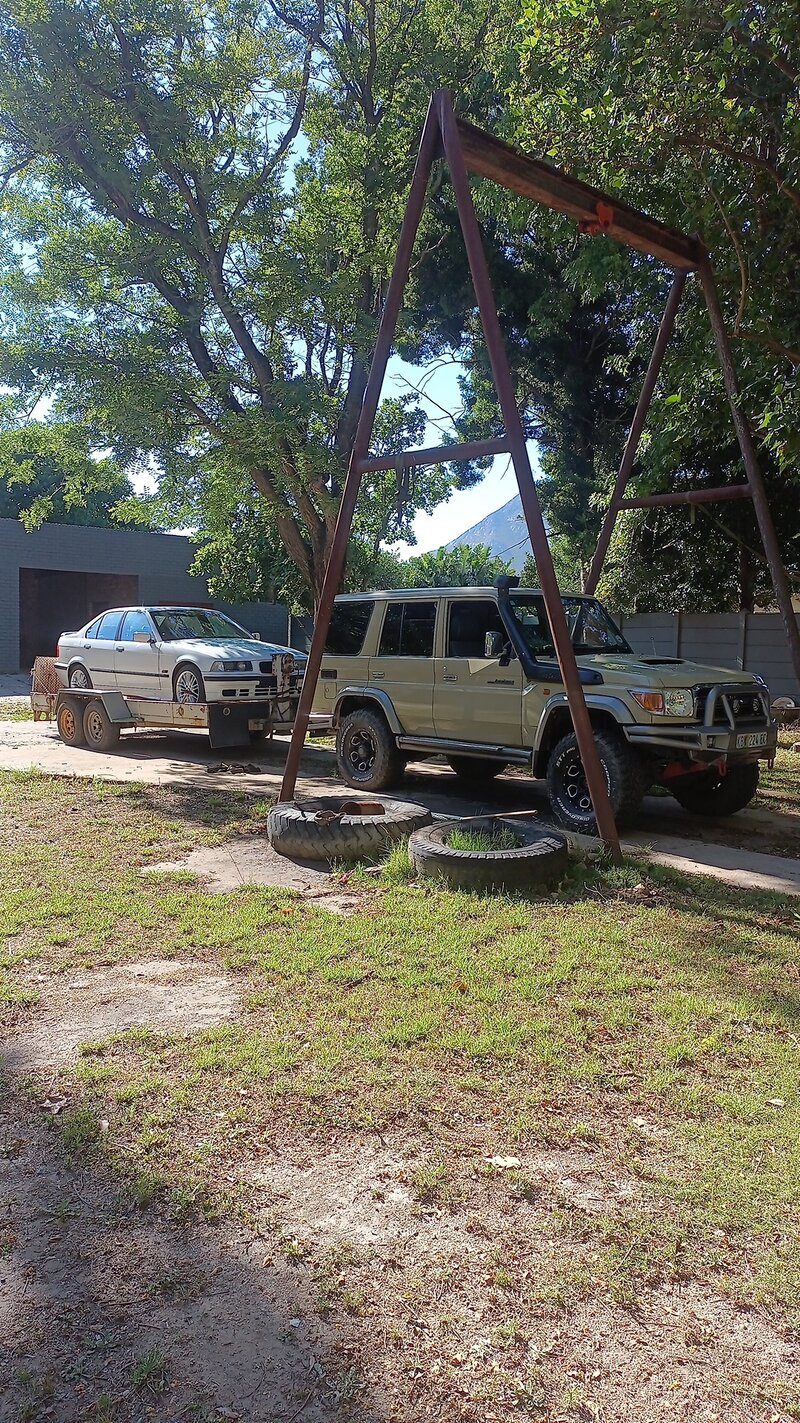
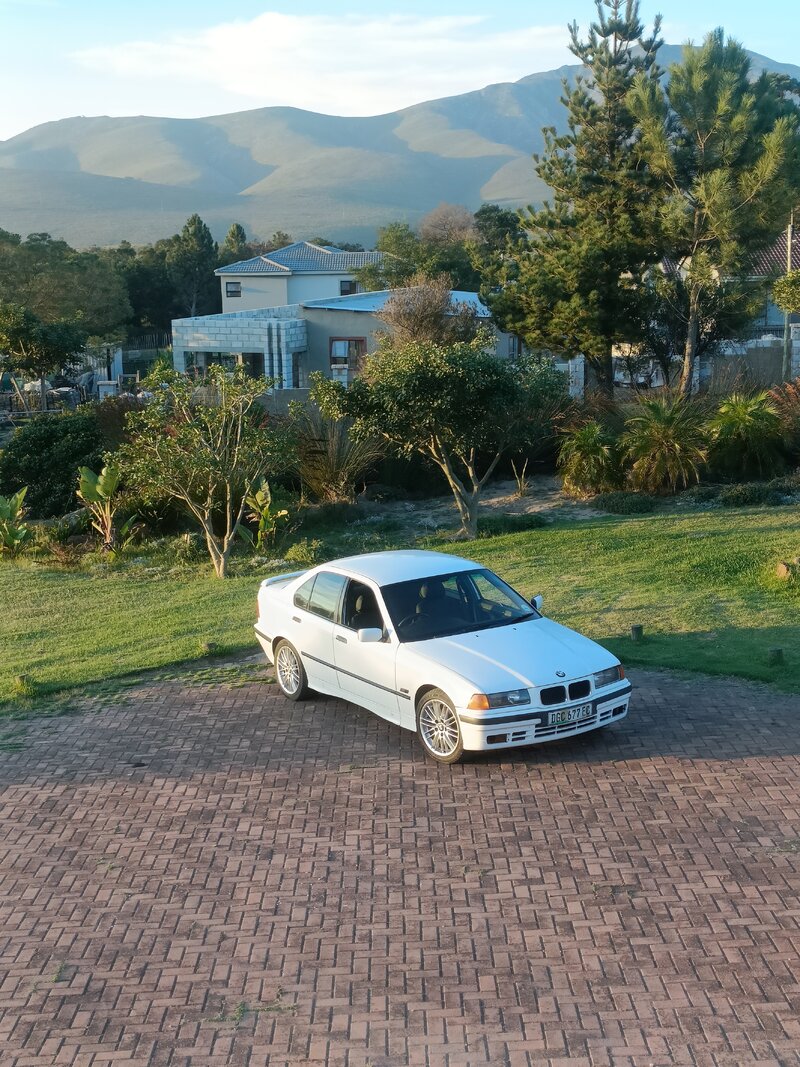
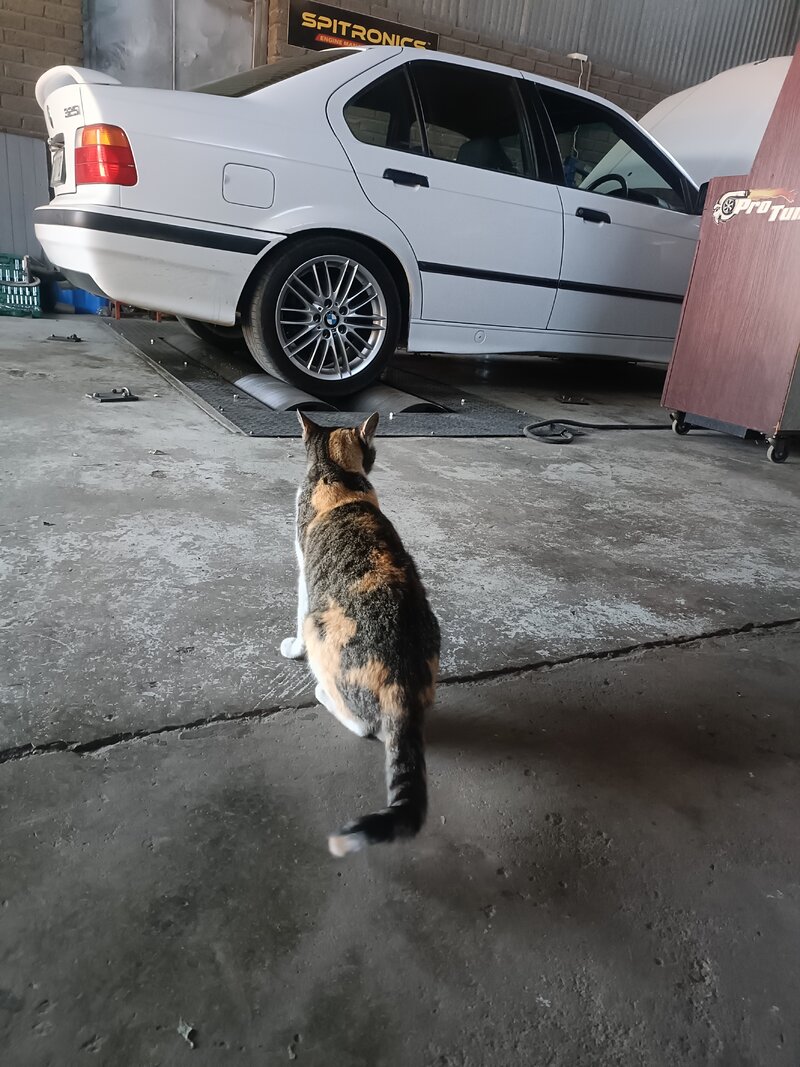
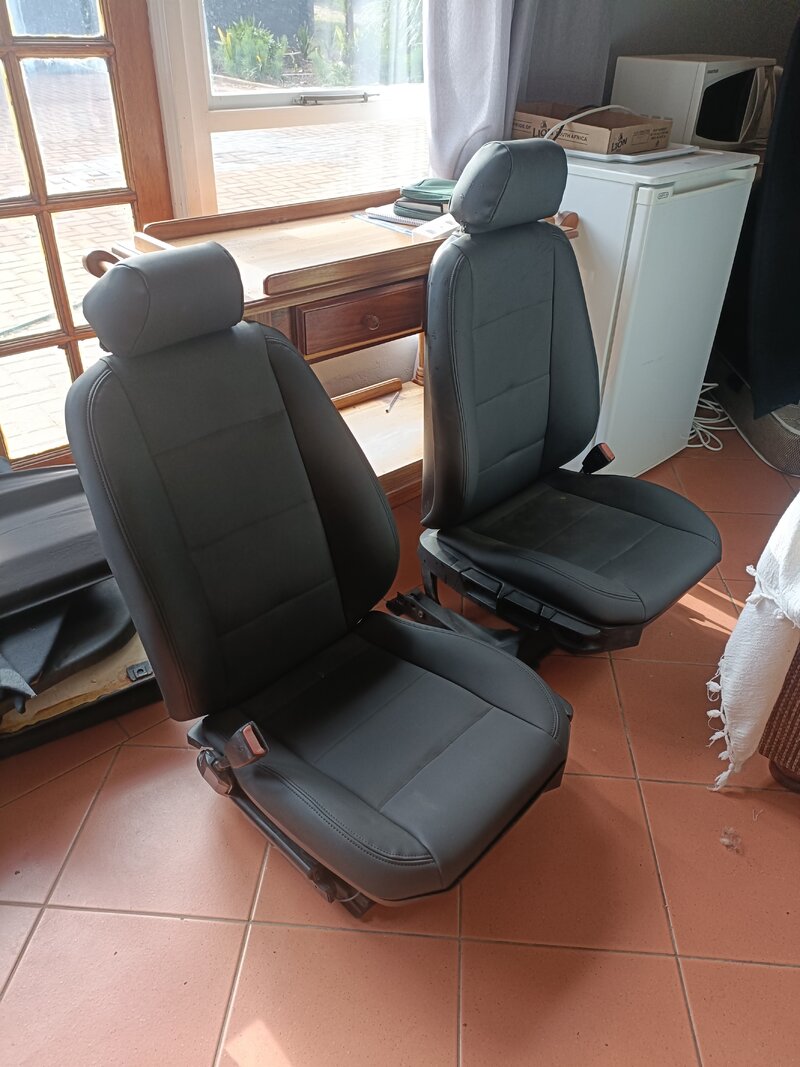
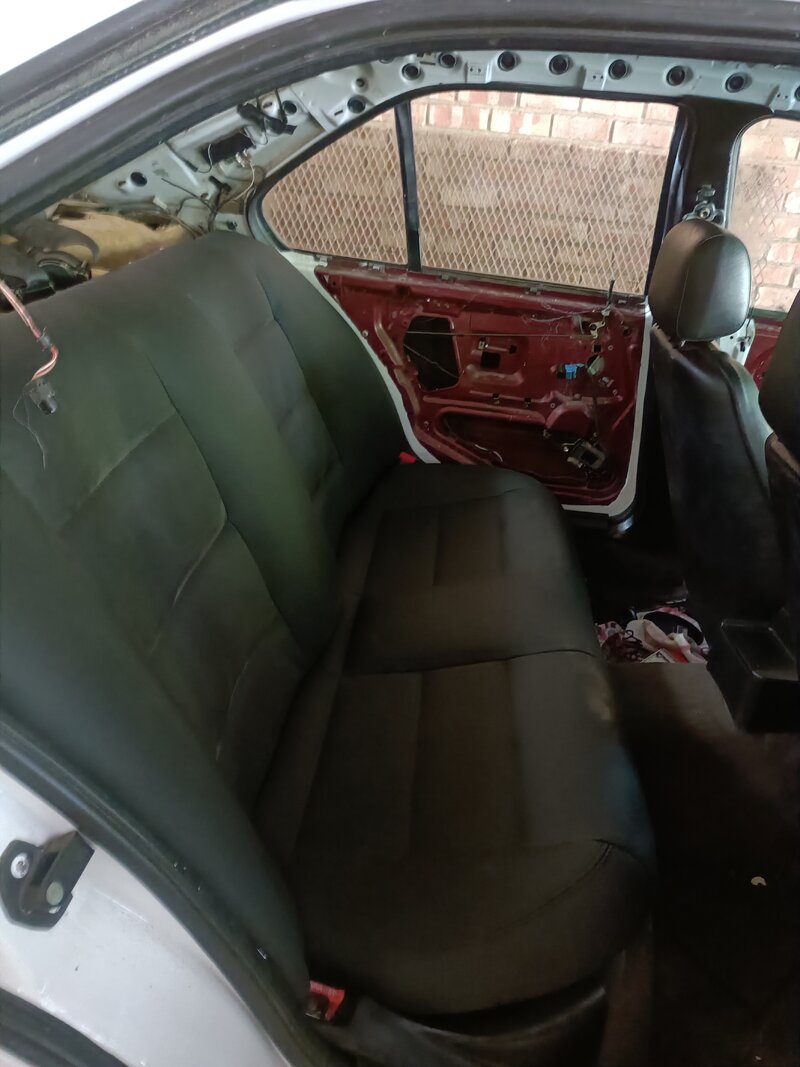
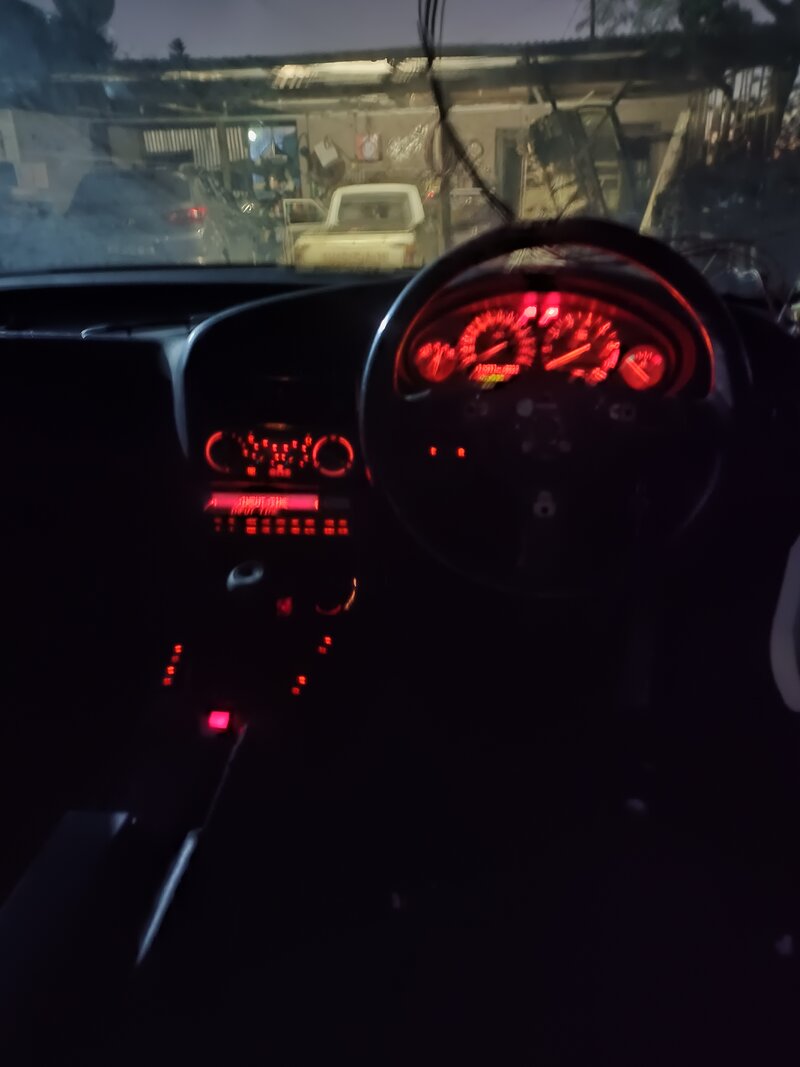
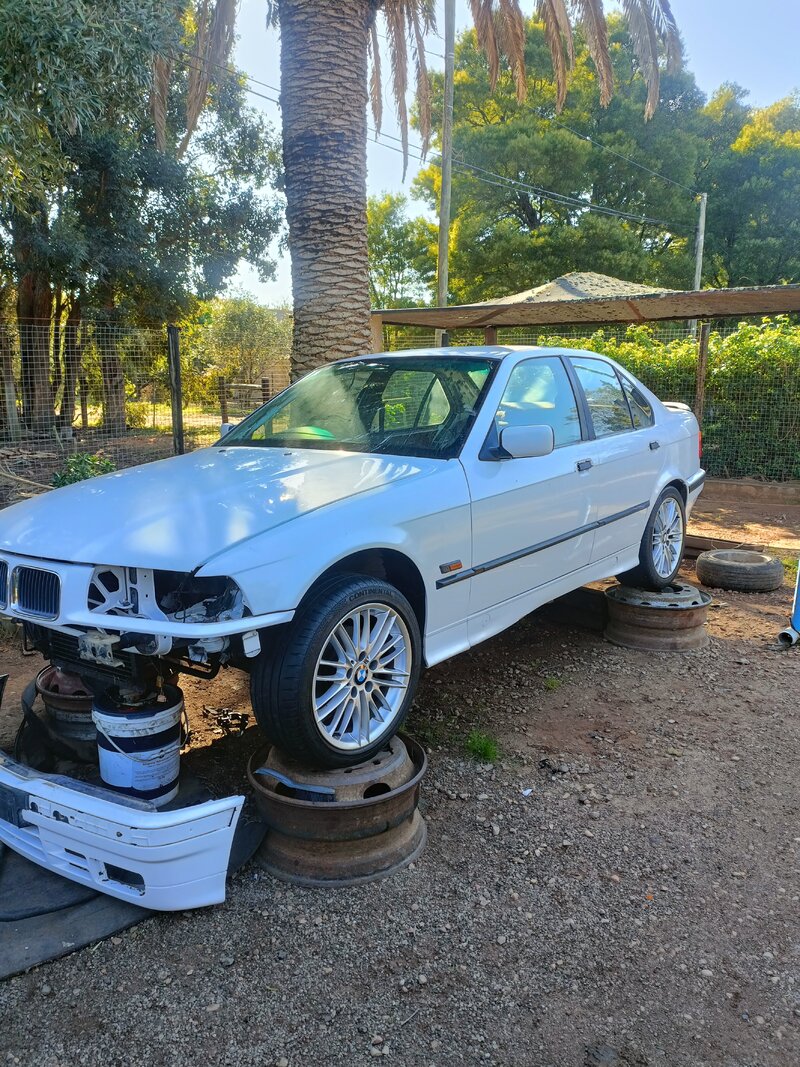
I was so excited i just popped in one of the old seats and took the car off of the "lift" and gave it a wash and polish.🫧

Right after I drove the shit out of the car for a bout 10km out of town and back to clear out any carbon and unwanted stuff inside the motor. Because the previous owner drove the car for months while it was running on 4 cylinders to the shops and back.😑

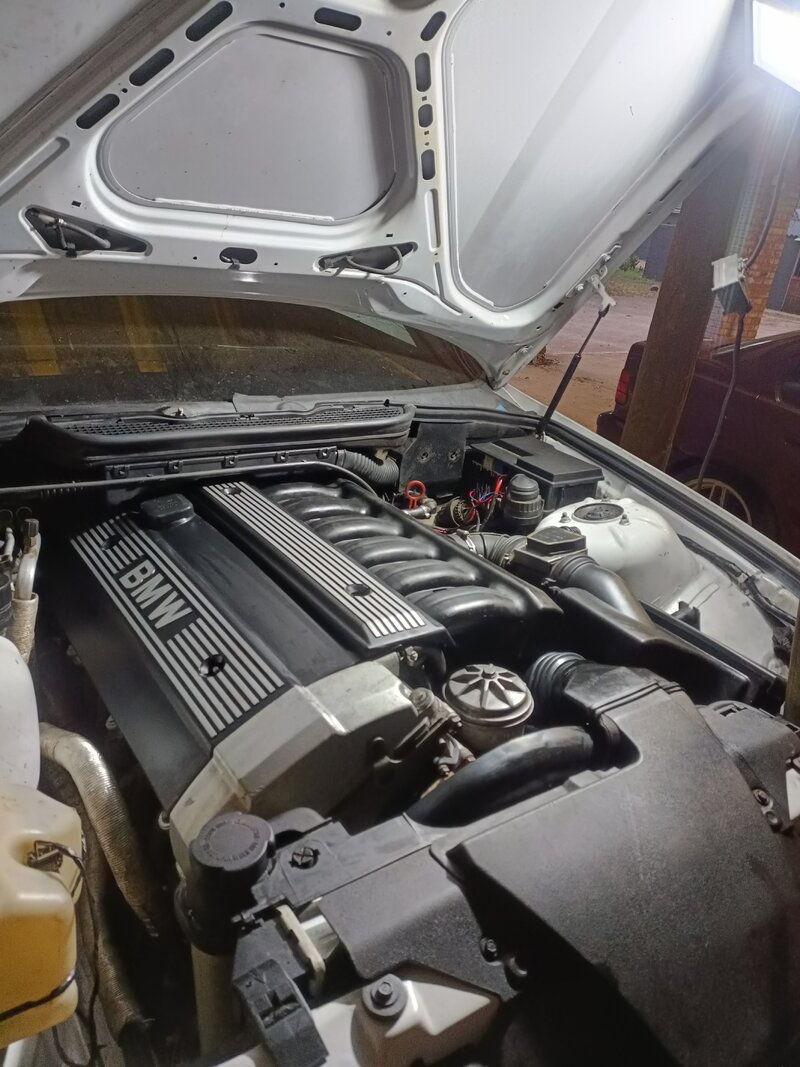
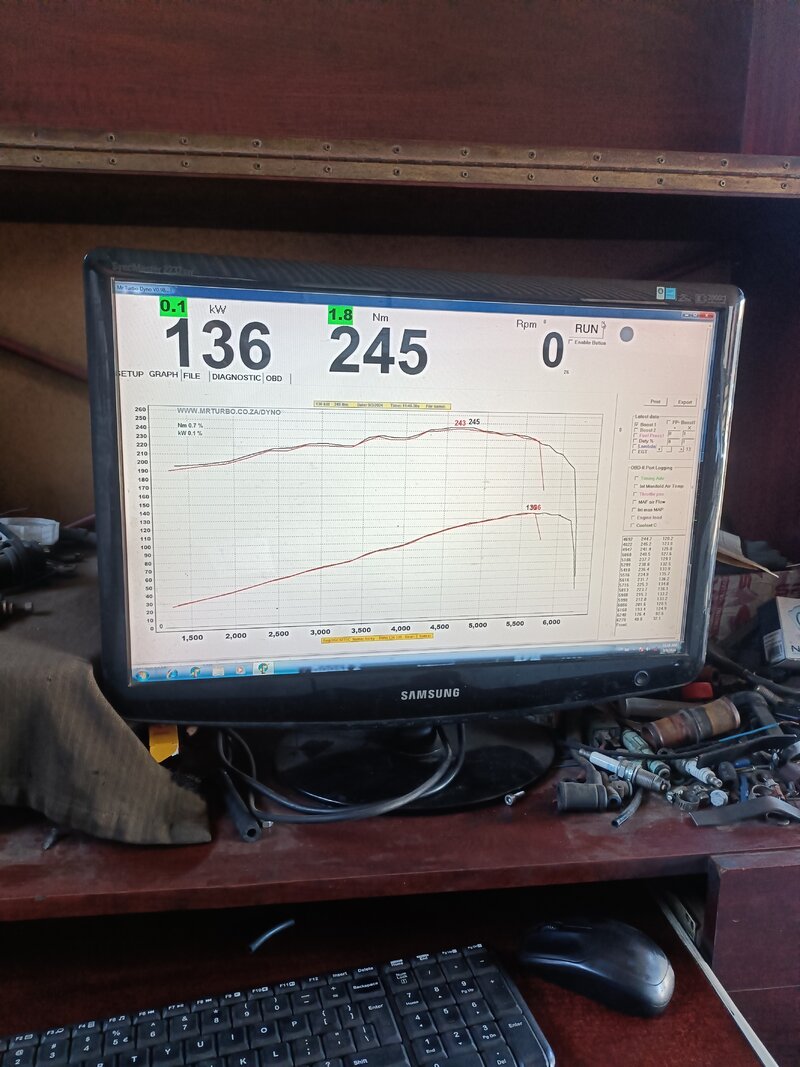
So everything went great, the motor cleared up and had allot of power, it was not overheating, oil pressure was, good everything was working just right...Until I got back into town and hear a massive backfire upon deceleration.
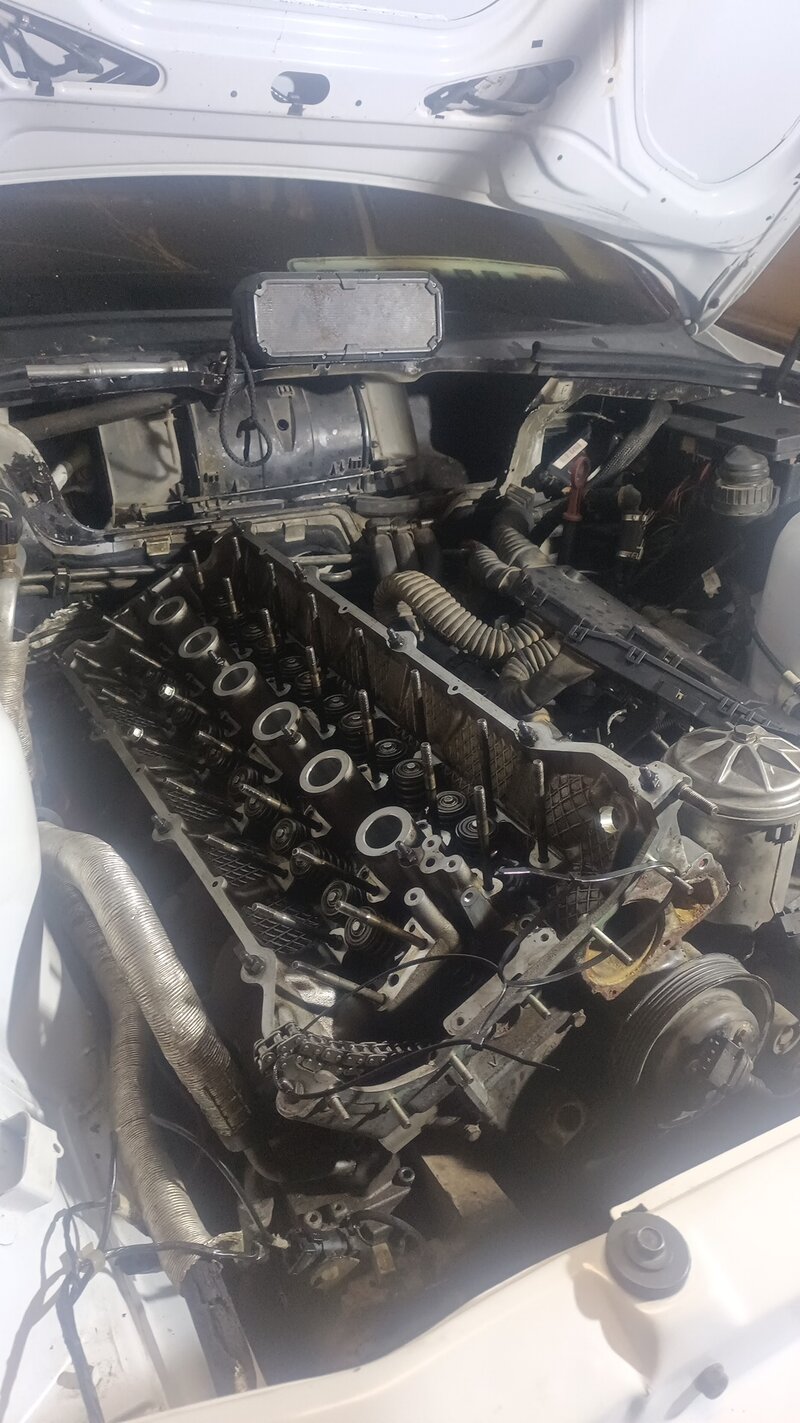
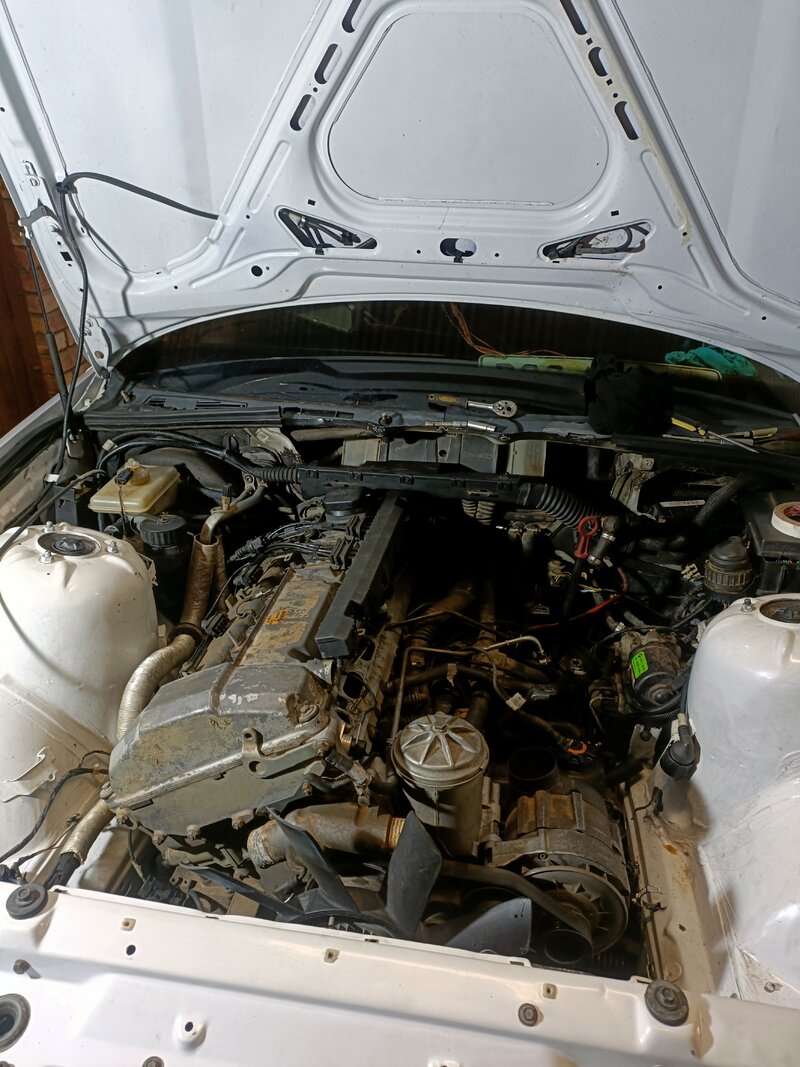
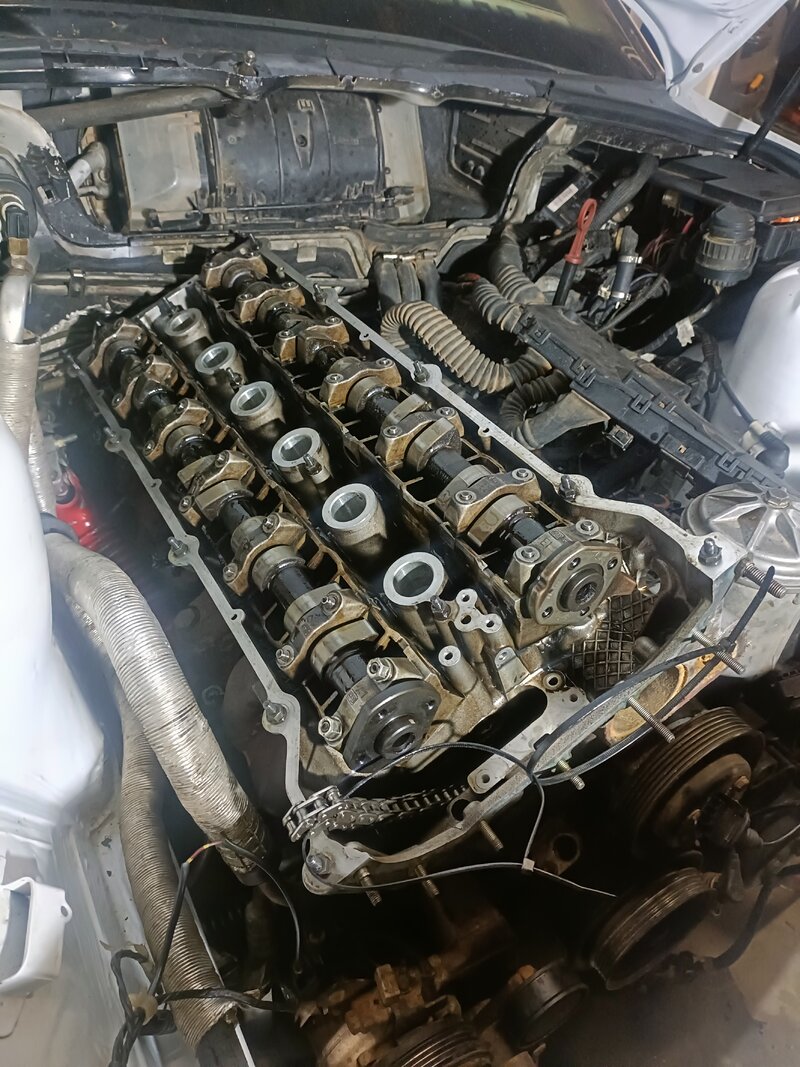
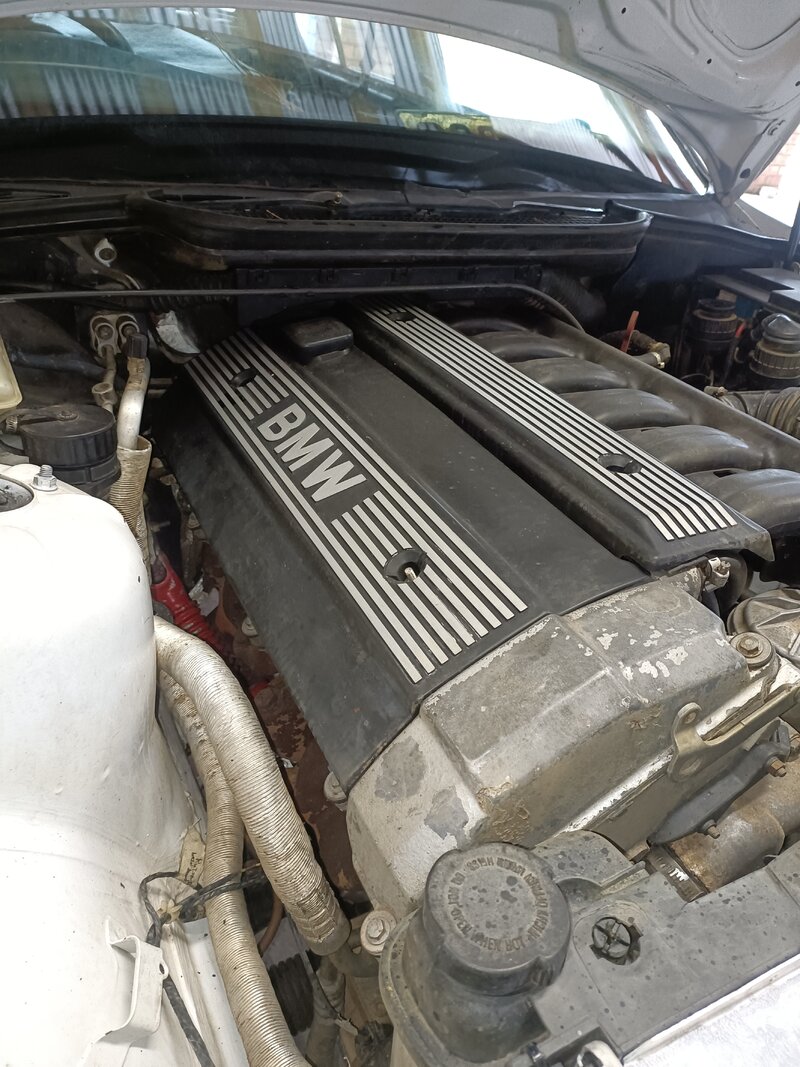
I got home and heard the car was running rough, on 5 cylinders. Cyl.4 was the culprit, I thought it might be just a dead plug or coil or an pencil that burnt trough.
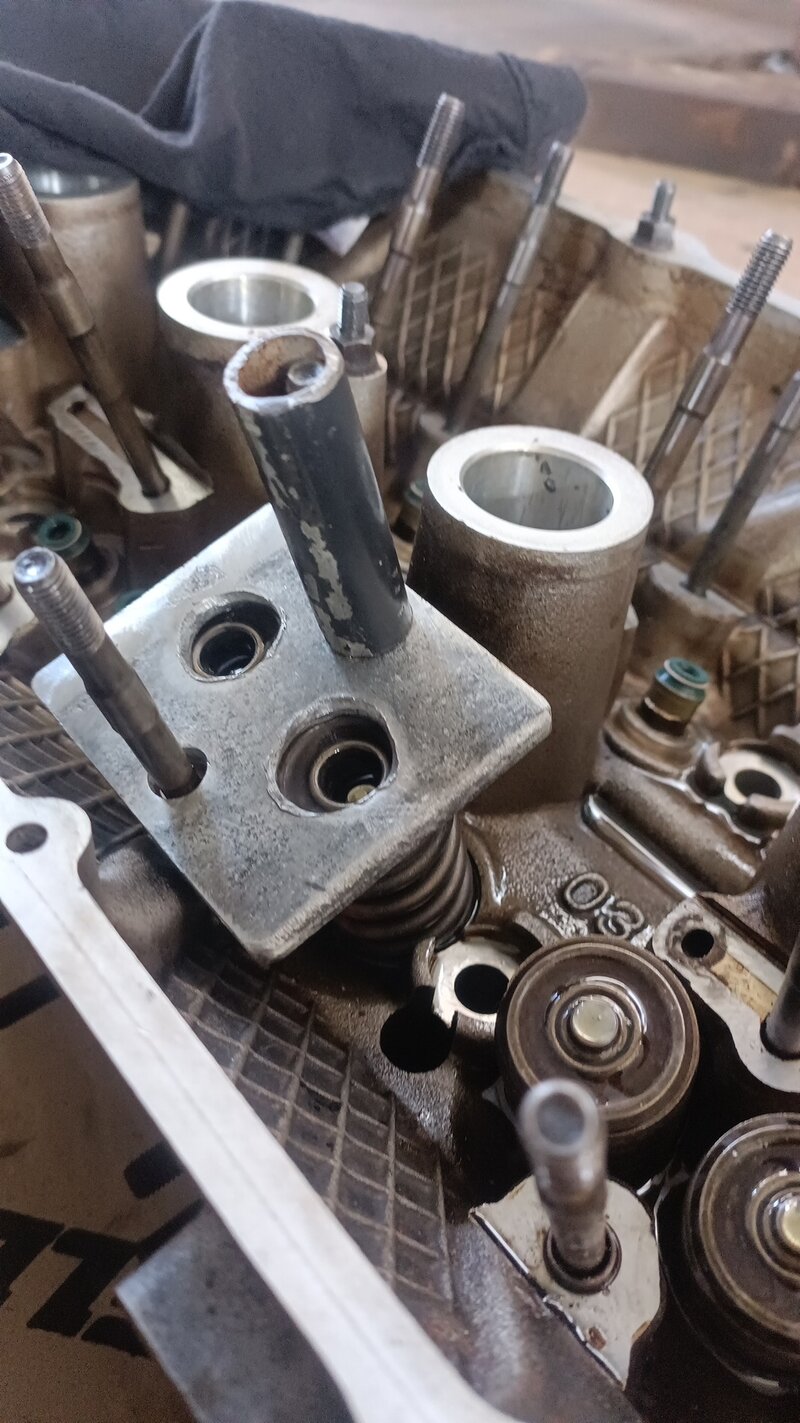
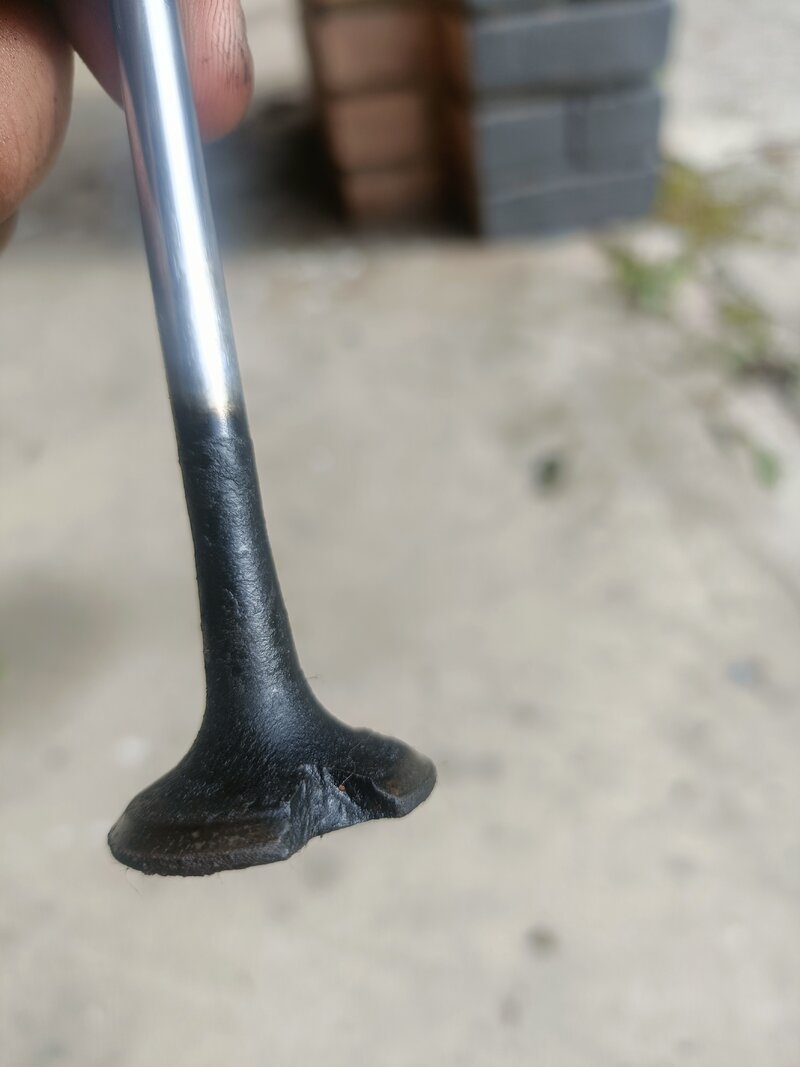
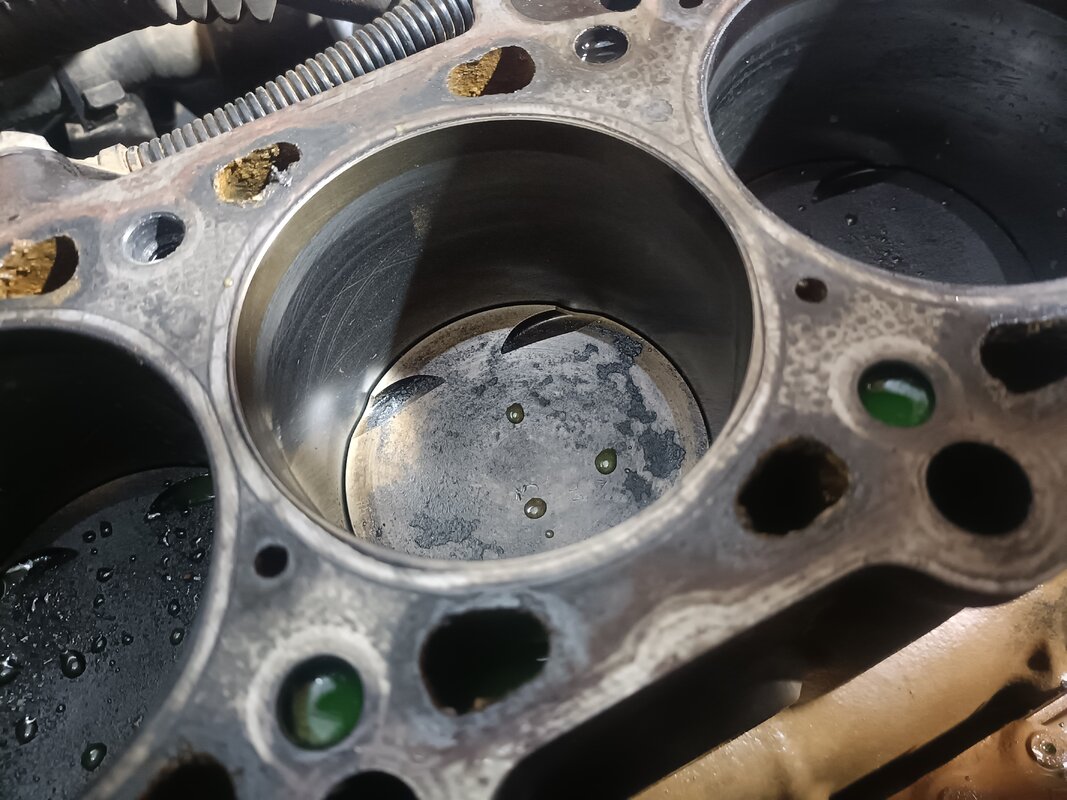
I tried switching coils, new plugs nothing seemed to work... Then I did a compression test all the cylinders was good between 140-150psi. Cylinder 4 however was a big fat 0 psi, my heart stopped for a moment and I was really hoping that it wasn't the piston rings.
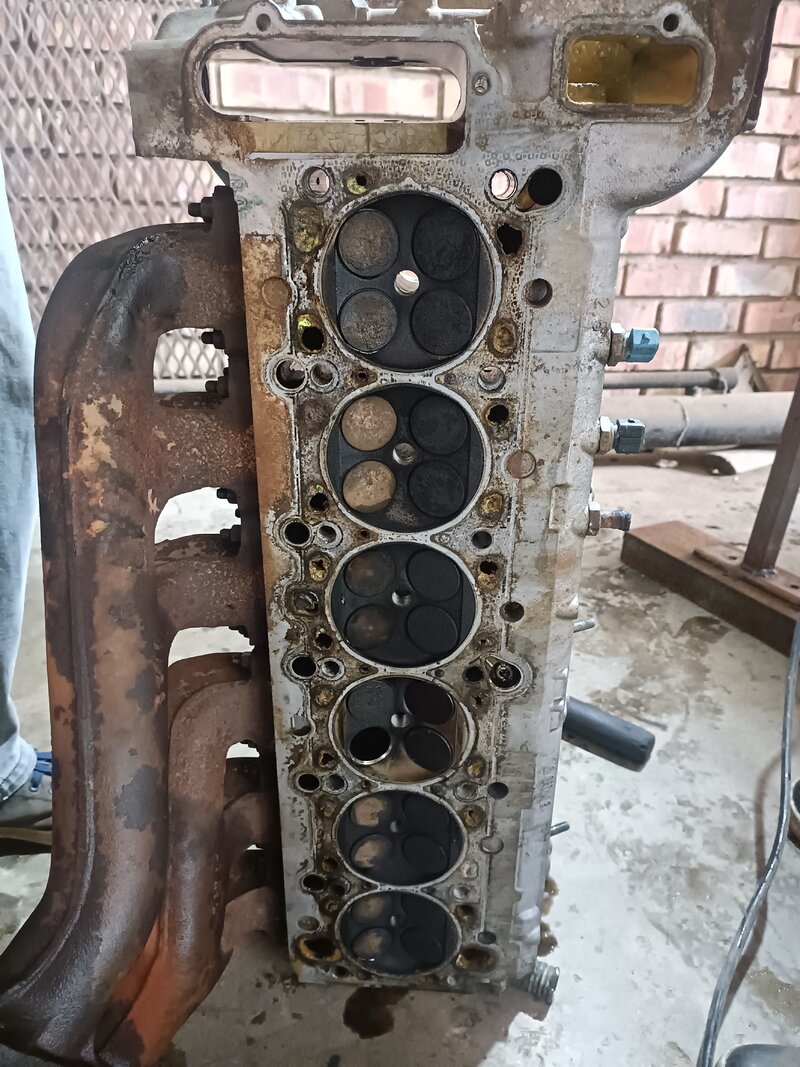
So i threw a lot of oil on top of the piston so that if it where rings, the oil should seal them. Luckily the guage still showed 0 psi
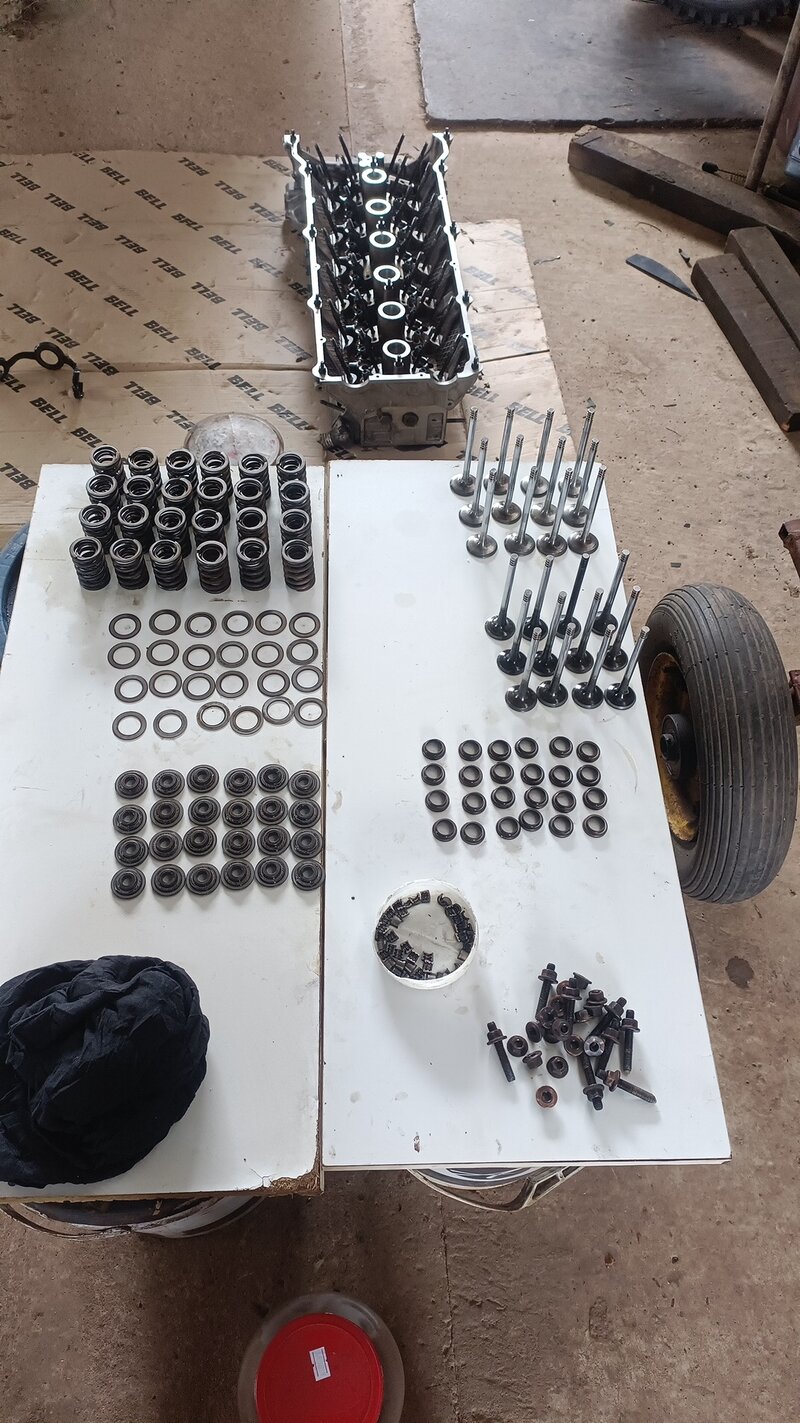
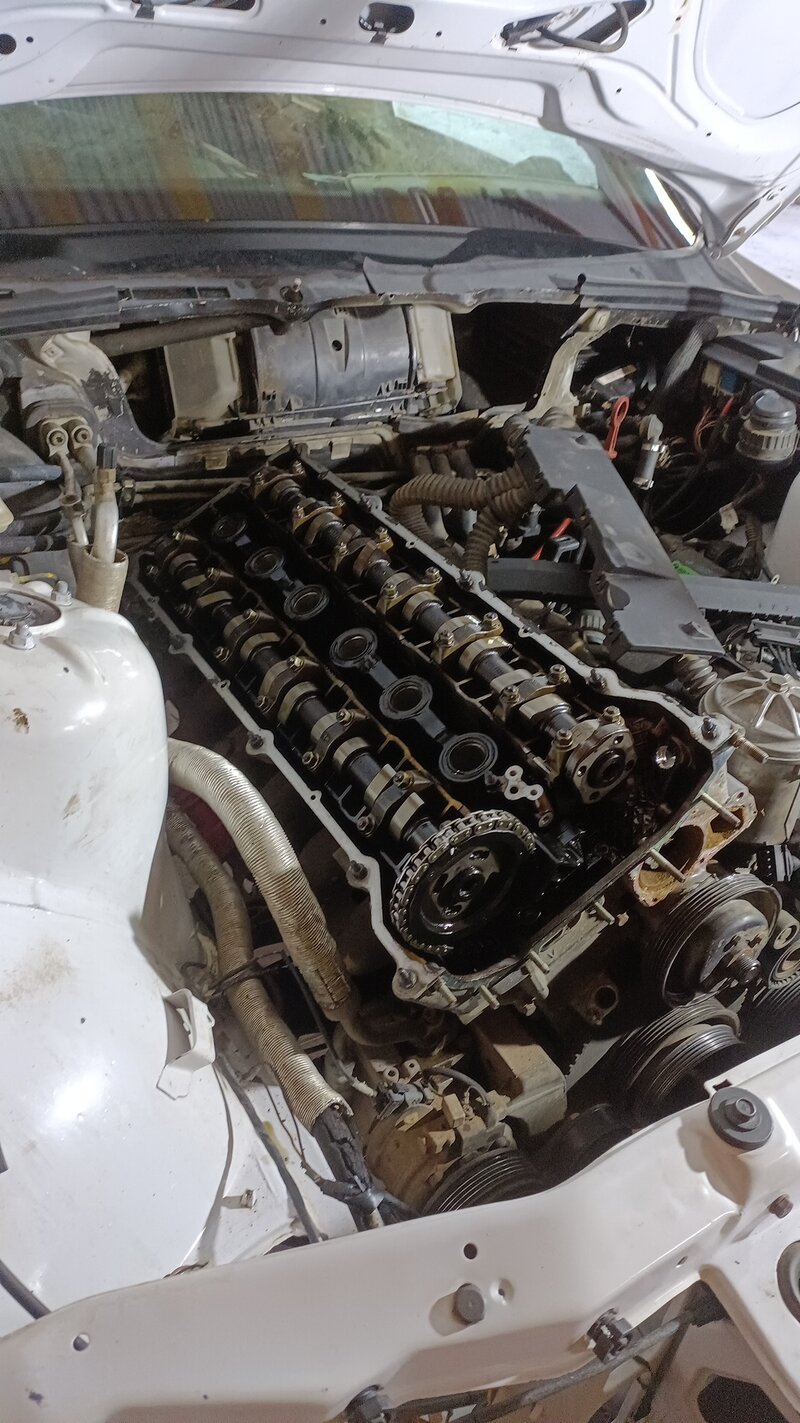
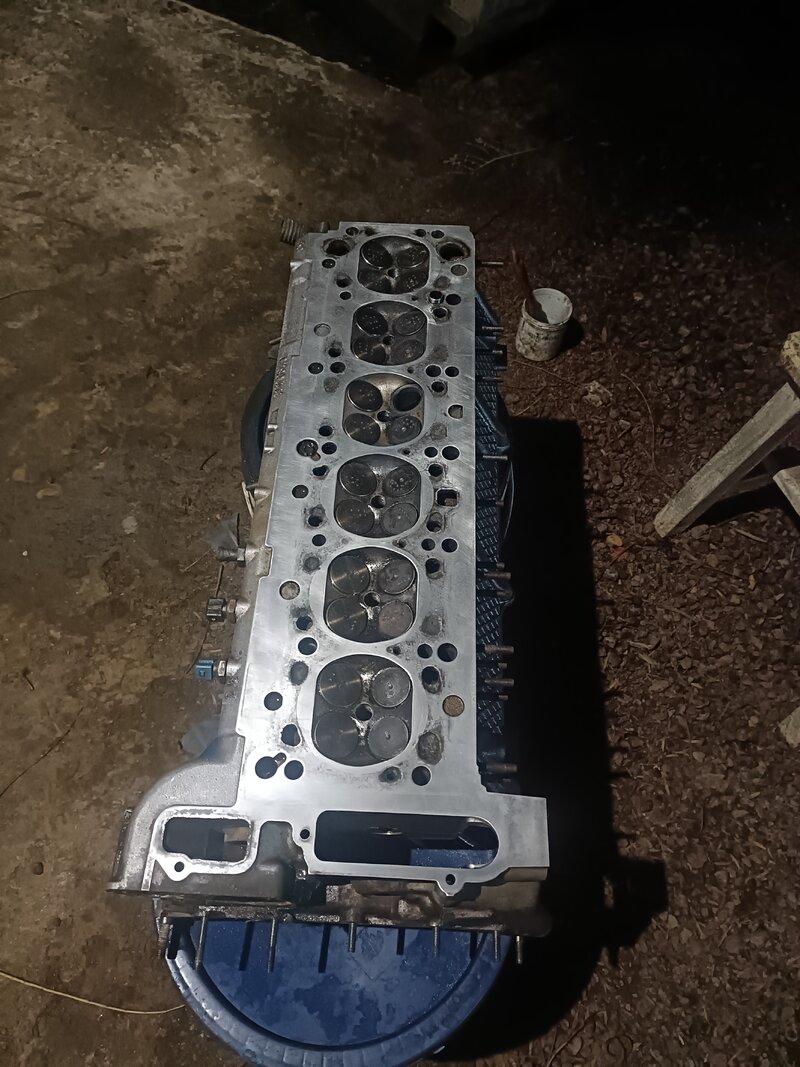
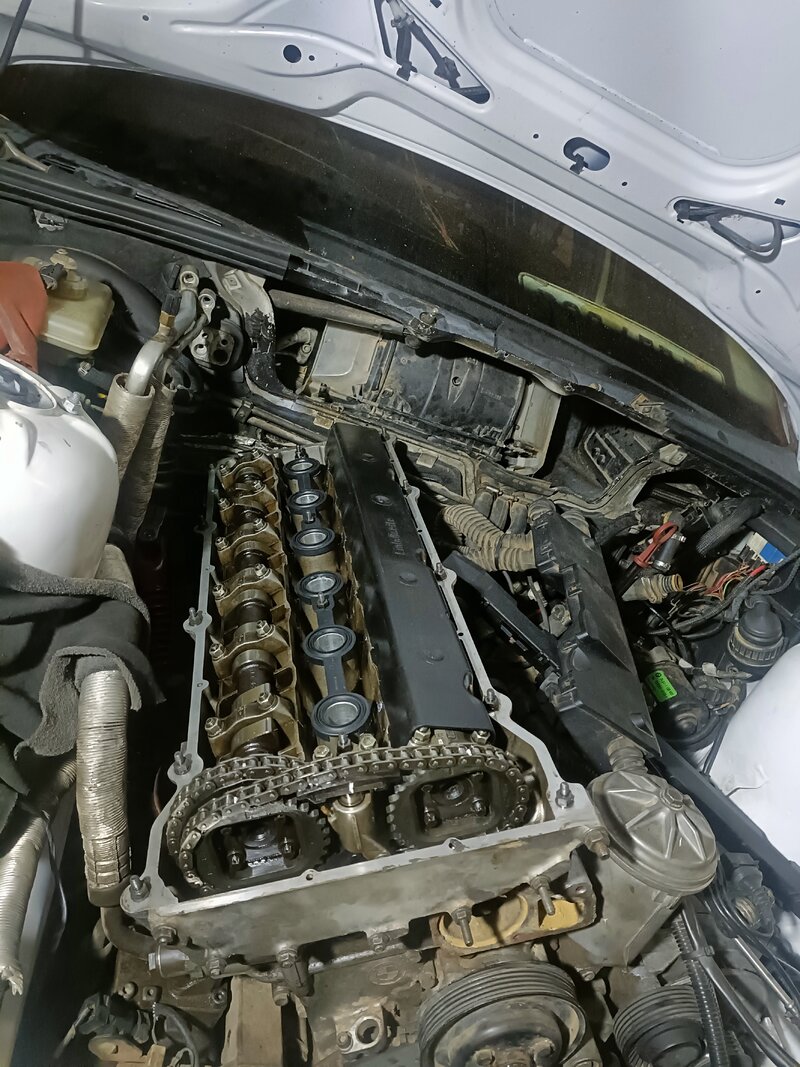
So it must be a valve.

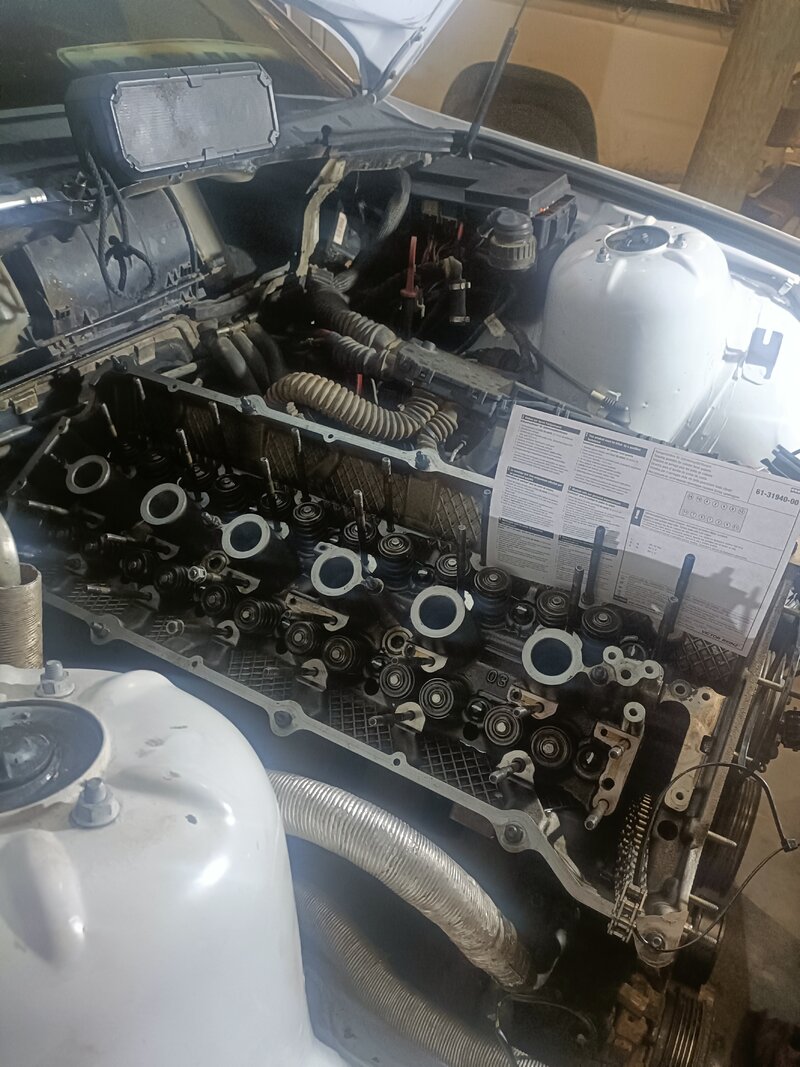
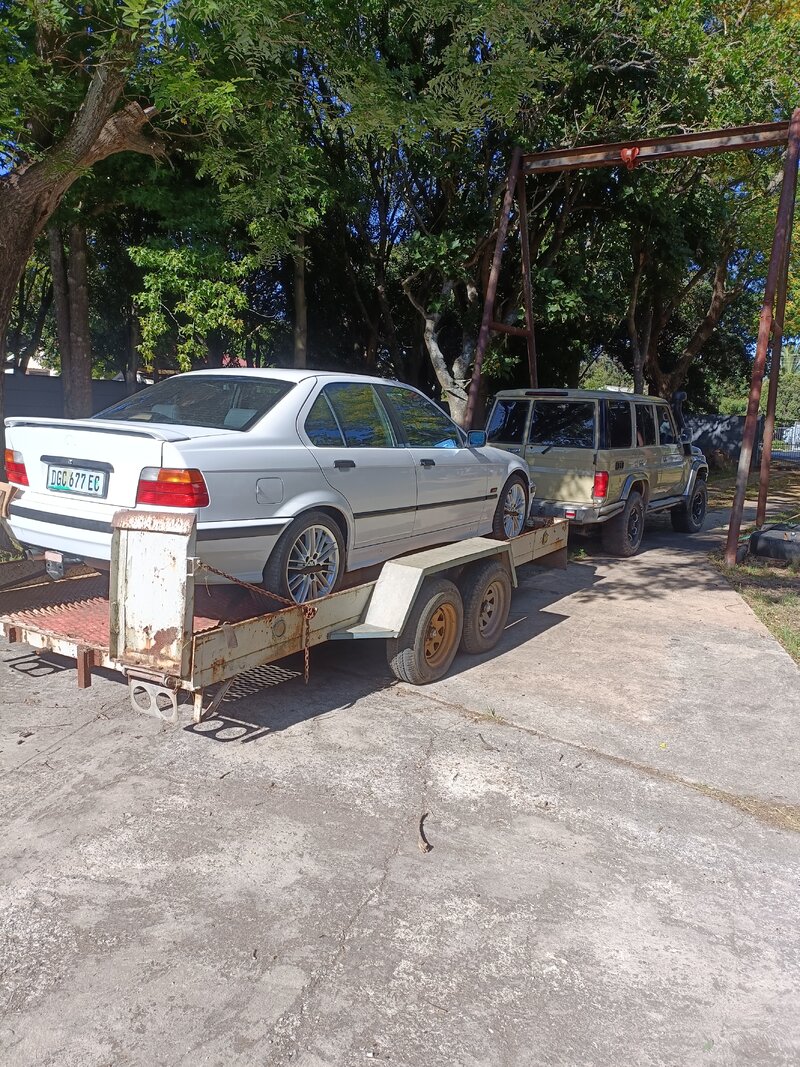
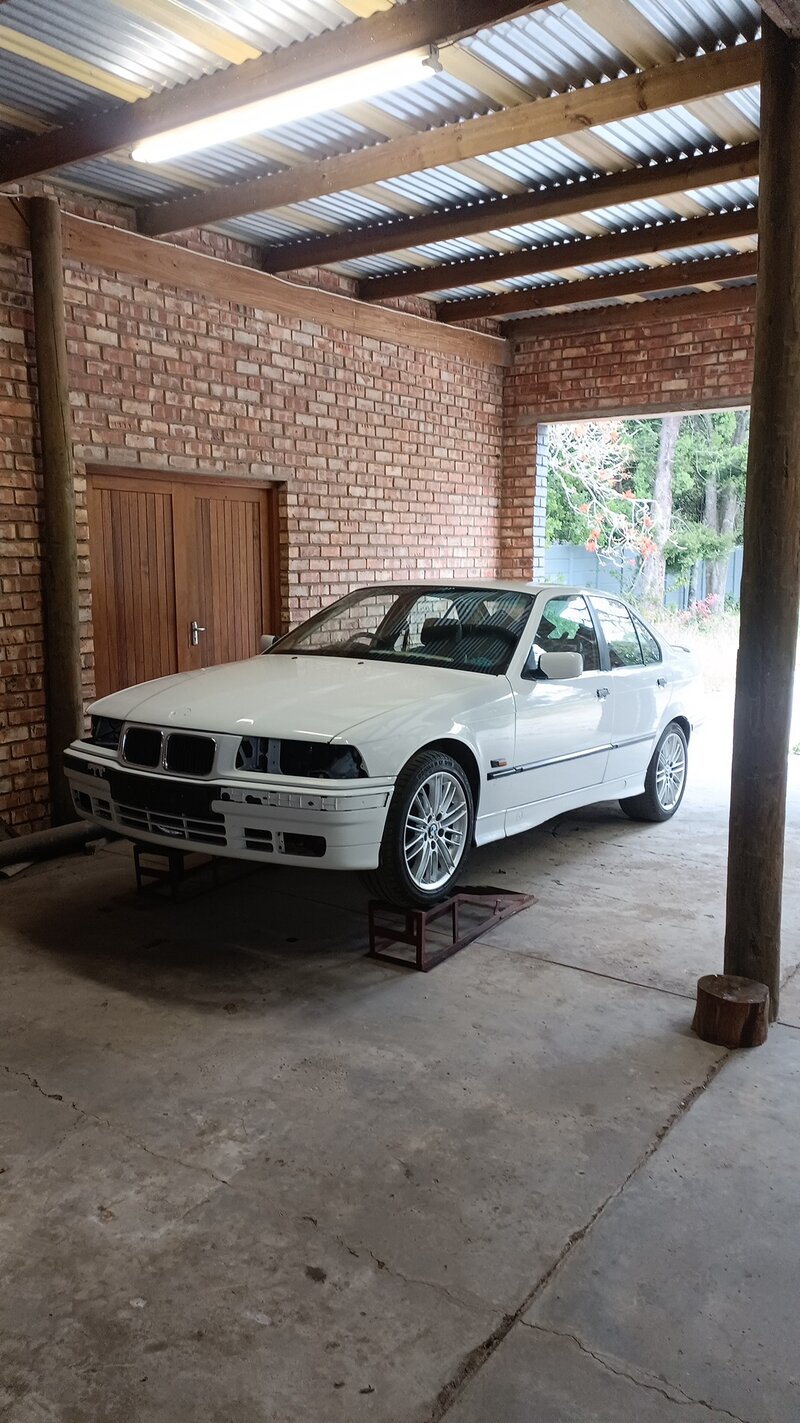
I then drove the car around the corner from my grandpa's house to mine, drove the up on 2 ramps and started stripping the next day.
 

Attachments

  • IMG20230827163139.jpg
    IMG20230827163139.jpg
    3.9 MB · Views: 57
  • IMG20230827163145.jpg
    IMG20230827163145.jpg
    4.1 MB · Views: 46
  • IMG20230828184537.jpg
    IMG20230828184537.jpg
    2.5 MB · Views: 44
  • IMG20230829093451.jpg
    IMG20230829093451.jpg
    4 MB · Views: 45
  • IMG20230829093527.jpg
    IMG20230829093527.jpg
    6.8 MB · Views: 45
  • IMG20230919150456.jpg
    IMG20230919150456.jpg
    6.2 MB · Views: 46
  • IMG-20230923-WA0018.jpeg
    IMG-20230923-WA0018.jpeg
    1.6 MB · Views: 42
  • IMG20230923140955.jpg
    IMG20230923140955.jpg
    4.3 MB · Views: 49
  • IMG20230923155009.jpg
    4.4 MB · Views: 18
  • IMG-20230923-WA0062.jpeg
    IMG-20230923-WA0062.jpeg
    876 KB · Views: 51

Slicks_21

Member
#update 6
Sorry for the long break,had a lot going on 😅 So I opened the moto took the head off and luckily it was just a burnt exhaust valve. So i stripped the head completely, sorced a new valve from my local parts store and a new head gasket.
Afterwards i began grinding the valves, took my basically an entire night to do it properly by hand.
Afterwards I put everything back together, used to correct timing tools, upgraded the main chain tensioner to an m3 one and then the motor fired right up!🔥🔥 I then immediately pulled the car up on a trailer and off too the tuner it went😁
 

Attachments

  • IMG20231031201831.jpg
    IMG20231031201831.jpg
    5 MB · Views: 34
  • IMG-20231017-WA0047.jpeg
    IMG-20231017-WA0047.jpeg
    779.2 KB · Views: 22
  • IMG-20231014-WA0066.jpeg
    IMG-20231014-WA0066.jpeg
    795.3 KB · Views: 23
  • IMG-20231014-WA0029.jpeg
    IMG-20231014-WA0029.jpeg
    927.6 KB · Views: 23
  • IMG20231008151436.jpg
    IMG20231008151436.jpg
    5.4 MB · Views: 24
  • IMG20230929211550.jpg
    IMG20230929211550.jpg
    4.1 MB · Views: 27
  • IMG20230925144820.jpg
    IMG20230925144820.jpg
    4.1 MB · Views: 28
  • IMG20230925144805.jpg
    IMG20230925144805.jpg
    4.5 MB · Views: 36
  • IMG20231220080319.jpg
    IMG20231220080319.jpg
    6.9 MB · Views: 35
  • IMG20230923171928.jpg
    IMG20230923171928.jpg
    3.9 MB · Views: 31
  • IMG-20230925-WA0009.jpeg
    IMG-20230925-WA0009.jpeg
    848.6 KB · Views: 23
  • IMG20230925144805.jpg
    IMG20230925144805.jpg
    4.5 MB · Views: 23
  • IMG20230925145114.jpg
    IMG20230925145114.jpg
    3.1 MB · Views: 22
  • IMG20230925144820.jpg
    IMG20230925144820.jpg
    4.1 MB · Views: 21
  • IMG20230929211550.jpg
    IMG20230929211550.jpg
    4.1 MB · Views: 18
  • IMG-20231014-WA0029.jpeg
    IMG-20231014-WA0029.jpeg
    927.6 KB · Views: 17
  • IMG-20231014-WA0066.jpeg
    IMG-20231014-WA0066.jpeg
    795.3 KB · Views: 17
  • IMG20231017215819.jpg
    IMG20231017215819.jpg
    4.2 MB · Views: 15
  • IMG20231031194456.jpg
    IMG20231031194456.jpg
    4.7 MB · Views: 16
  • IMG20231019193703.jpg
    IMG20231019193703.jpg
    4.7 MB · Views: 15
  • IMG20231031201831.jpg
    IMG20231031201831.jpg
    5 MB · Views: 14
  • IMG20231008151436.jpg
    IMG20231008151436.jpg
    5.4 MB · Views: 16
  • IMG20231031212140.jpg
    IMG20231031212140.jpg
    3.6 MB · Views: 18
  • IMG20231102224931.jpg
    IMG20231102224931.jpg
    4.1 MB · Views: 30
  • IMG-20231220-WA0003.jpeg
    IMG-20231220-WA0003.jpeg
    1.7 MB · Views: 35
  • IMG20231220080304.jpg
    IMG20231220080304.jpg
    7.9 MB · Views: 42

modocrat

Well-known member
#update 6
Sorry for the long break,had a lot going on 😅 So I opened the moto took the head off and luckily it was just a burnt exhaust valve. So i stripped the head completely, sorced a new valve from my local parts store and a new head gasket.
Afterwards i began grinding the valves, took my basically an entire night to do it properly by hand.
Afterwards I put everything back together, used to correct timing tools, upgraded the main chain tensioner to an m3 one and then the motor fired right up!🔥🔥 I then immediately pulled the car up on a trailer and off too the tuner it went😁
That LC-76 looks niiiiiiice.
 

Slicks_21

Member
Update#7
New Management and exhaust!
I dropped the car off at powerflow in PE and decided to ditch the dual exhaust pipes and opt for a single exhaust. The nice oaks at powerflow installed a full 63mm stainless freeflow system, with stainless boxes. Afterwards i took the car too Protune, where Oom Jakkie worked his magic... Installed a new Spitronics Orion 2 management, I must say I'm super impressed. He did a really clean install and tucked away the Orion2 neatly ontop of the existing bosch ecu.
Ontop of that the car made an astonishing 136kw and 245nm on the wheels on an stock M50B25 with high mileage on it.😂 The car felt like a whole different beast after and is still going strong...and trust me I drive it hard😅
"No one drives a car harder than those who know how to fix it"

I just want to give a big thanks for all the peeps chiming in and following my build, I really appreciate the support!
Thank you!

I still have a lot planned for the car and still have more to share with you guys/gals. Like next is the sound system and cosmetic upgrades and then we are basically all caught up with the build so far... I'm currently gathering all the parts for a 3.0 stroker and a 6-speed manual swap, but we'll get there🤫😉
 

Attachments

  • IMG20240406124436.jpg
    IMG20240406124436.jpg
    8.3 MB · Views: 44
  • VID-20240329-WA0028.mp4
    1.9 MB
  • IMG20240321180936.jpg
    IMG20240321180936.jpg
    6.1 MB · Views: 43
  • IMG20240406124306.jpg
    19.6 MB · Views: 13
  • VID20240309115712.mp4
    32.8 MB
  • IMG20240309114023.jpg
    IMG20240309114023.jpg
    3.1 MB · Views: 38
  • IMG20240309111310.jpg
    IMG20240309111310.jpg
    4.9 MB · Views: 39
  • IMG20240309091423.jpg
    IMG20240309091423.jpg
    3.5 MB · Views: 40
  • IMG20240309091416.jpg
    IMG20240309091416.jpg
    2.7 MB · Views: 37
  • IMG20240206191326.jpg
    IMG20240206191326.jpg
    3.7 MB · Views: 33
  • IMG20240309122136.jpg
    IMG20240309122136.jpg
    4.6 MB · Views: 42

M3boi

Well-known member
Nicely done! I feel like you could've definitely gone 76mm though, especially considering you're going the 3.0 route.

Any reason you're not utilizing the beefy NV internals and just going turbo? That motor is begging to be boosted.
 

Slicks_21

Member
Nicely done! I feel like you could've definitely gone 76mm though, especially considering you're going the 3.0 route.

Any reason you're not utilizing the beefy NV internals and just going turbo? That motor is begging to be boosted.
Definitely should have, but at the time i had a different vision for the build. Turbo was definitely an option, but I like the simplicity of a high reving N/A motor😁
It's just something different and a lot of guys are going the turbo route.
 

NB92325

Well-known member
Definitely should have, but at the time i had a different vision for the build. Turbo was definitely an option, but I like the simplicity of a high reving N/A motor
It's just something different and a lot of guys are going the turbo route.
I like this attitude. I don't want to step on toes or open cans of worms but Stretten from M539restorations stated it perfectly when commenting on most M cars. He stated that those cars are really Autobahn cars because by the time you're in 3rd gear you're already in straight to jail territory outside Germany so what's the point of having a 300kph car really? Very oversimplified statement but I agree with the general sentiment. Bigger and faster is not better

Sent from my SM-S916B using Tapatalk
 

NB92325

Well-known member
An example is when I recently tested a B6 s4 (4.2 V8 moneypit). I couldn't get it past 4th gear when I was already doing waaay over the speed limit.

Sent from my SM-S916B using Tapatalk
 

Slicks_21

Member
Update#8
Interior and Sound.
So while I was working on my car i sent my whole interior (backboard,rooflining, door panels and seats) to get re-apolstored. I decided to make everything black on black and damn did it turn out pretty, an awesome contrast to the white exterior!🤍🖤 Before installing anything I had to get my sound system sorted, so I had a bunch of parts laying in my living room for a week.😂
My sound system consists of the following:
Targa TG-686 7" headunit
Targa 5 band EQ
Vibe Slick V7 6.5 compoents and Pioneer 4" mids(front)
Vibe pulse V5 6.5" coaxials (rear)
Targa 12" Super street 23000W Sub
Starsound Rapter 9350.5 and Targa 1400W rms amp for the sub.
Also a bunch of sound deadening and wires.
For starters I had to cut the existing speakers holes bigger to mount the new 6.5" in the kickpanel and back board. The only tool on hand was a baby grinder and a pair of safety goggles. Let me tell you it looked like a new years party in my car, the sparks went flying 😅💥
Afterwards i drilled new screws holes, added soundeadening and mounted the speakers. I cleaned the inside of my doors and added there as well. I had to cut my vent to fit the new head unit and started laying wires to the EQ and from my eq to the 2 amps mounted in the boot. The one on the left is for the sub and amp on the right is for all the doors speakers. It's a 5 channel, so all 10 speakers has their own channel.
After all that i tidied up my wiring and installed the interior. I even managed to score an m3 armrest/center console and installed it.😁 The sound system sounds really great, for a first time install..
 

Attachments

  • IMG20240607180338.jpg
    IMG20240607180338.jpg
    4.1 MB · Views: 32
  • IMG20240607180622.jpg
    IMG20240607180622.jpg
    3.9 MB · Views: 29
  • IMG20240607181029.jpg
    IMG20240607181029.jpg
    4.2 MB · Views: 27
  • IMG20240607193921.jpg
    10.1 MB · Views: 11
  • IMG20240608200100.jpg
    IMG20240608200100.jpg
    4.1 MB · Views: 25
  • IMG20240622101753.jpg
    IMG20240622101753.jpg
    6.1 MB · Views: 26
  • IMG20240604203438.jpg
    13.9 MB · Views: 11
  • IMG20240528213724.jpg
    IMG20240528213724.jpg
    8.5 MB · Views: 25
  • IMG-20231216-WA0020.jpg
    IMG-20231216-WA0020.jpg
    111.2 KB · Views: 26
  • IMG-20240623-WA0017.jpeg
    IMG-20240623-WA0017.jpeg
    705.1 KB · Views: 27
  • IMG20240608200100.jpg
    IMG20240608200100.jpg
    4.1 MB · Views: 28
  • IMG20240607193921.jpg
    10.1 MB · Views: 12
  • IMG20240604203434.jpg
    11.4 MB · Views: 12
  • IMG20240528213724.jpg
    IMG20240528213724.jpg
    8.5 MB · Views: 30
  • IMG-20240623-WA0017.jpeg
    IMG-20240623-WA0017.jpeg
    705.1 KB · Views: 26
  • IMG-20240623-WA0015.jpeg
    IMG-20240623-WA0015.jpeg
    742.2 KB · Views: 27
  • IMG20240622101759.jpg
    IMG20240622101759.jpg
    4.4 MB · Views: 34
  • IMG20240708170142.jpg
    IMG20240708170142.jpg
    4.3 MB · Views: 36
  • IMG20231117065721.jpg
    IMG20231117065721.jpg
    6.2 MB · Views: 32
  • IMG20231117065758.jpg
    IMG20231117065758.jpg
    3 MB · Views: 30
  • IMG20231117070617.jpg
    IMG20231117070617.jpg
    3.8 MB · Views: 32
  • IMG20231117070609.jpg
    IMG20231117070609.jpg
    4.1 MB · Views: 28
  • IMG20231117072224.jpg
    IMG20231117072224.jpg
    3.7 MB · Views: 31
  • IMG20240505200340.jpg
    IMG20240505200340.jpg
    3.4 MB · Views: 29
  • IMG20240519140615.jpg
    IMG20240519140615.jpg
    6.1 MB · Views: 29
  • IMG20240708155142.jpg
    IMG20240708155142.jpg
    4.3 MB · Views: 30
  • IMG20231118152759.jpg
    IMG20231118152759.jpg
    3.8 MB · Views: 28
  • IMG20240519164217.jpg
    IMG20240519164217.jpg
    4.2 MB · Views: 27
  • IMG20240519150006.jpg
    IMG20240519150006.jpg
    5.7 MB · Views: 26
  • IMG20240519140635.jpg
    IMG20240519140635.jpg
    5.3 MB · Views: 28
  • IMG20240519140625.jpg
    IMG20240519140625.jpg
    4.9 MB · Views: 28
  • IMG20240519164418.jpg
    IMG20240519164418.jpg
    7.9 MB · Views: 33
  • IMG20240917232006.jpg
    IMG20240917232006.jpg
    1.1 MB · Views: 32
  • IMG20240521163959.jpg
    IMG20240521163959.jpg
    3.2 MB · Views: 34

FILV

Well-known member
What an adventure!
Its come out great!

From the state it was in to 136wkw that's amazing!

Post some pics if you can once the black interior roof panels have been fitted.
 
Top