diy Adding Android 13 radio to my 2007 BMW E83 X3

wietschebehr

New member
Hi All!

I have recently purchased an Android radio from Carplay Solutions for my old 2007 E83 X3. I will post the progress, my experience with the install and the end result here.

I ordered the Android unit itself and an additional reverse camera. I also received a dash camera from Carplay Solutions, after I asked for one, obligation free, to include in this write-up/review to post a more complete solution here on the forum. I did not pay for the dash camera, but paid for everything else myself. And the below are my own opinions. Just making this clear upfront.

The installation is definitely DIY'able. Generally (by other suppliers as well), these units are marketed as something you can DIY if you feel comfortable with basic tools and wiring, or, to work with an installer to get this done. All my interactions with installers, has been different, where they generally want to sell the stuff they have in stock and are used to, and install that for you, even though it is sometimes old stock with old versions of Android. And I found the price ranging quite a bit and some even very UNREASONABLE for the effort needed for this simple plug and play process.

I decided to go with this particular unit based on the many good positive reviews on Google and Facebook, and I am going for the DIY route, and saving some money in the process. I have seen too many "installer's" botch jobs to trust any of them om my old (but well looked after) E83, for something I can do myself. I still want to be proud of driving the X3 for the foreseeable future without broken trim and clumsy screwdriver marks on my dash.... I just want a bit of a tech upgrade! I hope I don't regret this later...

My first interactions with Carplay Solutions have been good. I had many questions and they were answered quickly and effectively over WhatsApp. Some answers I would have liked to be in a bit more detail, but enough effort was made to satisfy my needs. Voice notes while driving was even sent, and I think this was excellent. Even though I said I wanted more details, given the effort to respond faster and between things going on, more than makes up for this.

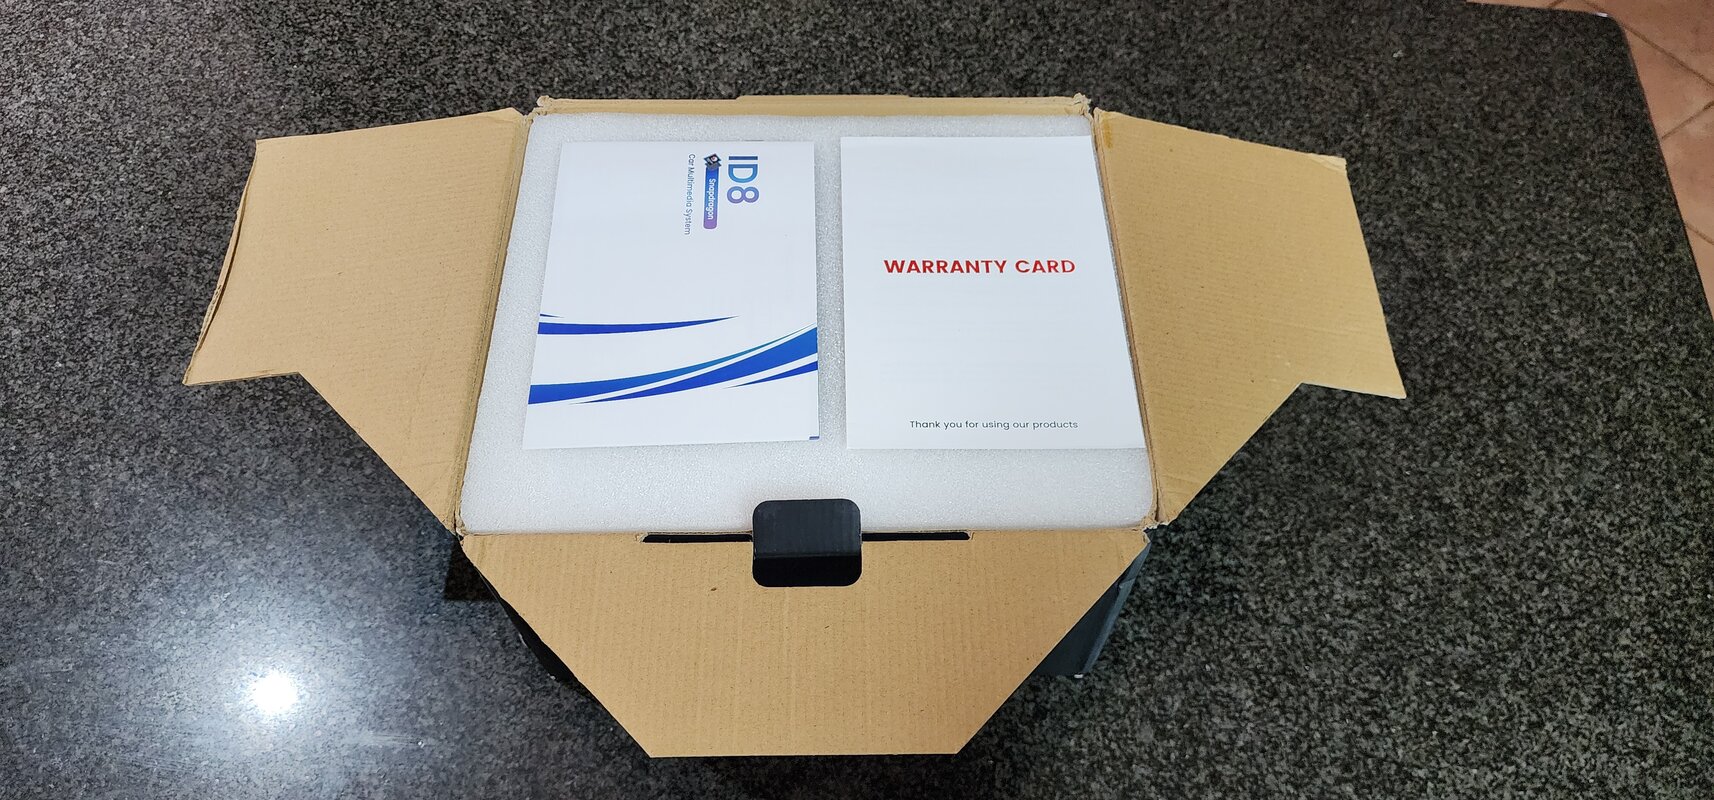
I would have liked to receive better instructions to help with the DIY install process. My sources on the installation process are solely from YouTube channels from other suppliers and installers of the same or similar devices all over the world and in different languages. I do think there is enough online resources to make me confident to go ahead with the DIY. But this can vary vastly based on your Google-foo... I would have liked to receive a printed document or link to a downloadable document, or a YouTube video from Carplay Solutions themselves, explaining the technical details of the wires and connections, for my model specifically, and that focus on the physical installation of the device. Especially for the guys who want to open the box and start installing. Instead, I only received a little booklet in the box, listing the contents and explaining how the interface works. Personally, I find explaining the interface a bit useless as most of it should be intuitive and most of us learn that by just playing around with it once the installation part is done. It should be similar to a smart phone that most of us have experience with. But this part is at least covered very well indeed. I think that if you care enough about documenting the continuously changing/upgrading touch Android interface, you should also be looking at documenting the more stable/fixed installation process for a specific car model. I realize this takes time and effort and it might already be part of the growth plans for the company. I knew this installation documentation was not available upfront, and I still went for it.

One issue I've run into so far, is that the reverse camera does not fit my E83's boot handle bracket. I made contact with Carplay Solutions about this, and they immediately started the process of figuring out how to solve the problem. I've sent them pictures and measurements of my boot handle and reverse light fittings. There seem to be differences between E83 models since I've been told that this is the first time of many installs that this particular camera does not fit the E83. A suitable camera seems to be available. I will have to confirm once I have stripped my boot covers if the new camera will fit and give final measurements and pictures. Then they will send me the replacement camera. So far, I can't complain about the support I received. Feeling positive!

I aim to start with the install this weekend. I will keep you posted.

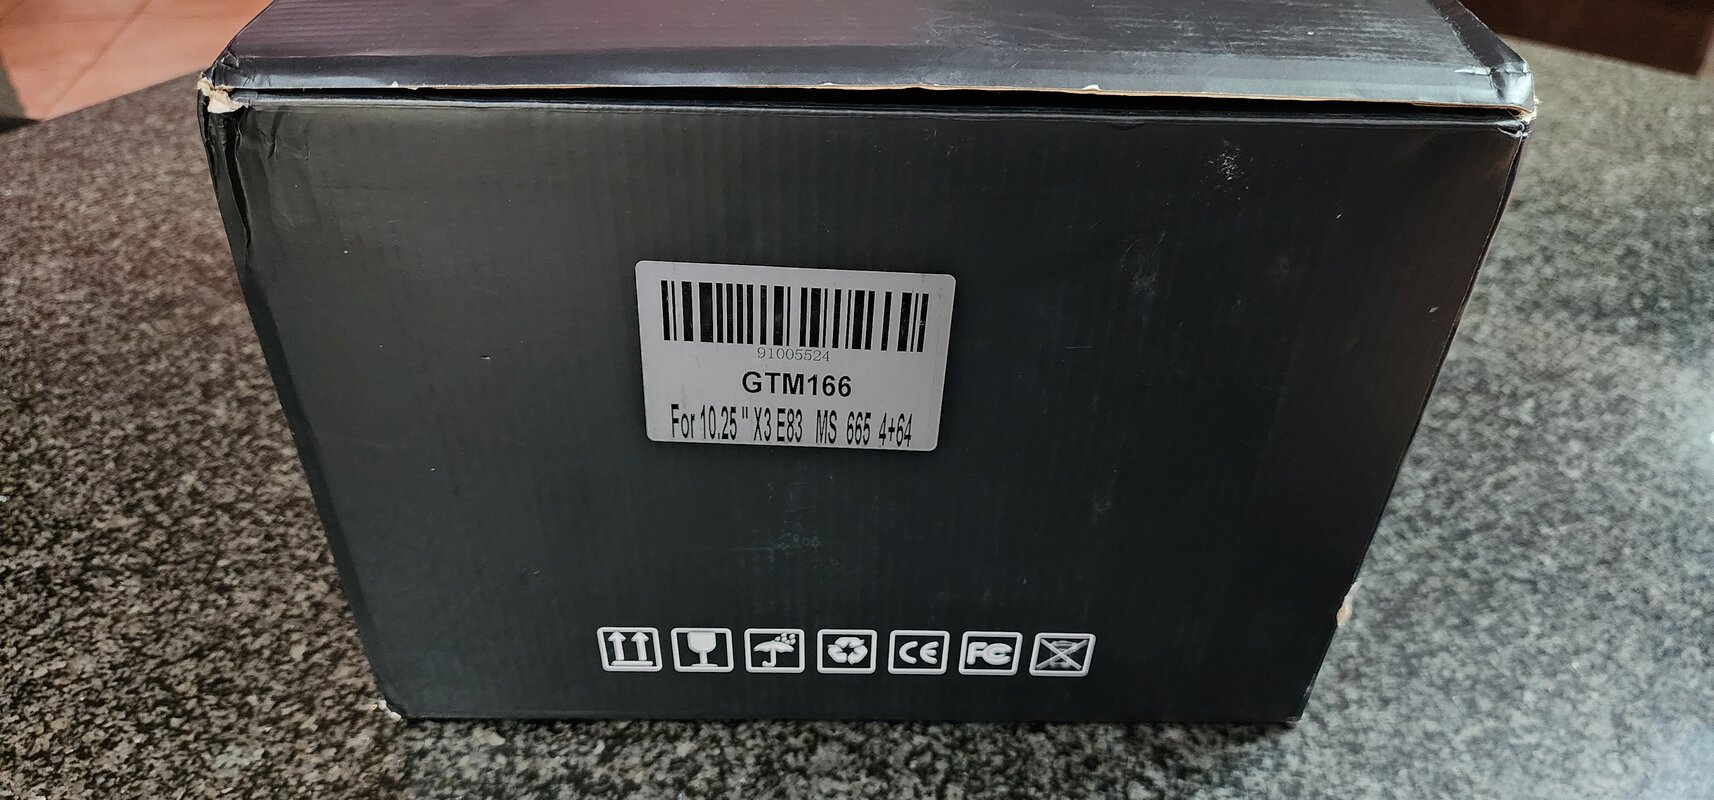
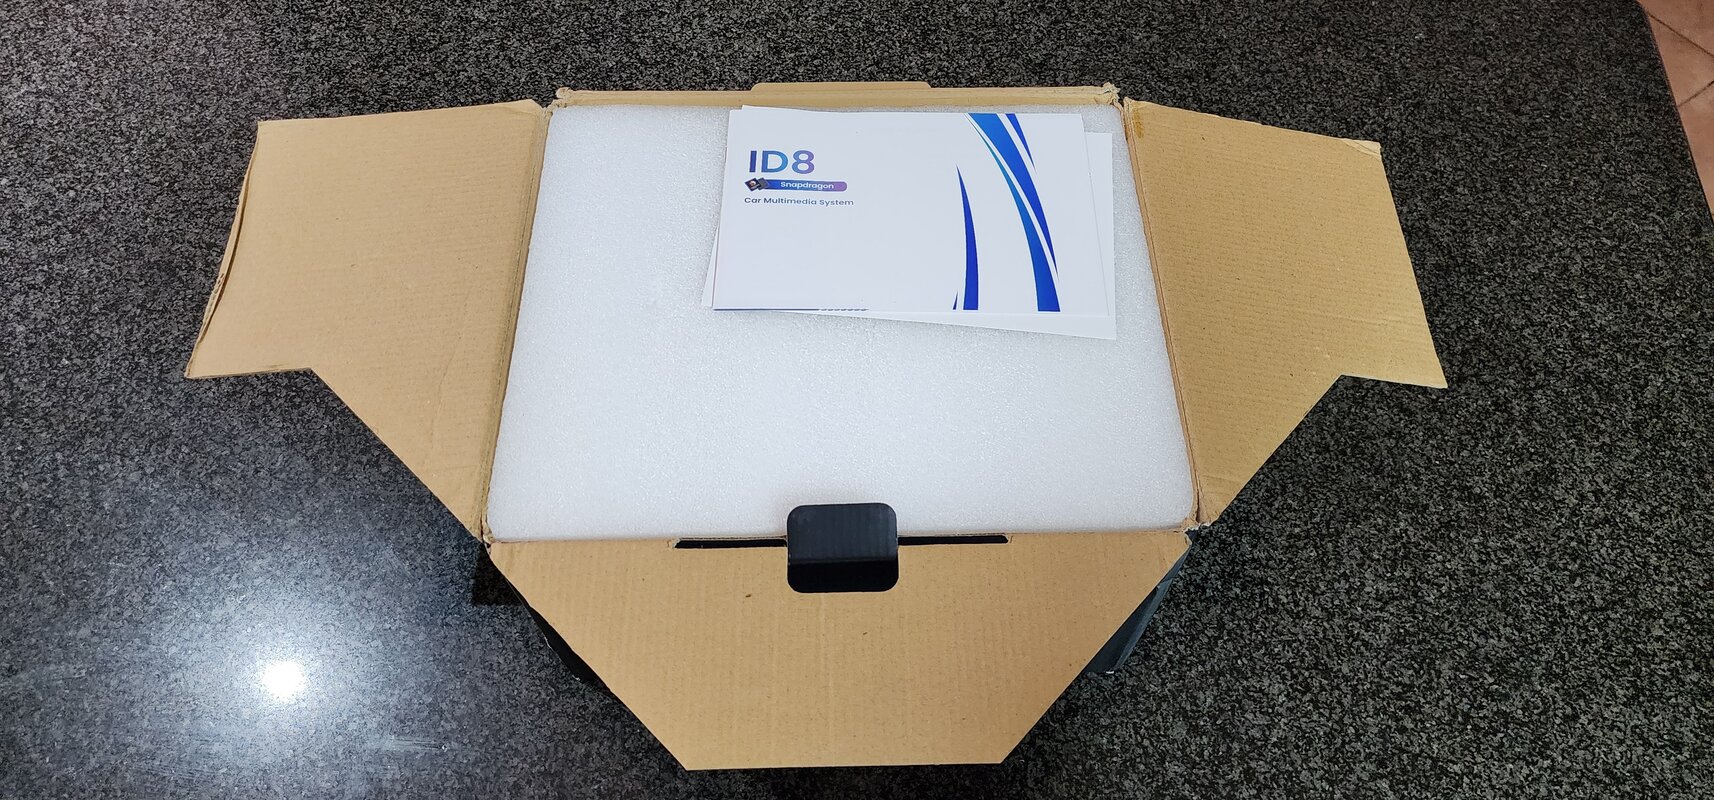
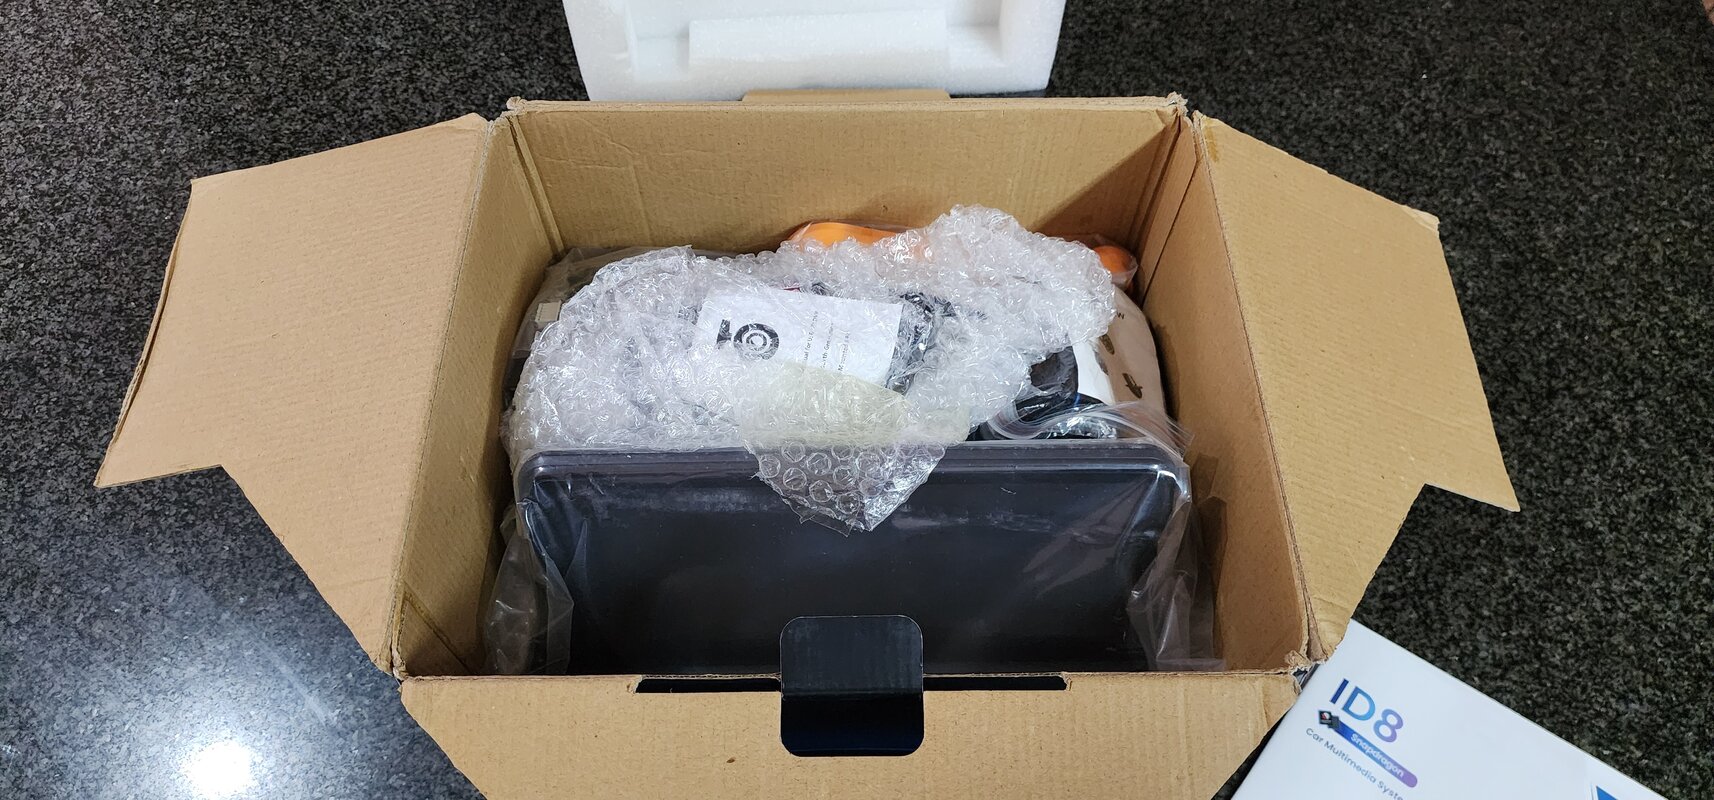
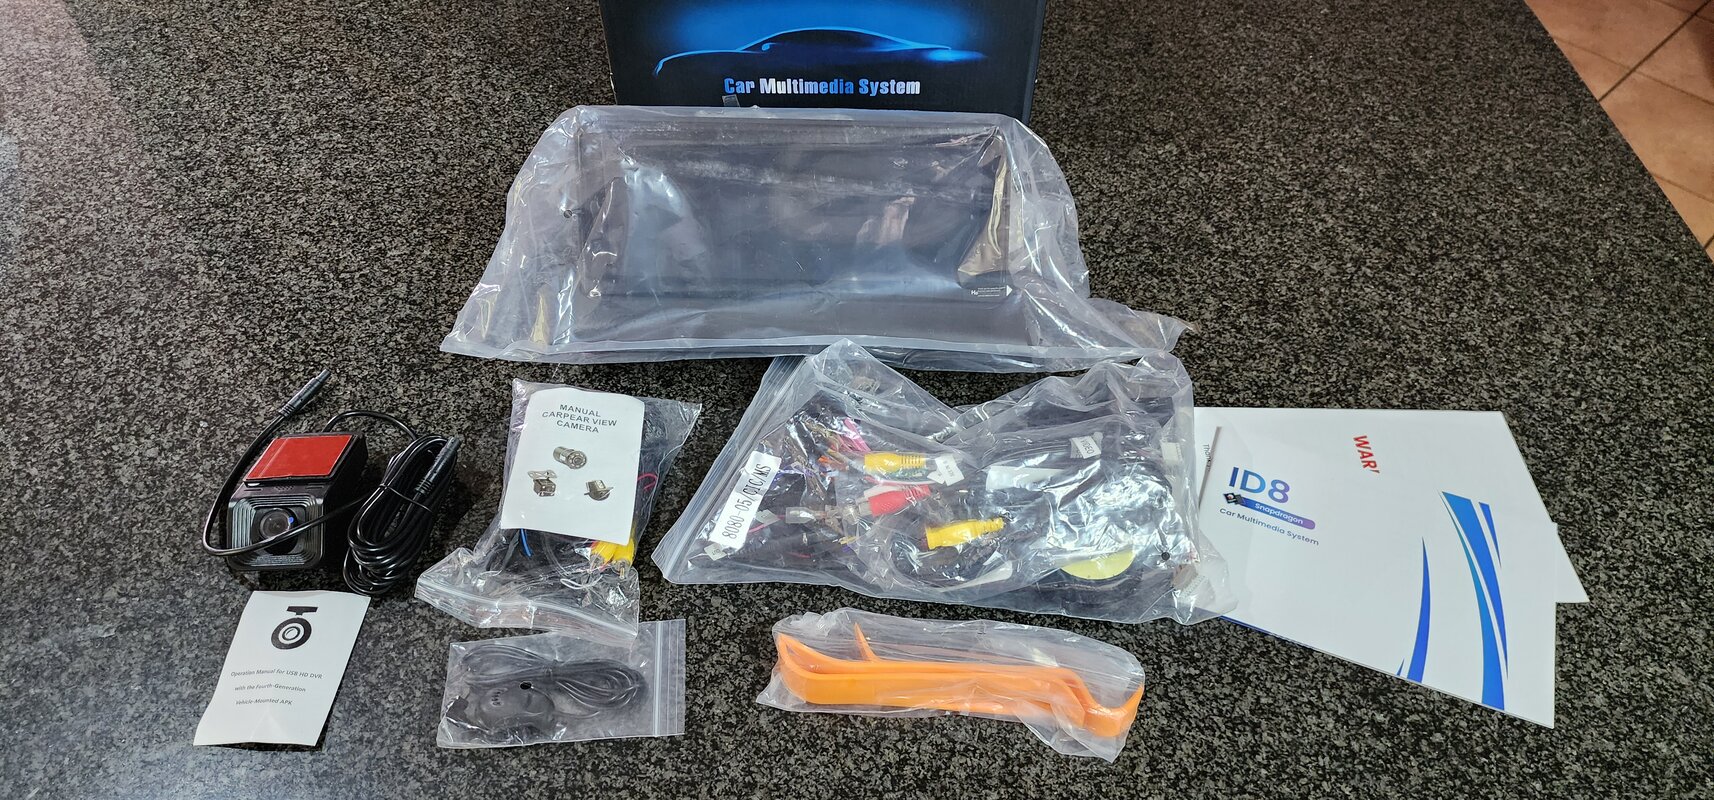
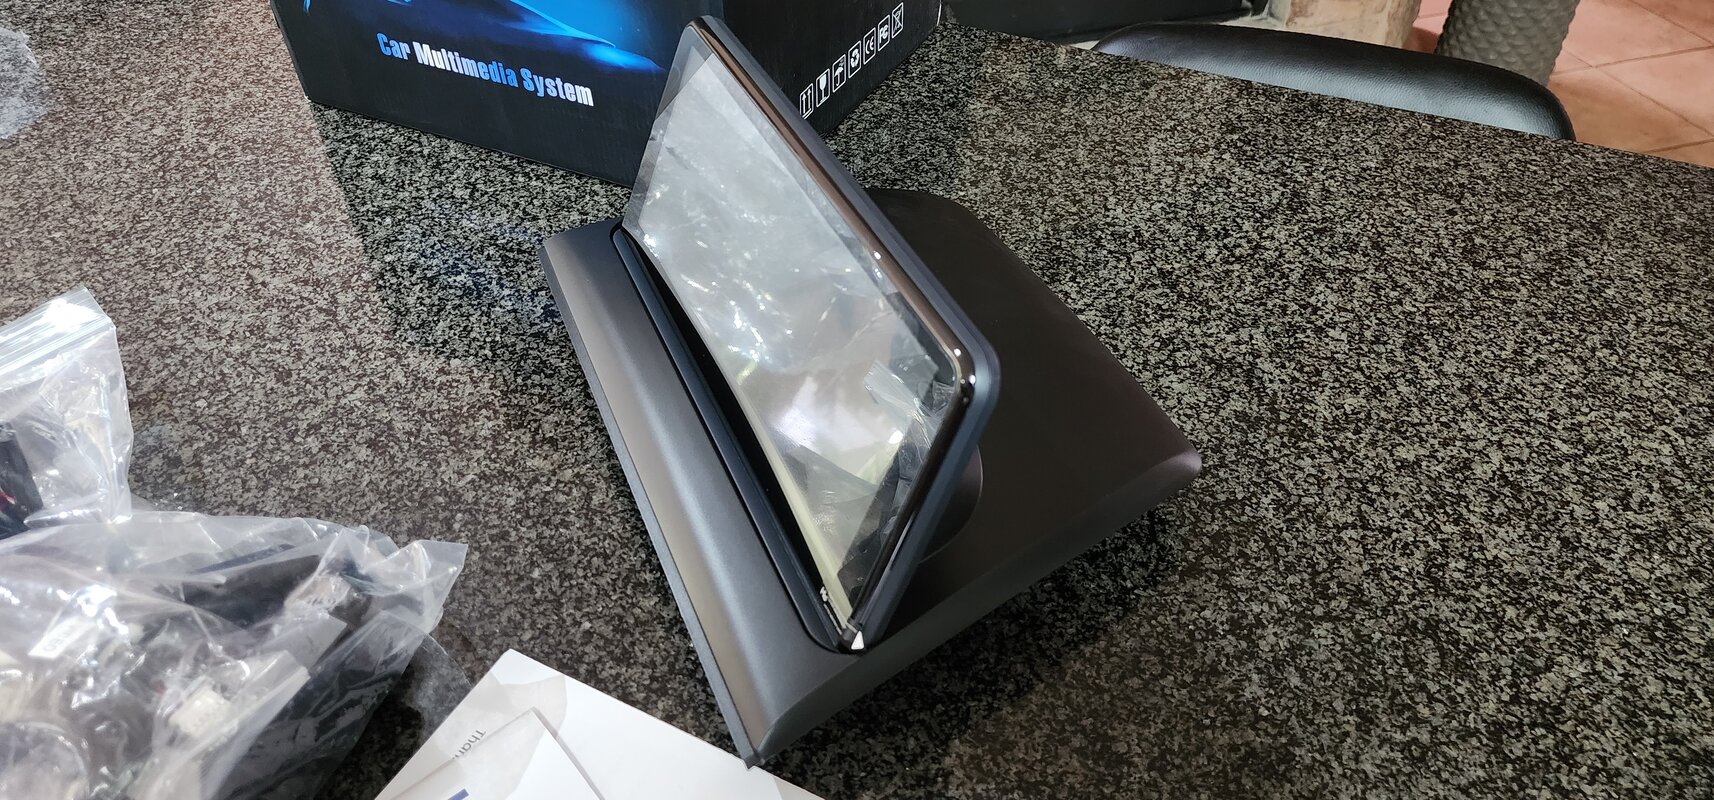
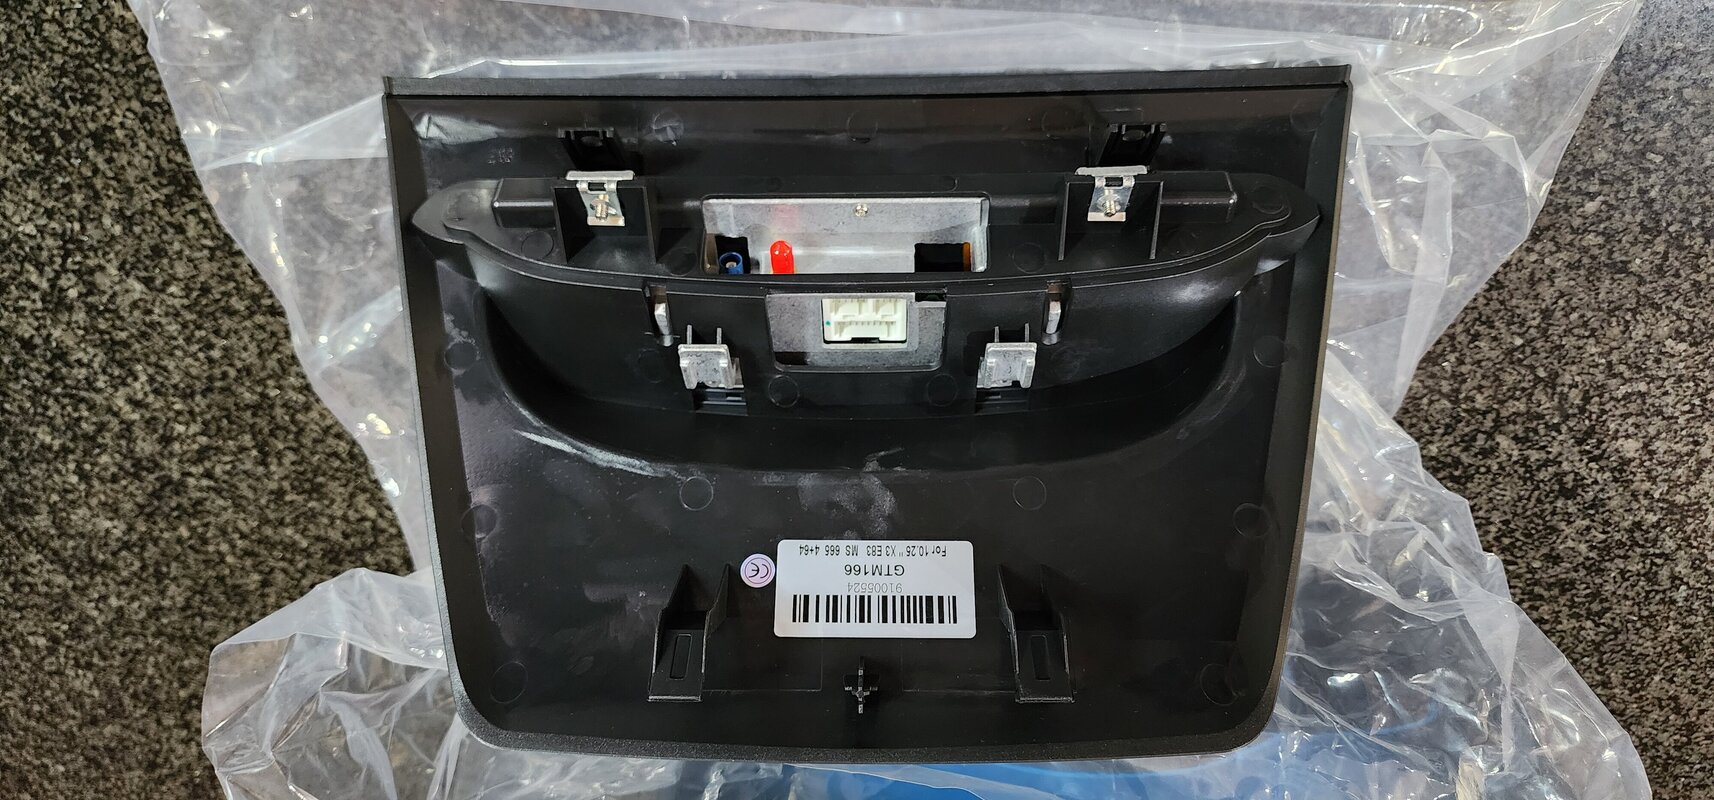
Here are some unboxing pictures until next time:
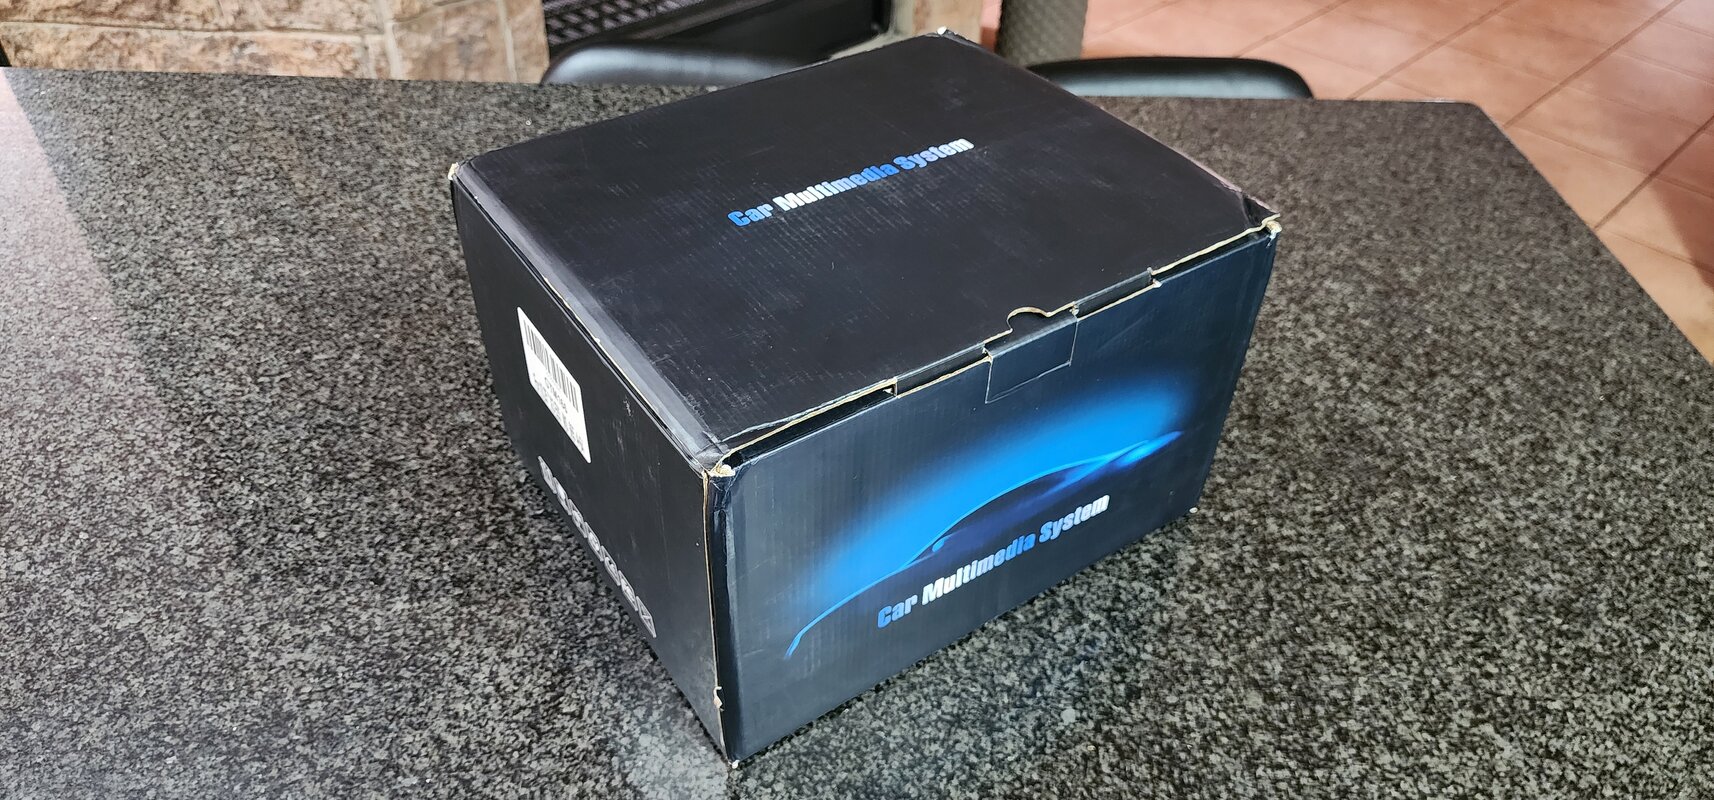
20241021_110005.jpg20241021_110012.jpg20241021_110026.jpg20241021_110042.jpg20241021_110210.jpg20241021_110459.jpg20241021_110557.jpg20241021_110629.jpg
 

Kishore

Well-known member
Thanks for this , was also considering a upgrade unit for my w205 c class but was not sure of the company, glad your experience has been good thus far. #subscribed, all the best , seems like a nice diy project with a coolerbox nearby
 

getty150

Member
Good for you couple years back
(a bit before covid) I installed a android unit on me 04 X3. Not the same as yours tho...unit looked good functioning was less than satisfactory after a week or so I removed it from the car. I think the unit was bad from the start.
Since then I'm content with the Media bridge BT unit tailored for my X3.

Sent from my TMAF035G using Tapatalk
 

wietschebehr

New member
Hi All.

Just a quick update. I have installed the unit and 2 weeks later I have lots to report. I unfortunately have to find some time and sit down and write the essay and gather the pictures... I am just tied up with work and other responsibilities. This is a "weekends only" project for this working dad.

Short and sweet update:

So far I am happy with the results. Learning a lot about my beemers dash, trims and wiring arrangements. Support from Carplay Solutions has been great. Still a few things to sort out, like the reverse camera. There is unfortunately no model specific reverse camera that fits my 2007 E83 X3 MSport, or so it seems. And I am not in the business of drilling and cutting holes in my boot or bumper. Looking at a generic option now with a creative mounting method. The Dash Camera is working, with some glitches that were found, but luckily also solved. Wireless Android Auto is working. It is sounding good, better than BT, since its a wired analog connection over AUX input on the stock "BMW Business CD" radio. My steering wheel controls also works in Android Auto. So far so good. The issues I found so far I think I can live with just fine. But I still have some stuff to test, sort out and get my final thoughts together when I am done.

I am planning to upgrade my speakers soon, because I feel like it is worth it now. Might even do some sound deadening on the door panels while I'm at it, with the door panels already removed.

I will post pics and a detailed write-up as soon as I am able.

Cheers,
Wietsche
 

wietschebehr

New member
Hi All,

Here is my feedback on my DIY install and my experience living with the new Android system for a bit more than a month now.

20241025_153054.jpg

20241026_140306.jpg

Head-unit removal:

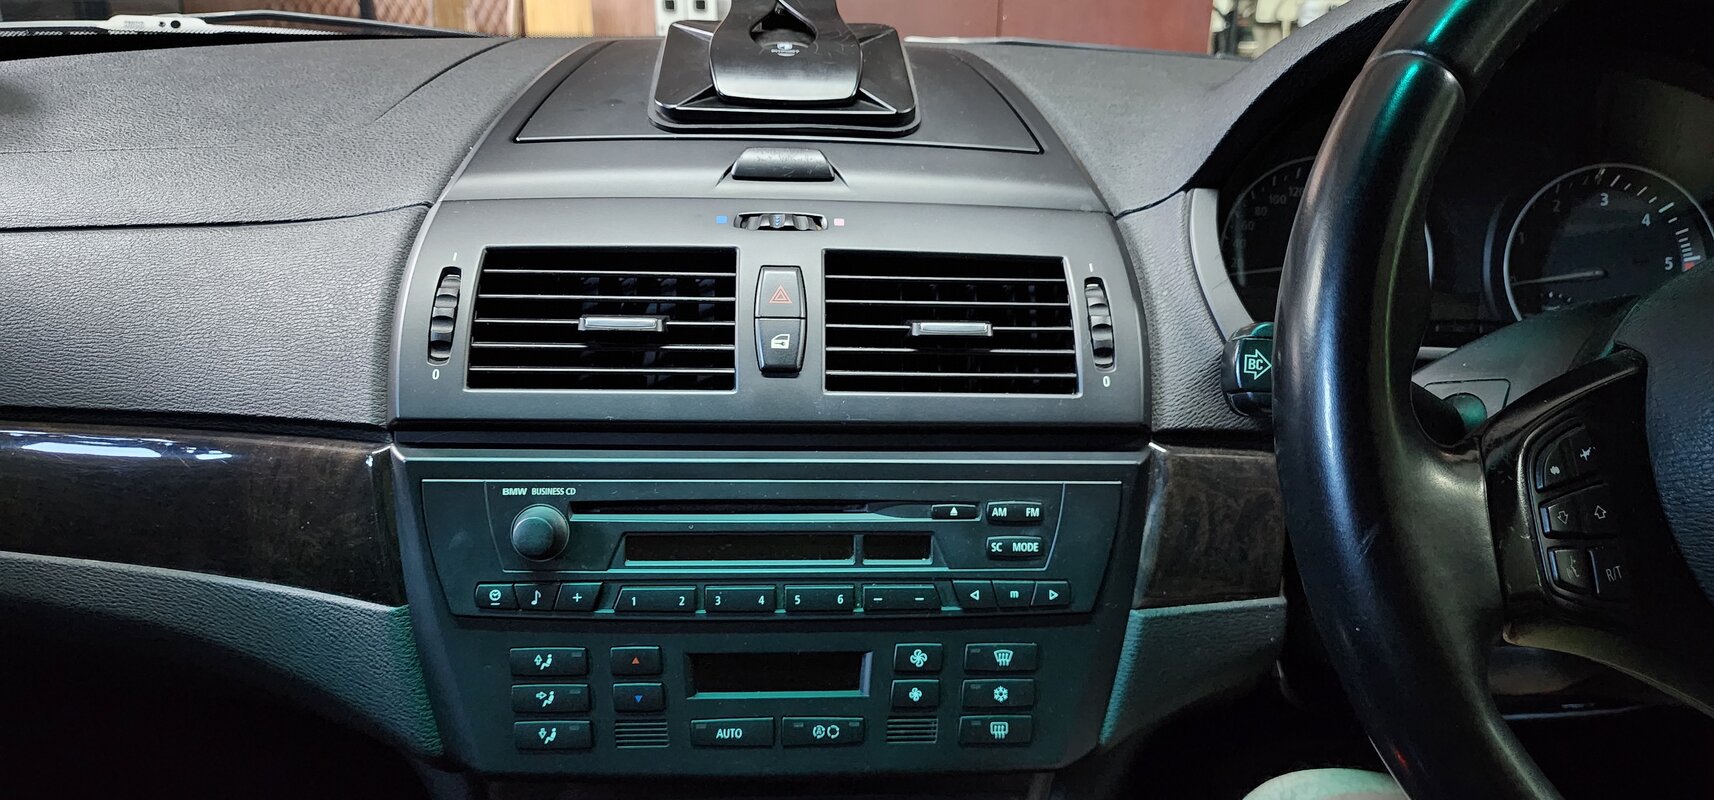
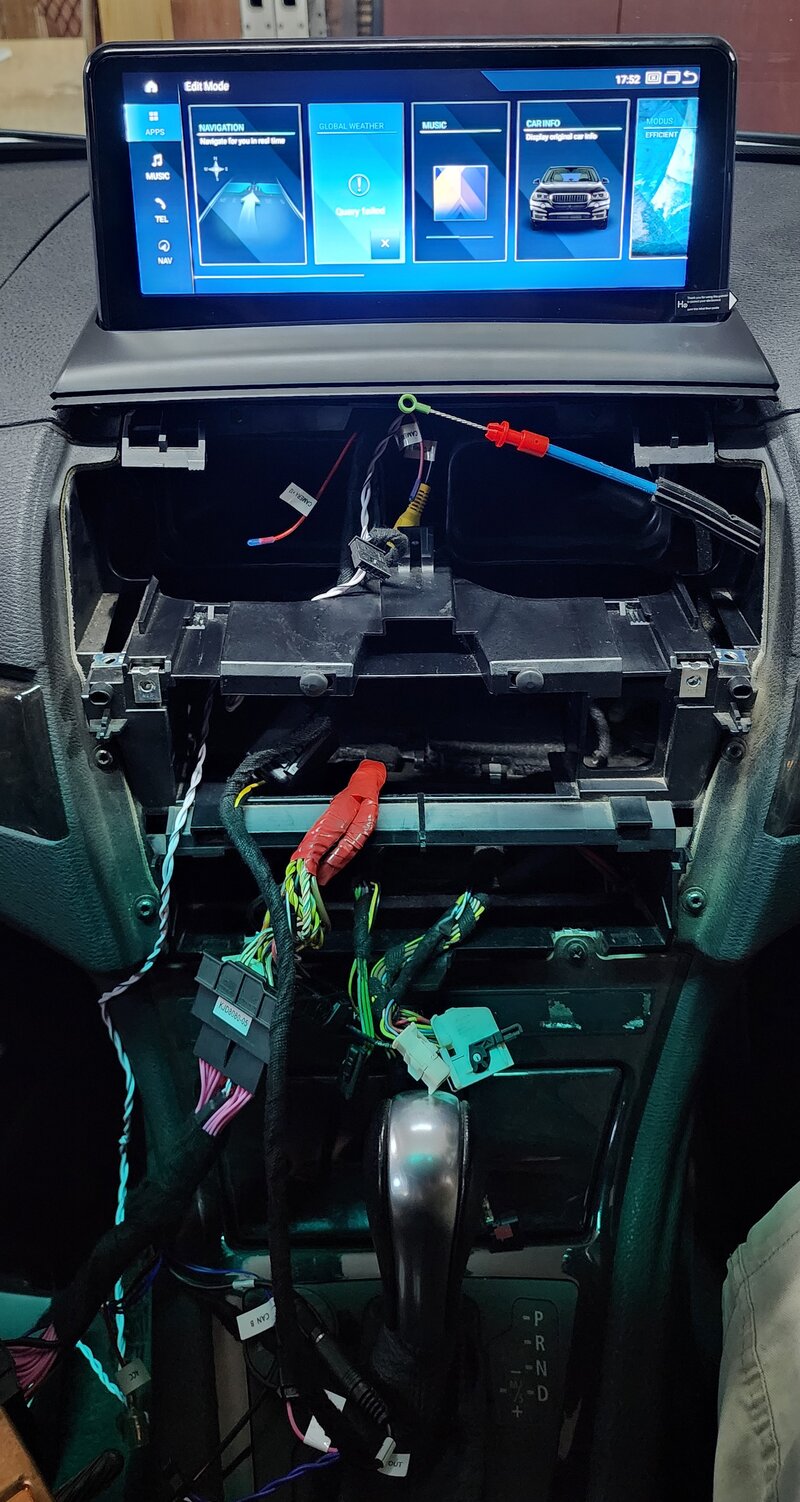
This part was pretty straight forward. Grab the vents, pull it out and detach the vent control cable. Then carefully start removing screws and trims and cable connectors. This was really easy and documented well on YouTube. I just followed the same process.

Wiring harness and connections to the car:

The wiring harness was plug and play. The only down side is that there are a couple of different pin-out configurations for the Aux-Cable connection at the back of the radio. The plug they supply are generic and basically just a pin to pin bridge with a few essential things tapped into the wires to power the Android unit and give it access to the communication BUS (CAN or whatever type your car has available) to use the steering wheel controls and pick up the reverse signal for the the reverse camera to function. On my older BMW the data is very limited and I can't see speed and engine info like on the newer cars. So the "Dashboard" feature is useless to me.

The wires on the large connectors are not removable or re-configurable, so I could not just move the already preinstalled shielded AUX cable connection to the correct pins on this adapter harness. This is unfortunate as the AUX connection wires are now running over generic straight un-shielded wires, potentially picking up electronic noise. So I had to unplug the neat and convenient shielded head-unit AUX-In cable from the Android screen AUX-out cable and run the supplied extension cable to my existing AUX connector installed in the car, behind the center console facing the back seats. This introduces more points of failure for good audio connections and again possibly electronic noise. This is however not a surprise to me. It scenario is also well documented and mentioned on YouTube. YouTube is your friend with this install... I made sure all plug-in connectors, video and audio, were all lubed up with contact cleaner and taped with isolation tape to secure the connection as best as possible. The last thing I want to do is open everything up again just to find a loose or dirty corroded connection.

I am a bit of an audiophile and want to squeeze the most out of the audio quality as possible. Fortunately, I have not detected any noise or issues with making the audio connection as described, and I am very satisfied with the audio quality. I think the engine, road and wind noise is possibly much louder than any electromagnetic noise that gets introduced over the cables and cheap connectors.

The rest of the wiring was easy, just plug and play and route it the best you can. Everything was well labeled and I had no trouble with the connections to be made.

Initial testing:

Before fitting anything, with just the wiring guts hanging out of the dash and head-unit still out, and android screen on my lap, I fired it all up by switching on the car and waiting anxiously for the screen to light up. And it did. First time. No Problems. Accept, there was no audio... It was at this time I figured out what the story was with the AUX connection explained above. So I just wired up the Aux port as mentioned and all came to life. I proceeded to connect my phone to the BT connection, and Android Auto popped up with no further interaction needed for it to work. I was impressed. The screen was clear and bright, and smooth enough to make for a good user experience. I also immediately noticed the improvement in audio quality vs my previous USB powered BT dongle to AUX bridge I used previously. I took a few pics and short video and shared the experience with my good old friend, and it was clear that I was positive about finishing up this project and enjoy the new functionality in my car.

20241025_175250.jpg

Android screen install and buttoning it all up:

I proceeded to neaten up the wires and routing the USB connectors and reverse camera cable to my cubbyhole, where it stayed and waited for completion later. I also routed the included external microphone to a spot near my steering wheel. Routing the AUX cable to the back was possibly the most frustrating and toughest job. I did not remove the entire center console to run the spaghetti wire to the back. With multiple tries and a lot of effort I used a stiff wire to pull the AUX cable from the back of the radio out to the side, to exit between the carpet and plastic trim in the front passenger foot well area. Then I used a plastic tool to tuck the cable back in between the carpet and center console edge, all the way to the back, and plug in the AUX cable into the factory connector. After all this I seriously contemplated if just unscrewing all the stuff and lifting the center console would have been a much less strenuous process. Anyway, it was done and hopefully working still.

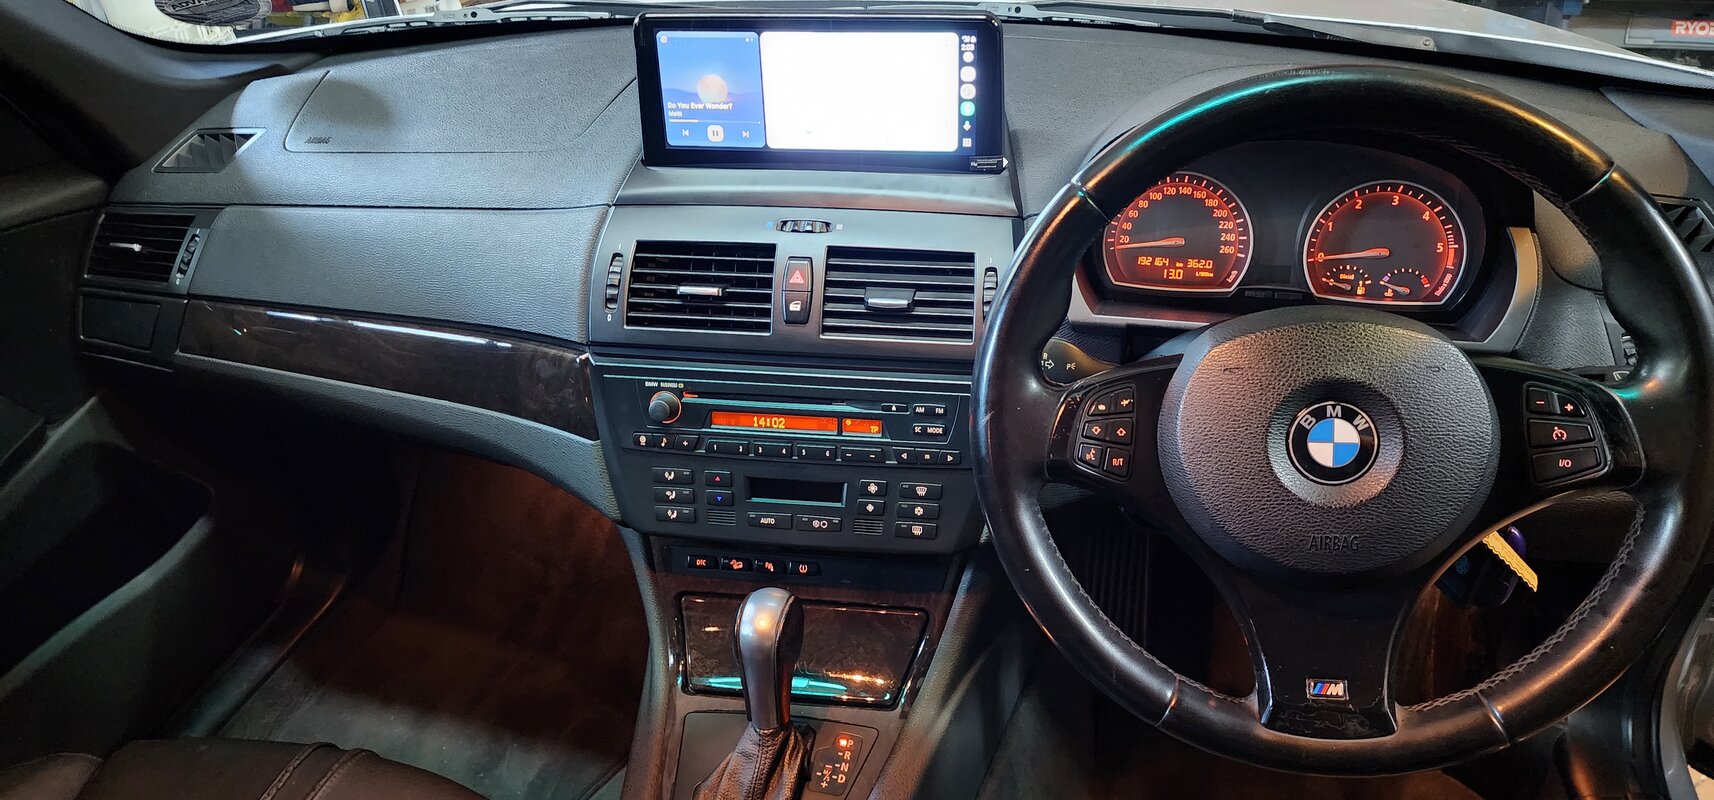
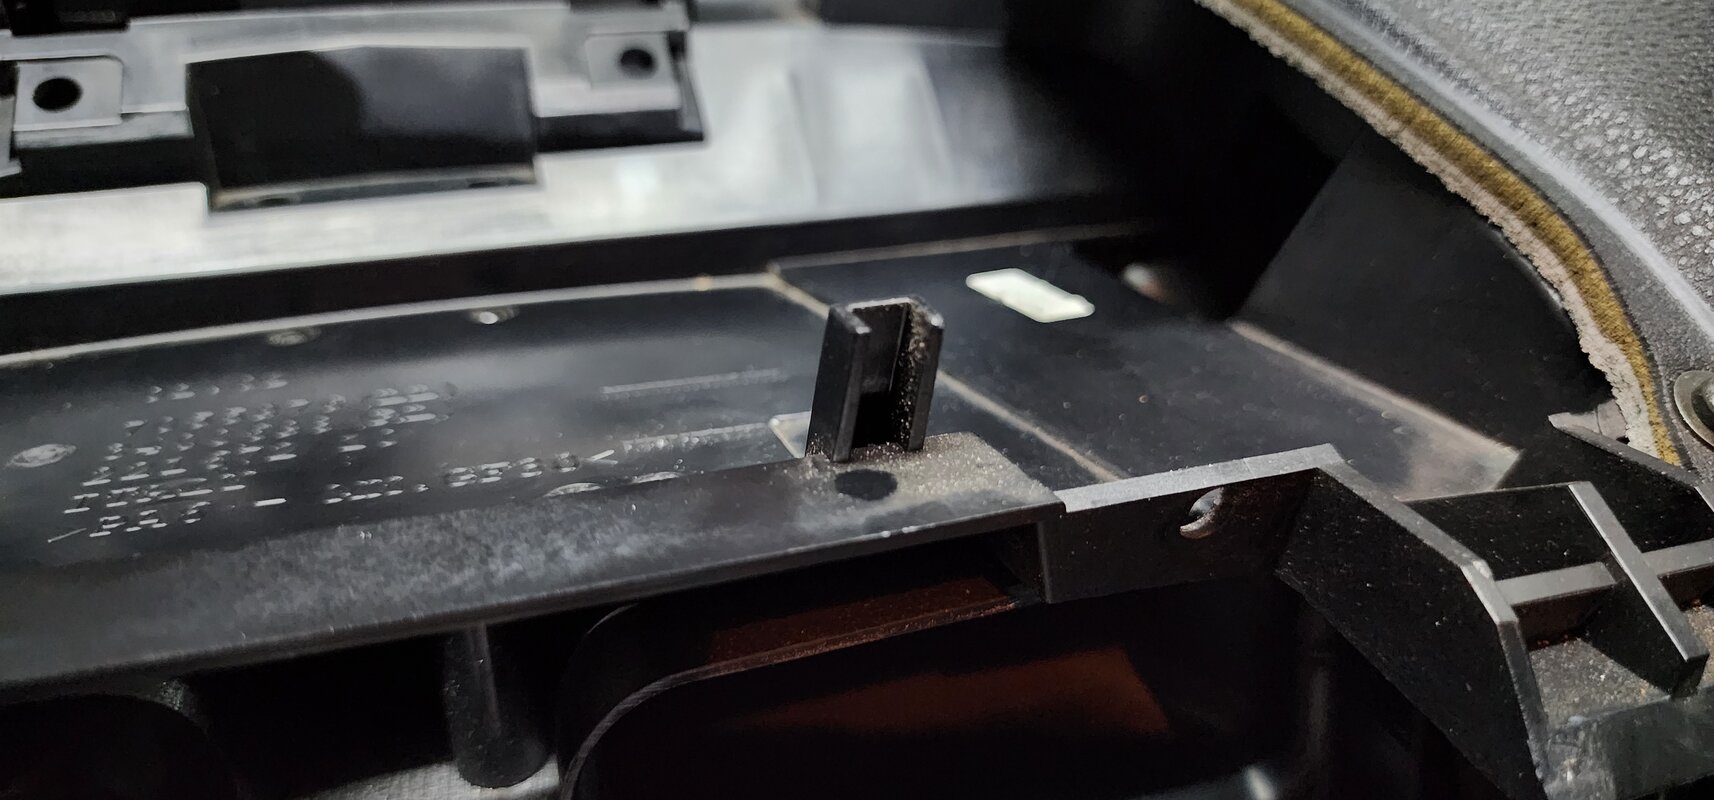
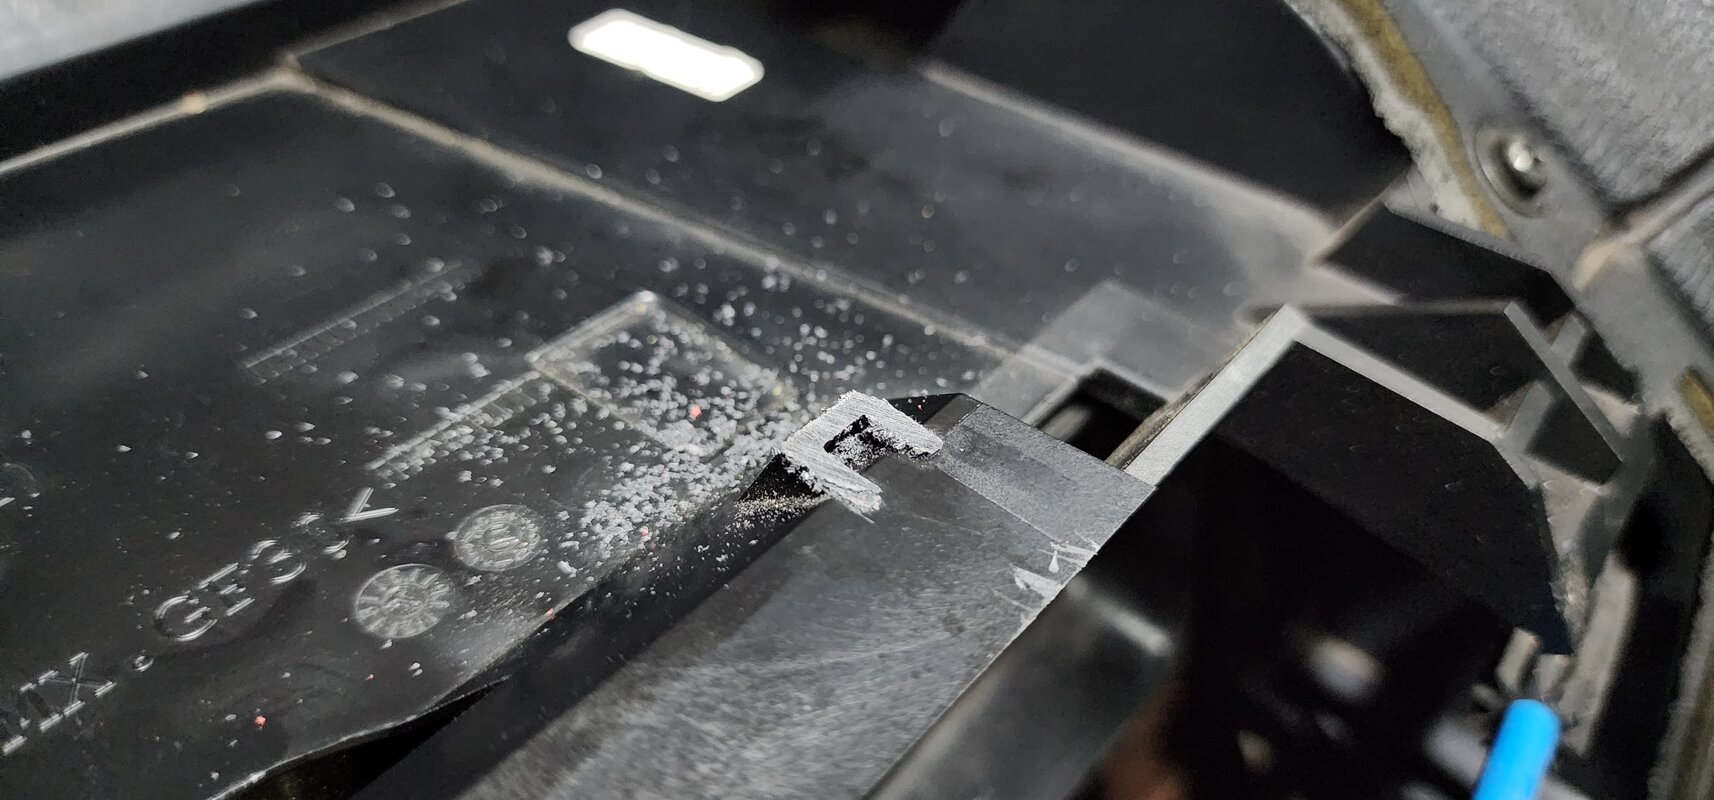
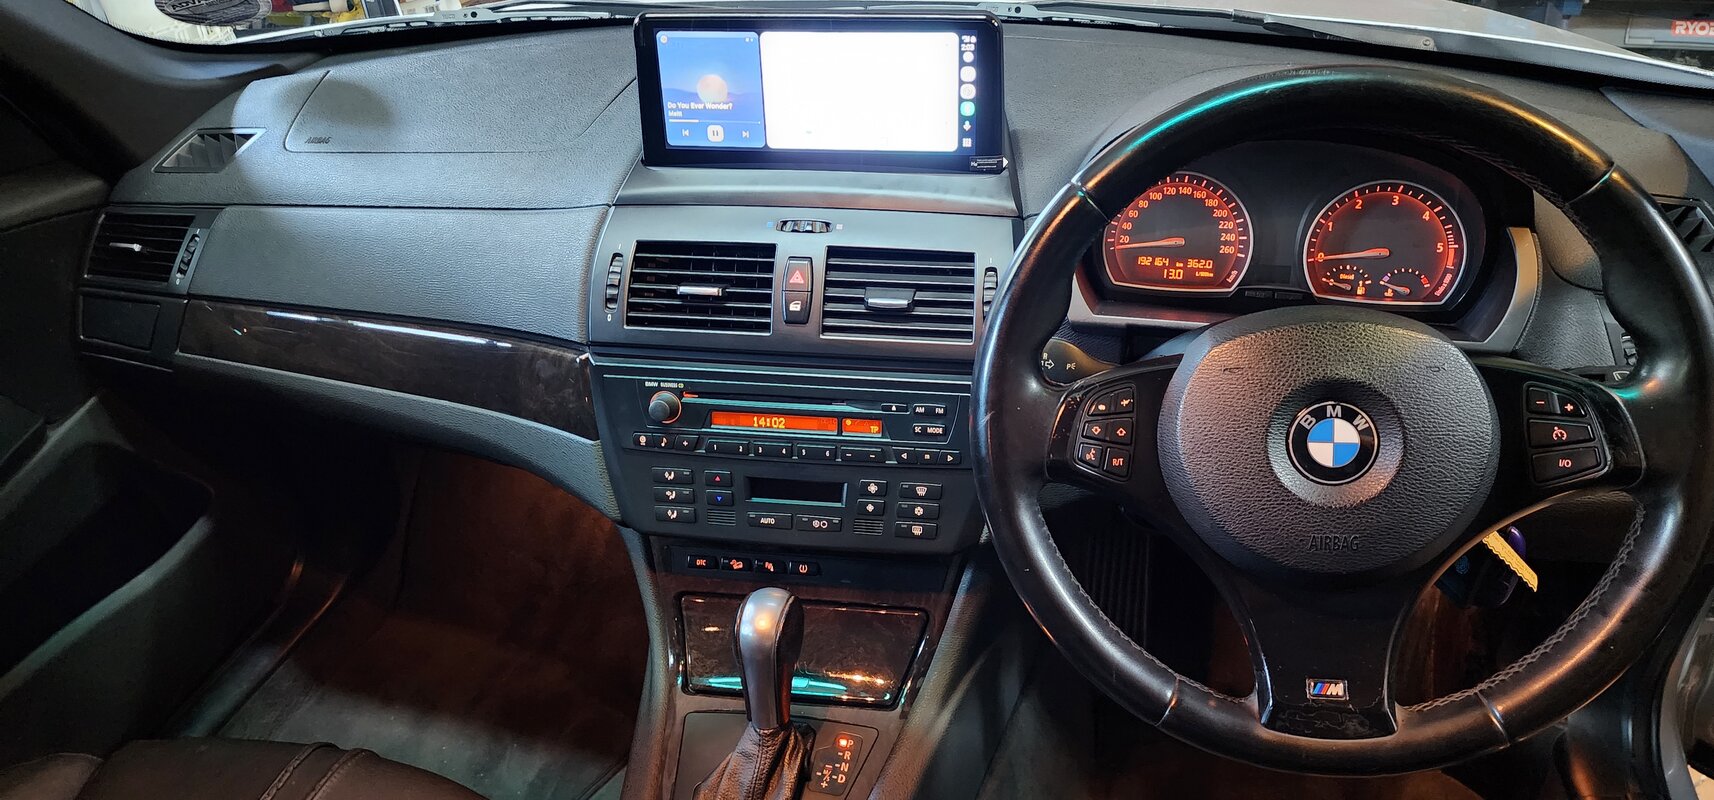
I switched on the car and tested everything again, and all seem to still work as before. I then put back the trimmings and started screwing things down and closing up the dash. I then easily removed the storage bin in the dash and carefully fitted the Android screen into its final spot. I then ran into an obstruction. There was this small silly plastic protrusion that seems to have no function but guiding the plastic storage bin into place. Doing some Google-Foo and watching some YouTube videos, I found that this little stubby should just be cut off and has no practical function otherwise. So I did it with a hacksaw blade. The original bin still fits and works just as before, so I had no worries. You have to transfer metal clips from the storage bin to the Android unit. And the Android unit just slides in and secures with ease with two screws, and looks very good and like it is factory fitted. No further mods was required. The final closed down install look so good. It makes my old car feel fresh an new inside. Amazing what n nice integrated clear wide touch screen does to the interior of the car.

20241025_200359.jpg

20241025_201158.jpg


..... TO BE CONTINUED.....
 

wietschebehr

New member
Reverse camera installation:

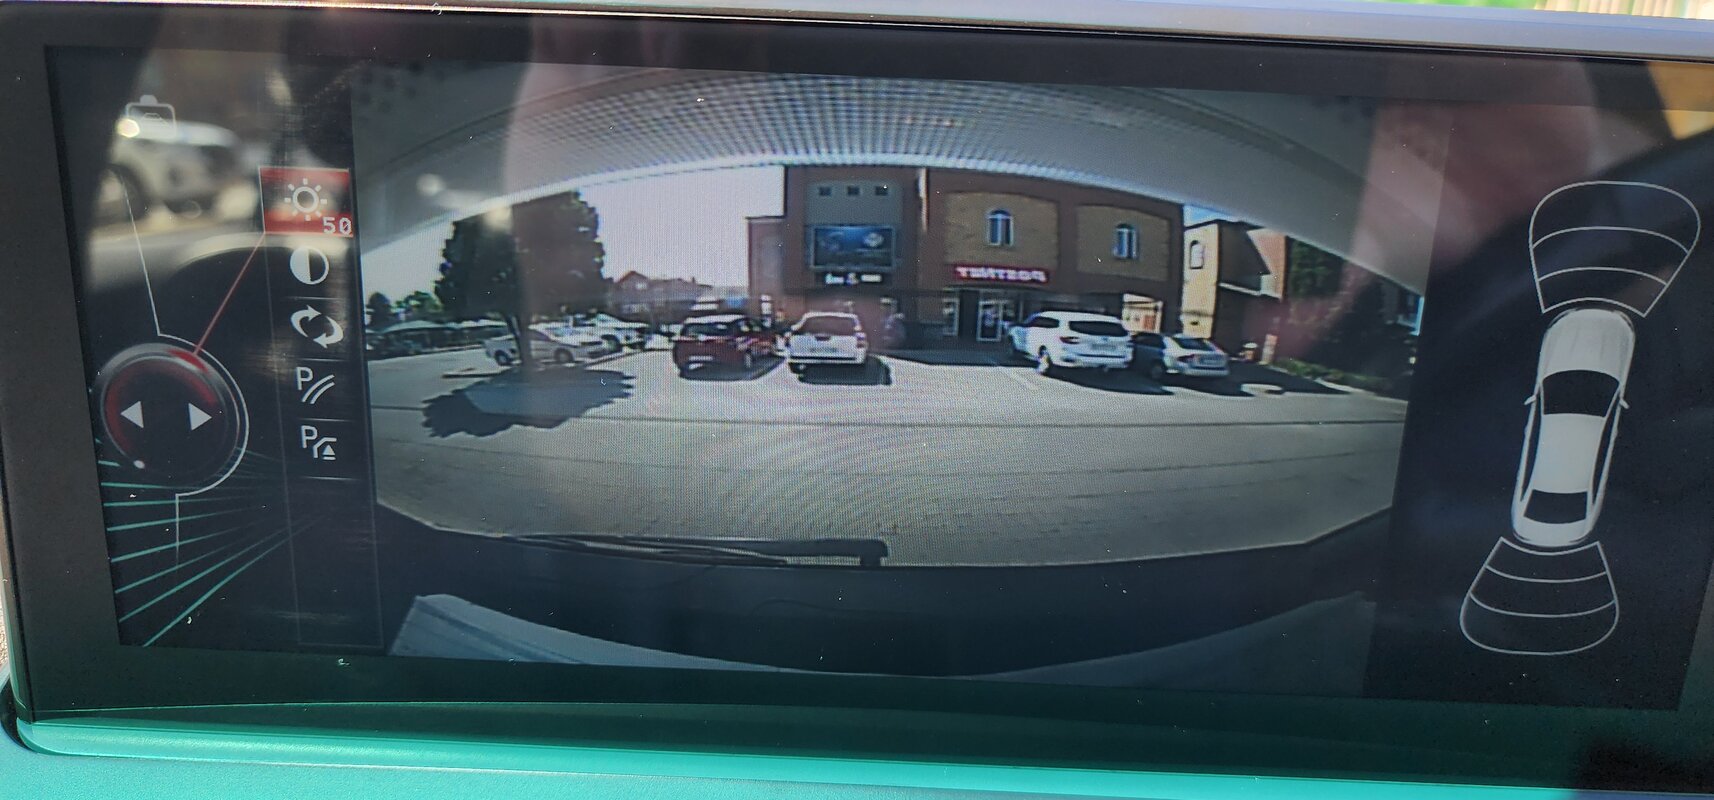
The original reverse camera that came with the kit did not fit my car model at all. Even looking at alternative methods it was clear that there were no plug and play option for me. Eventually with the help op Carplay Solutions I got a generic camera that is a flexible stick and screw on type. Since there was no easy way to mount a camera to the back of my car, without drilling a hole through the boot for the wires, I opted for an alternative installation until I can find a good way to mount the camera in the intended position. I mounted the camera on the inside of my window at the top of the boot lid. The effect is not a reverse camera, but more a rear view camera that gives you a wide view for pedestrians and cars, and a nice birds eye view of a trailer. The image quality is a bit compromised as it now has to "look" through the tinted rear window and because of the angle of the window, you can not see your tow-bar area directly behind you. To be honest, I've been driving for long without any such visual reversing aids, so it does not bother me at all. But it is very nice to just glace at the screen to just make sure there is nothing in your way when reversing. I could also turn off all the useless lines and "aiming stripes" in the Android interface to give me maximum viability and a clear picture. I am happy with this, at least for now.

Routing the wire all the way to the back was time consuming and tedious work. You have to have patience and be careful removing interior trimmings to route the revers camera cable all the way to the back. This was nerve wrecking for me to pull on plastics until it pops off, with the possibility of screwing up and breaking the plastics. Luckily this was not the case and I quickly learnt how to do it and got good at it. I did not break a single clip. The wire followed the factory wiring route. It ran from the radio connection, behind the dash to the passenger side of the car, down behind the carpet to the floor, and then along the floor with the other wires, under the carpet straight to the back seat. Then up the pillar behind the seat and over the rear wheel arch. All the time following the factory wiring. It is at this time I realized the cable will not make it into the boot lid, not even considering the rest of the run to where the camera is mounted. And note the camera route is now shorter than the intended number plate location. Long story short, I used a second video cable from one of the previous cameras that did not fit, and used connectors to join the cables to extend the cable into the boot. The cable runs up the back pillar into the head board, out and through the rubber flexible trunking, into the boot lid, and under the plastic trimming to the upper center location of the window where I stick down the fish eye camera. The down side to this is that I now have a very long cable running between the camera and the screen, and that will pick up electromagnetic noise by design of an analog video signal, and I have to somehow tidy up the excess wire loom in my boot. This is all tied down with Velcro and hidden and easily accessible behind the service cover in the boot. The up side of this is that I can now easily unplug and upgrade my camera later if I wanted or needed to, without lifting my interior again. The end result is also acceptable and though there is definitely more grain in the picture due to the long cable, it is still acceptable and works well, immediate and reliable. Like with the connectors in the front, I also lubed and taped up the connectors securely.

20241118_085936.jpg

Dash Camera install:

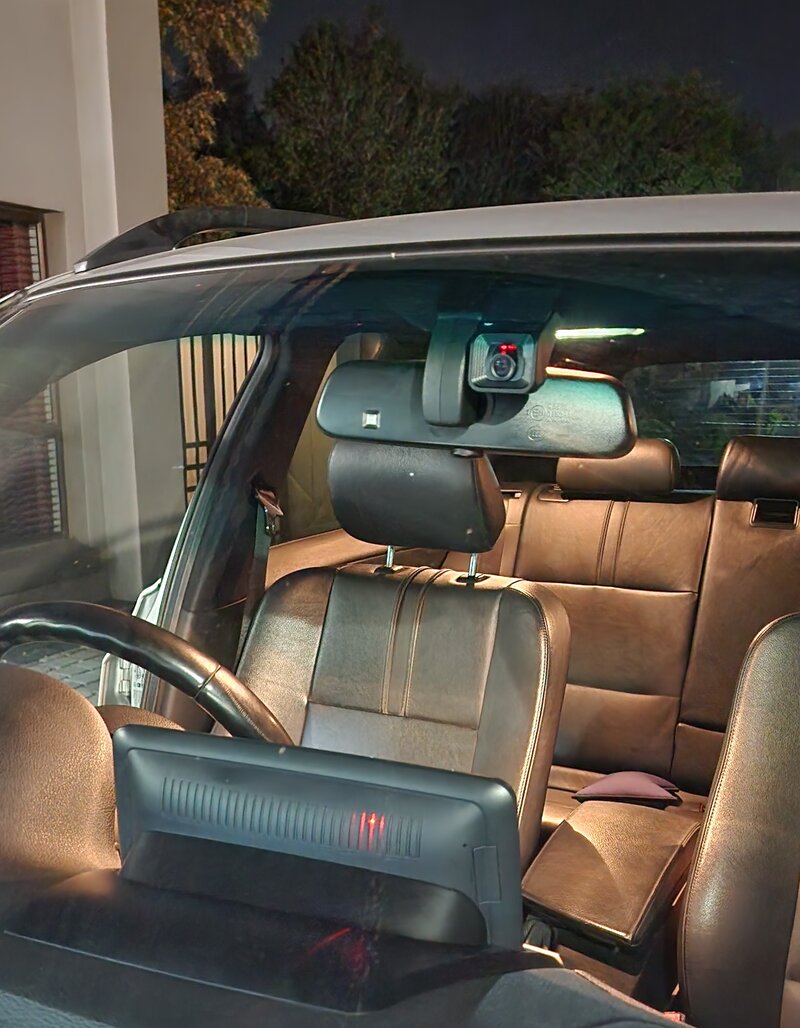
Since there was next to no information about this particular camera online, and I intended to write up about my experience with this DIY install, I asked the gentleman at Carplay Solutions if he would be willing to send me one for free for me to evaluate. He agreed and sent me this unit and made it clear that I should write about it, whether it is good or bad, since he wants to know exactly what my experience is with it as well.

The install was relatively easy. Like all the other bits above, it took time to make sure what and where to remove screws, clips and covers to route the cables. The dash camera plugs into one of the USB ports to get power and data. You can access the camera feed on the android screen and also configure the settings and storage for the recordings. The USB connection was made and I also taped this down securely. Both USB ports from the Android unit are in my cubbyhole and the dashcam wire plugs into the one, and just runs back into the dash, to the passenger side of the car, up the A-pillar, and along the head board/liner to the mirror. Here the cable exits to the dashcam and the dashcam is stick onto the windshield with 3M tape, next to the mirror. It has a removable base, to enable you to un-clip the dashcam and access the Micro SD Card and recorded footage.

The software on the Android unit for the dash cam was old and had a few serious glitches. There is newer software located on the dashcam storage. You have to navigate to the storage and find it, and install it manually, and then it will also update over the internet from there on. For some reason I struggled to get this done. There were permission issues and I could not get it to install. After some time, I tried it again and this time it worked! I have no idea what I did differently. Maybe just a couple of restarts? But after the installation and online upgrade (connect the Android unit to WiFi of your house or phone hot-spot), all glitches were now fixed and working much better.

This camera has already proved to be VERY USEFUL! I recently went to Cape Town for business and my car was in the hands of Airport Parking Services. The car was returned to me with a huge crack on my windshield and very dirty. I pulled the SD Card and reviewed the footage. the image was surprisingly clear for the price of the camera. The audio quality was not great, but you can make out what is being said and other noises. I could follow my car's movements and uncovered some strange driver behavior. The footage was shared with the owners of the company and it seems like they are taking it very seriously. Understandably. I have not yet followed up on this, but the owner did offer to pay the excess on my windshield claim.

So indeed, this cheap camera was already well worth it, and I would easily purchase the add-on for my Android screen at the current price, and I can highly recommend it. You have to spend much more money to get better quality on dashcams.

20241102_213938.jpg

Conclusion:

I think I got good value for money with the DIY install, and I am very happy with the result so far. It is a major upgrade to a 2007 BMW X3 and I can easily see how this is also an upgrade for newer BMWs, even with factory screens fitted. The functionality upgrade is big, and still gives you access to factory screens and settings and the installation is completely reversible if you change your mind down the line.

You save a lot of money by doing it yourself, and you can only blame yourself if you stuff up, if you know what I mean... :) . And I know for certain nothing was damaged and swept under the rug by doing this myself. If you don't get any satisfaction by doing things yourself and learning more about your car and how things work, and be able to blame issues on someone else and have them fix it, pay for an installation. It took me a couple of weekends and probably a month from start to finish. It is not a quick process with instant gratification. If I do it again it will go much quicker, since I now know where things are and how the come apart. So after all this, I'll do it again.

I can also say Carplay Solutions has been very helpful and guided me where they could. I never got the feeling that they did not care after the sale was made. In fact I am quite sure I would have been able to return the unit and be refunded if I was not happy with it. I had no issues getting a replacement reverse camera and sending the original one back.

After living with the Android screen for a month, and figuring out it's quirks and workarounds, I am happy with the end result.

Cheers,
Wietsche

20241026_140306.jpg
 
Top