technical BMW E46 330i Engine Rebuild OEM+

TheFlash

Member
This is going to be a journey.

Was originally intending to do some basic maintenance on my 2002 E46 330i.
The original list
- Sump gasket, small oil leak (needed to drop subframe)
- Add headers, remove cats
- Water pipes: plastic parts are aging
- Engine and gearbox mounts
- Driveshaft flex disc
- Diff oil
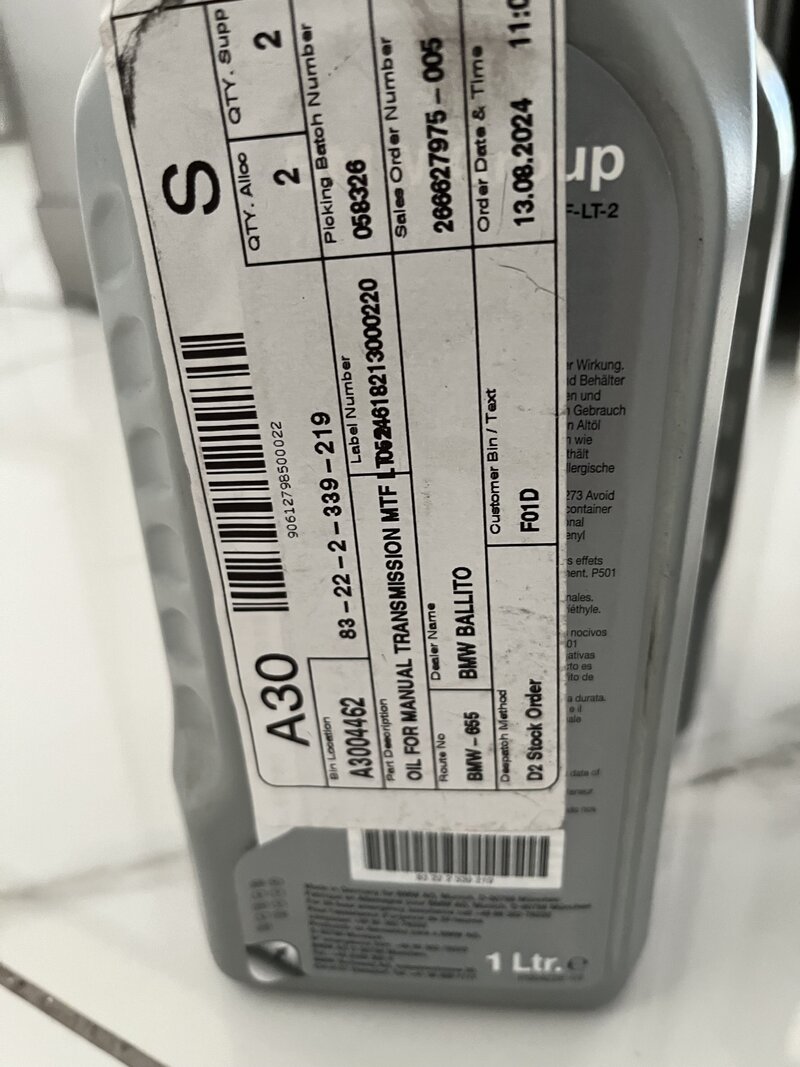
- Gearbox oil

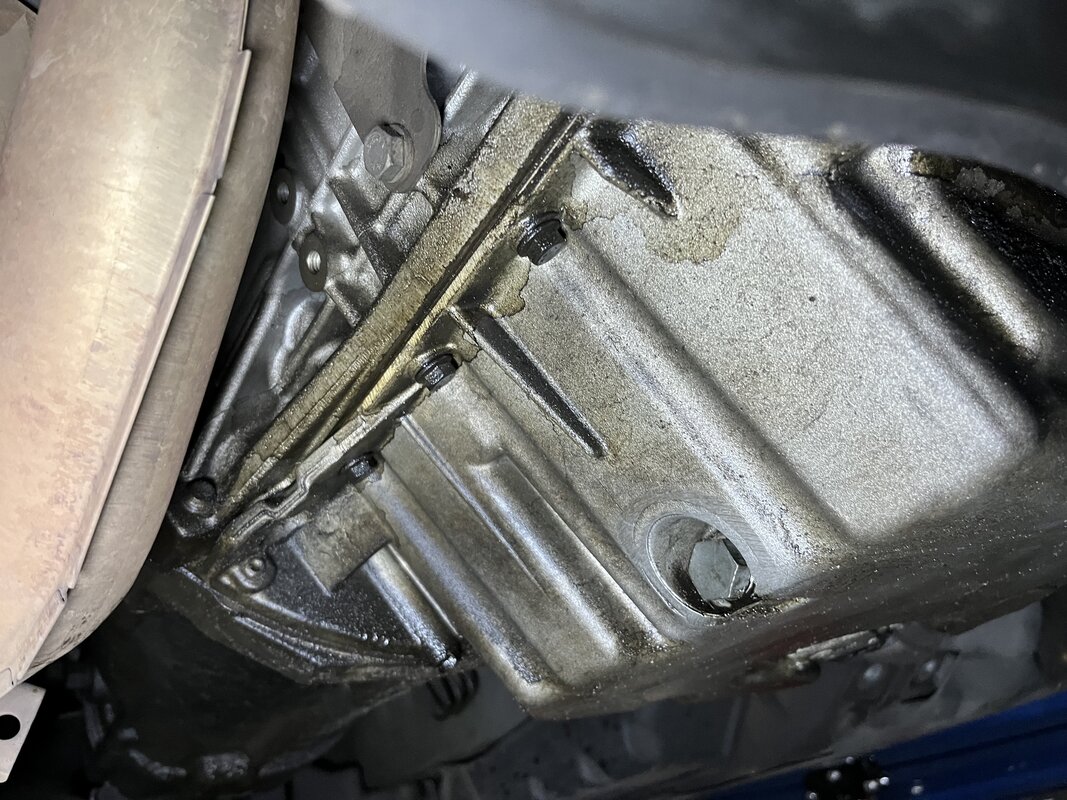
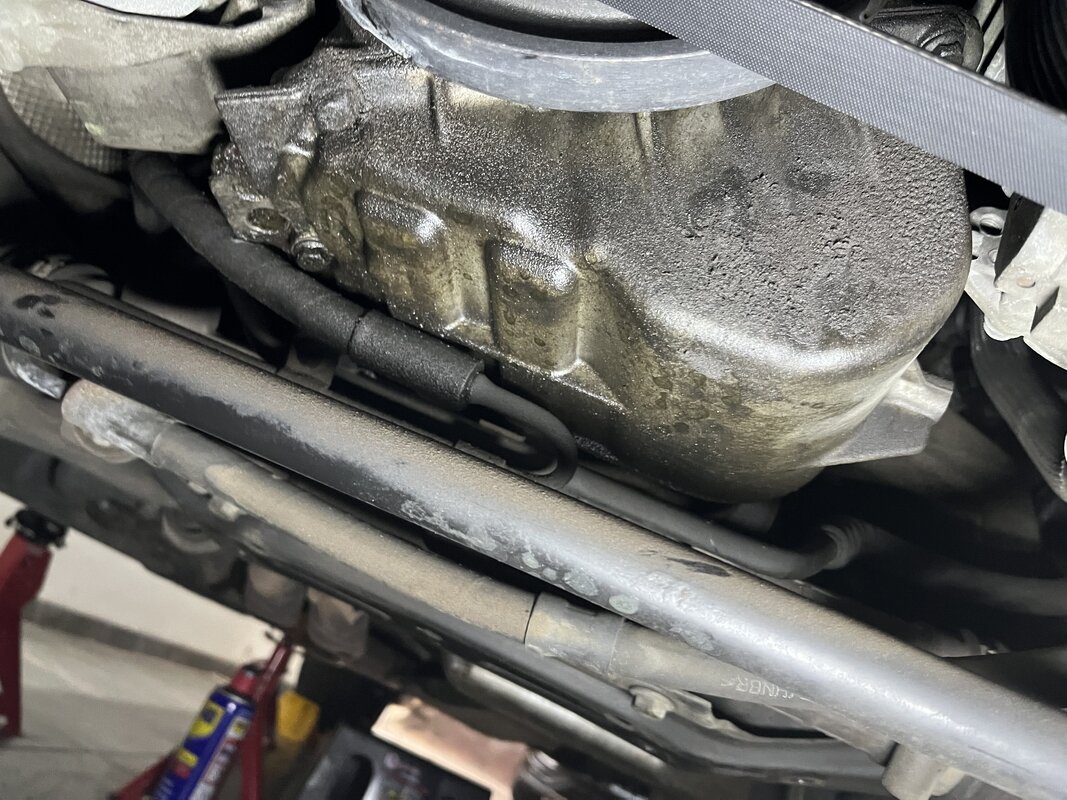
Attached are some basic pictures of what I started with. It should be noted that the car has been well maintained over the years. This leak started as a tiny drip and was only present for a few months before I started addressing.

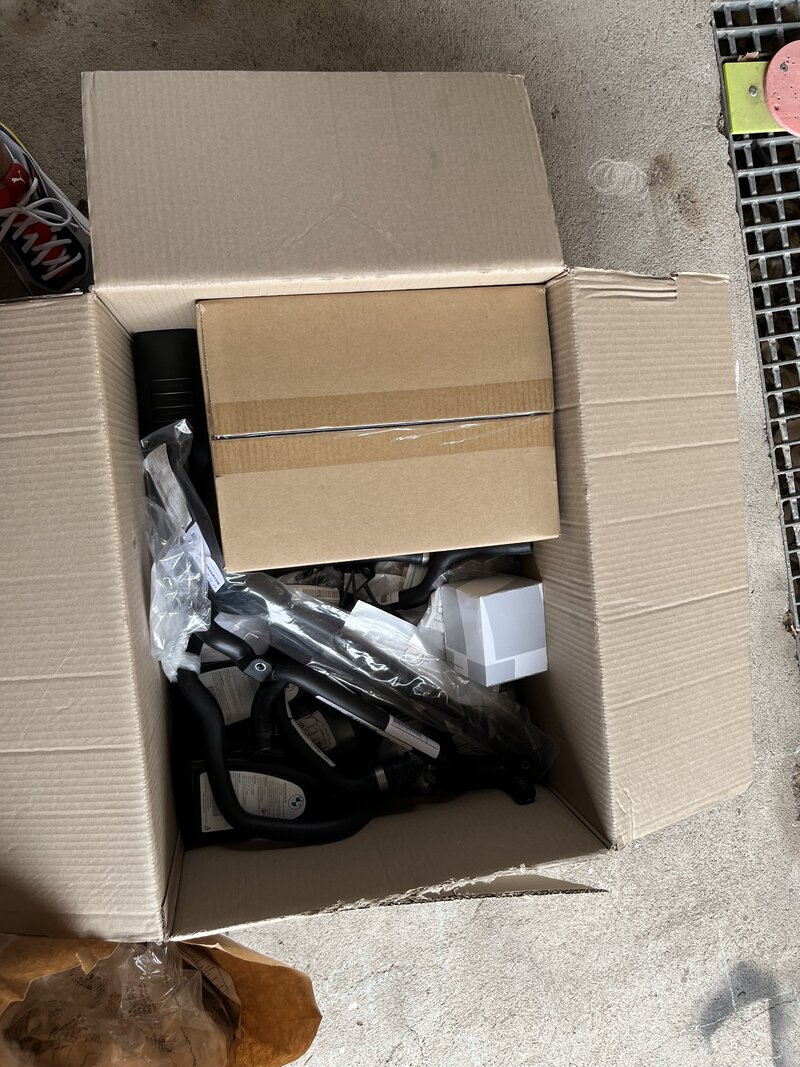
Anyway, below are the basic bits ordered; little did I think at the time this was going to spiral into a full build.

The headers were ordered from UK, very hard to get well-fitting ones for RHD
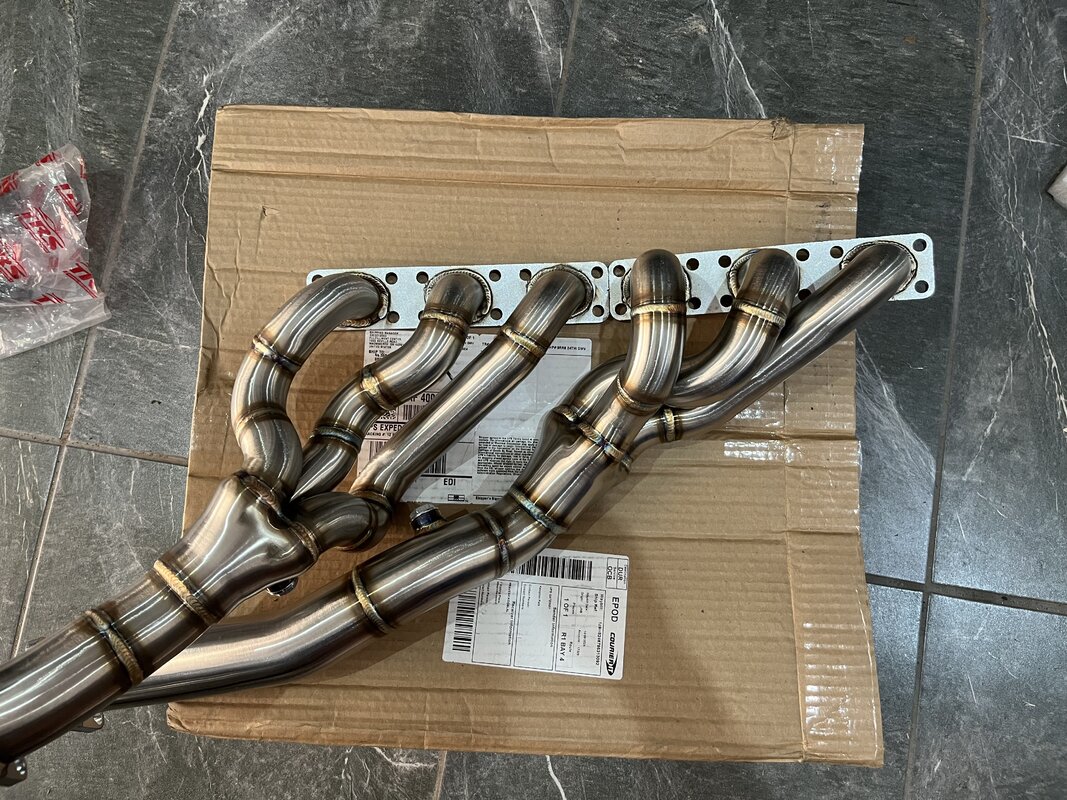
IMG_8593.jpeg

The original plan was to use E46 M3 headers cut off the ends, and TIG-weld stainless flanges. This is still doable but without a proper jig and flanges to align, it would be time-consuming and require a lot of trial and error.
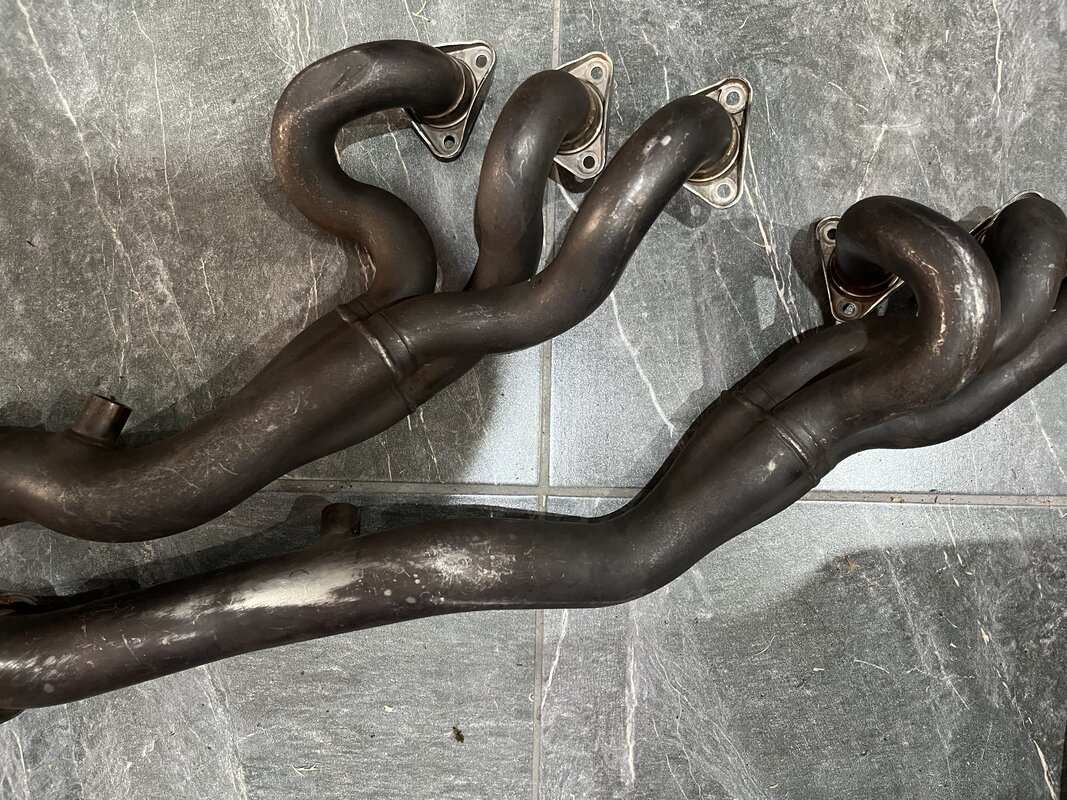
IMG_8477.jpeg

Some new lambda sensors with longer wires to match new locations lower down


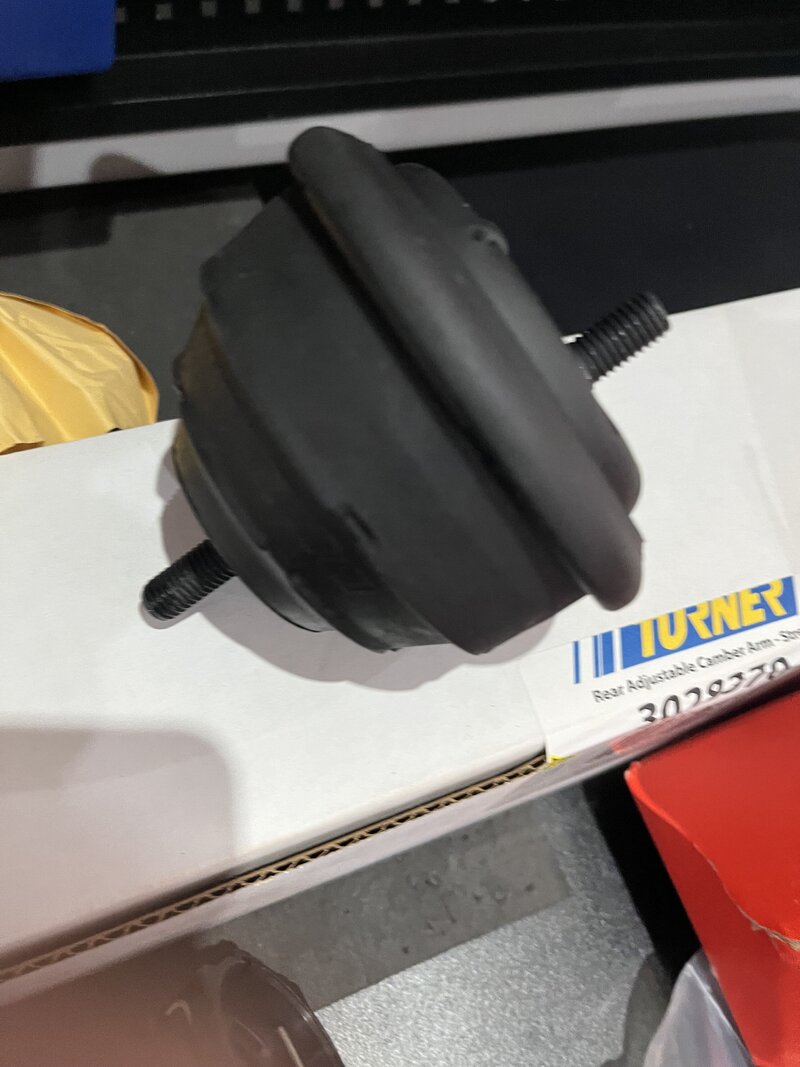
Turner Motorsport solid rubber engine mounts: I originally thought the flex disc was worn due to a loose feeling when taking of hard; it turned out to be a broken engine mount, which I only discovered later. Worth noting the diff mounts were changed a while ago with OE ones.
IMG_8568.jpeg

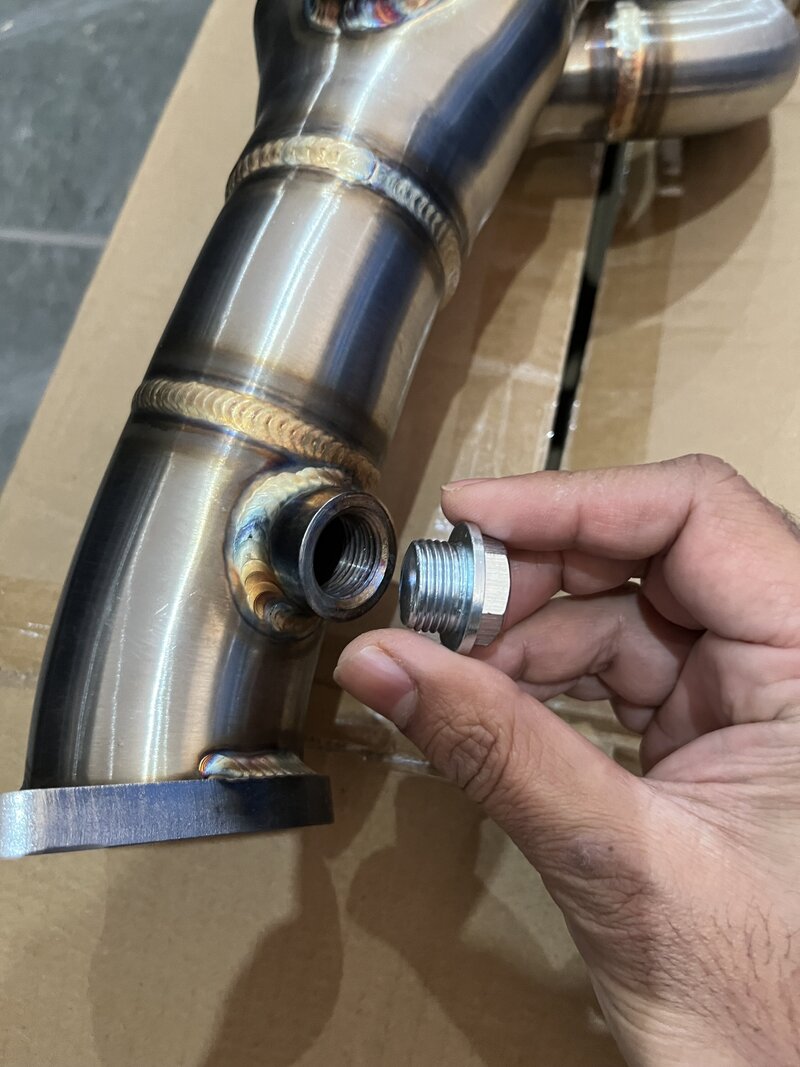
Blank off the unused lambda sensor bung, as this car only had the primary; it would have coded out the secondary anyway.
IMG_8604.jpeg

The leak that started this
IMG_8677.jpeg

IMG_8673.jpeg

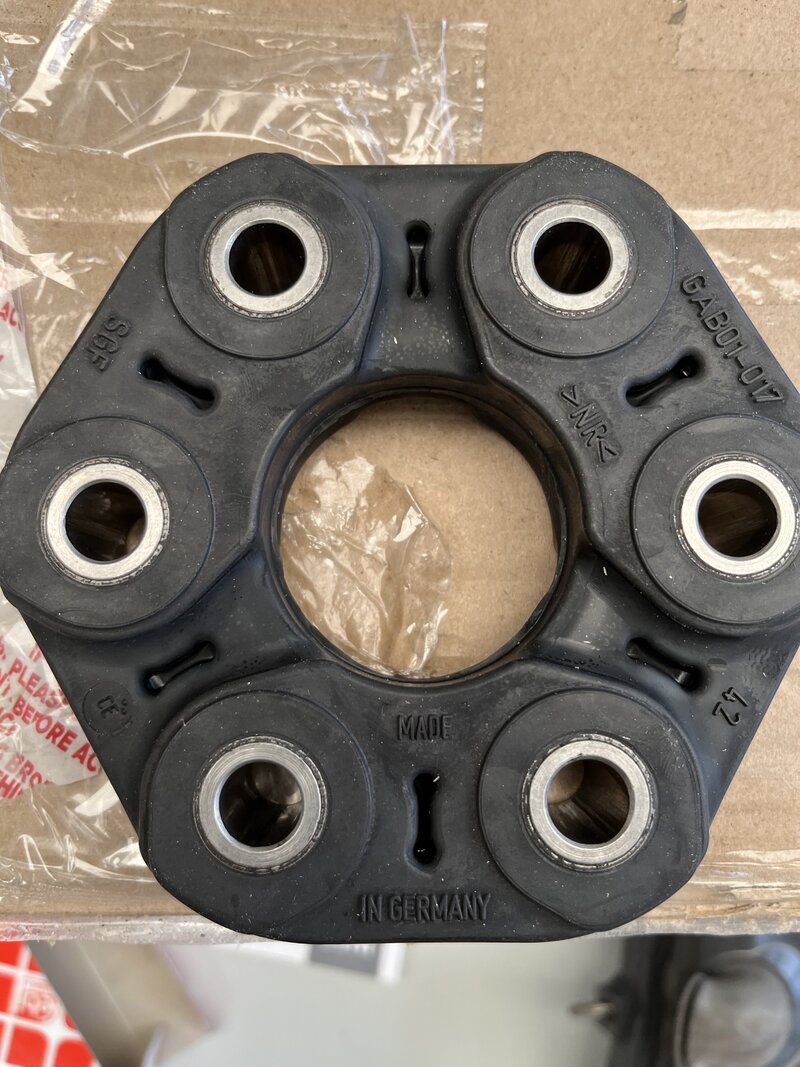
Worth noting SGF makes the original flex joint so this is same as OE
IMG_8686.jpeg

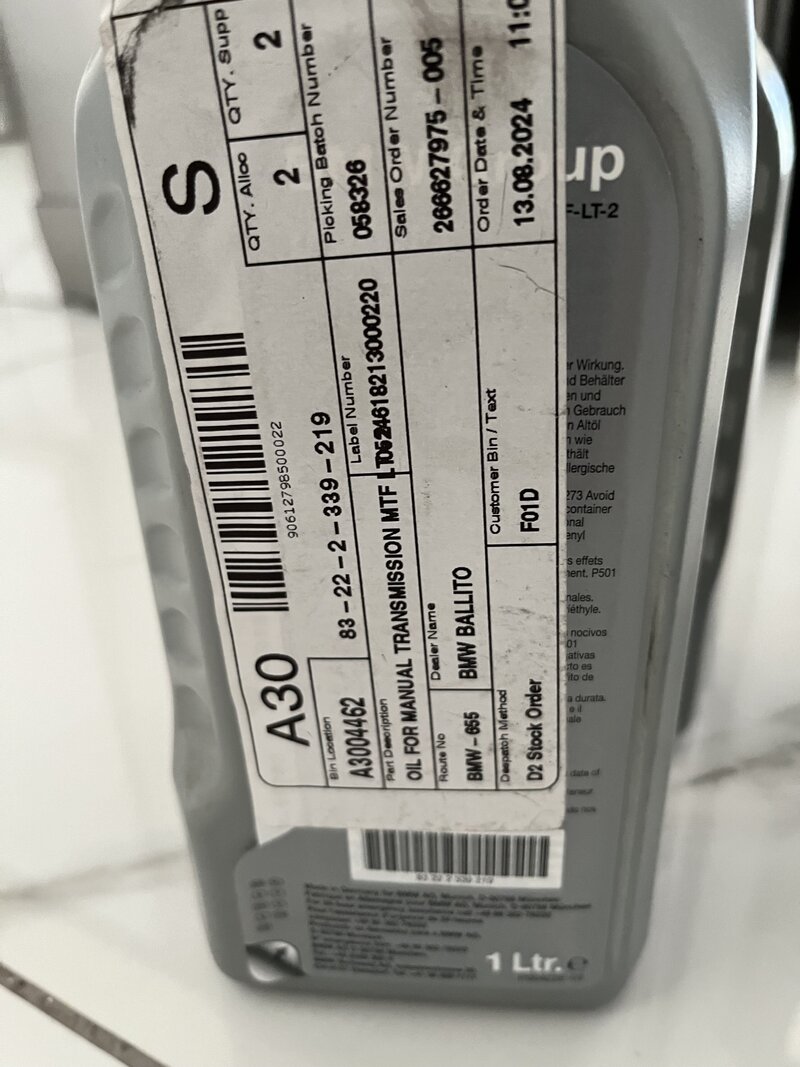
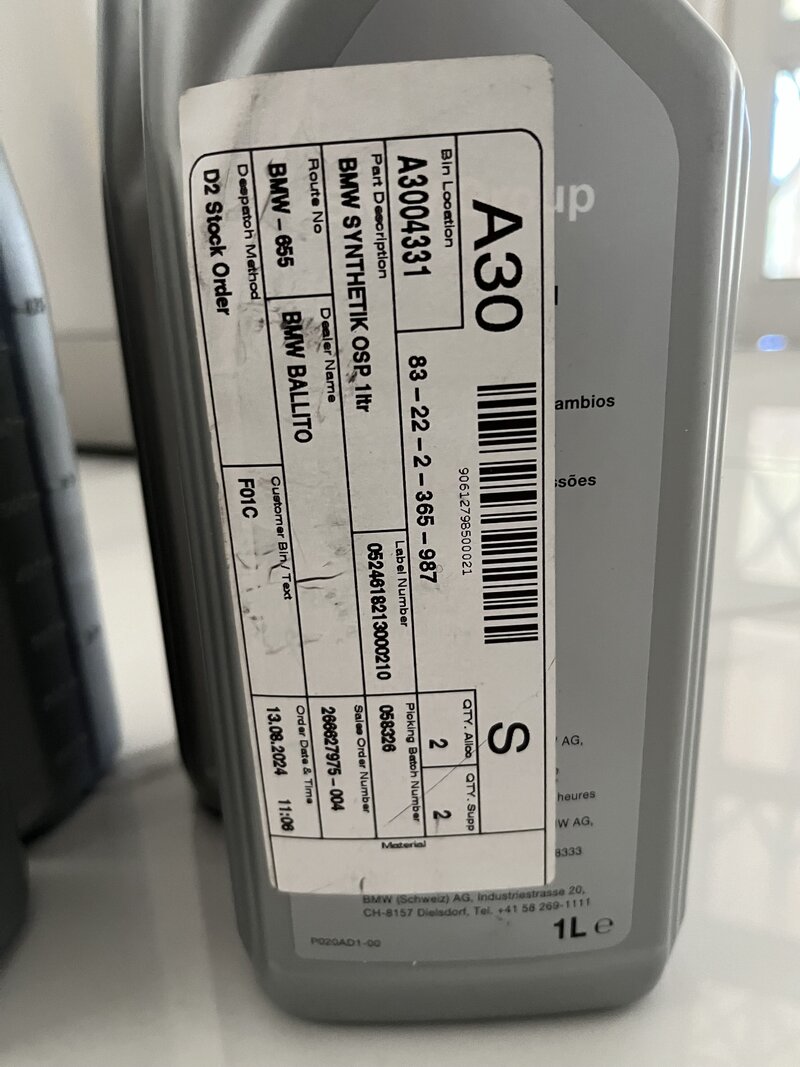
I used OE Diff and Transmission oilsIMG_8692.jpeg
IMG_8691.jpeg


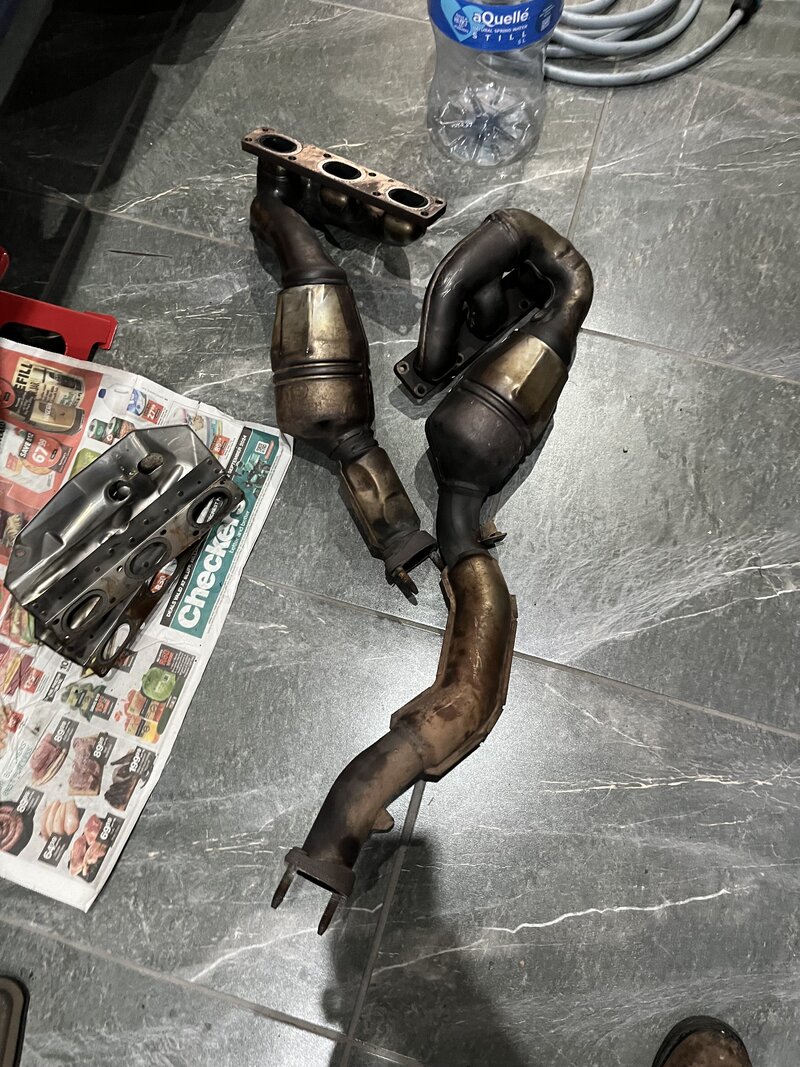
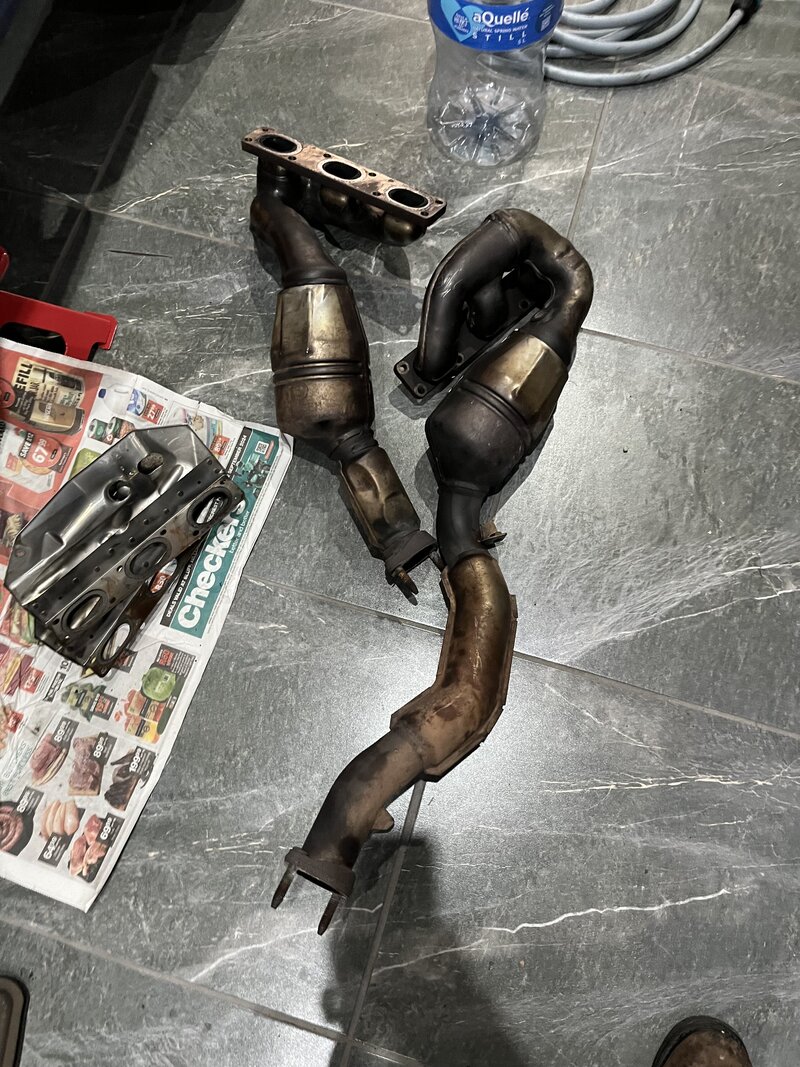
Let's just start the journey; I removed the headers, not the easiest thing to remove.
Need to remove bolts with various socket sets and extensions 1/4" and 3/8"
IMG_8710.jpeg

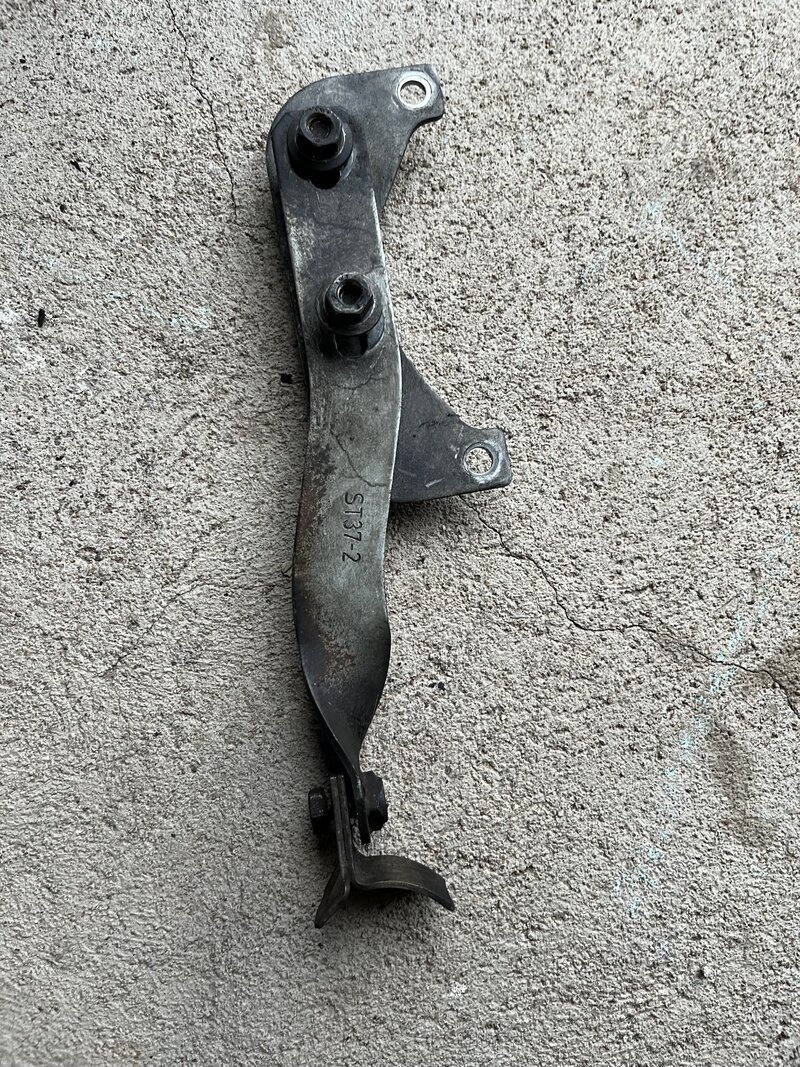
Noticed this bracket, which supports the exhaust, was broken; will get to rewelding it later
IMG_8703.jpeg

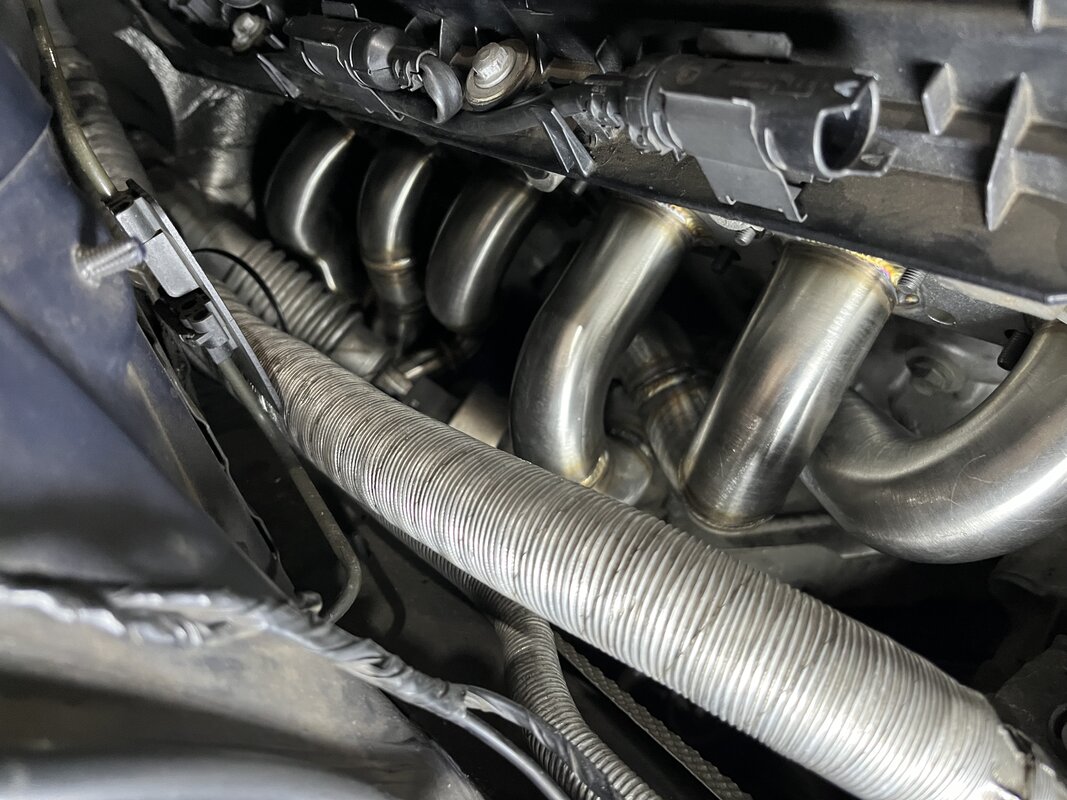
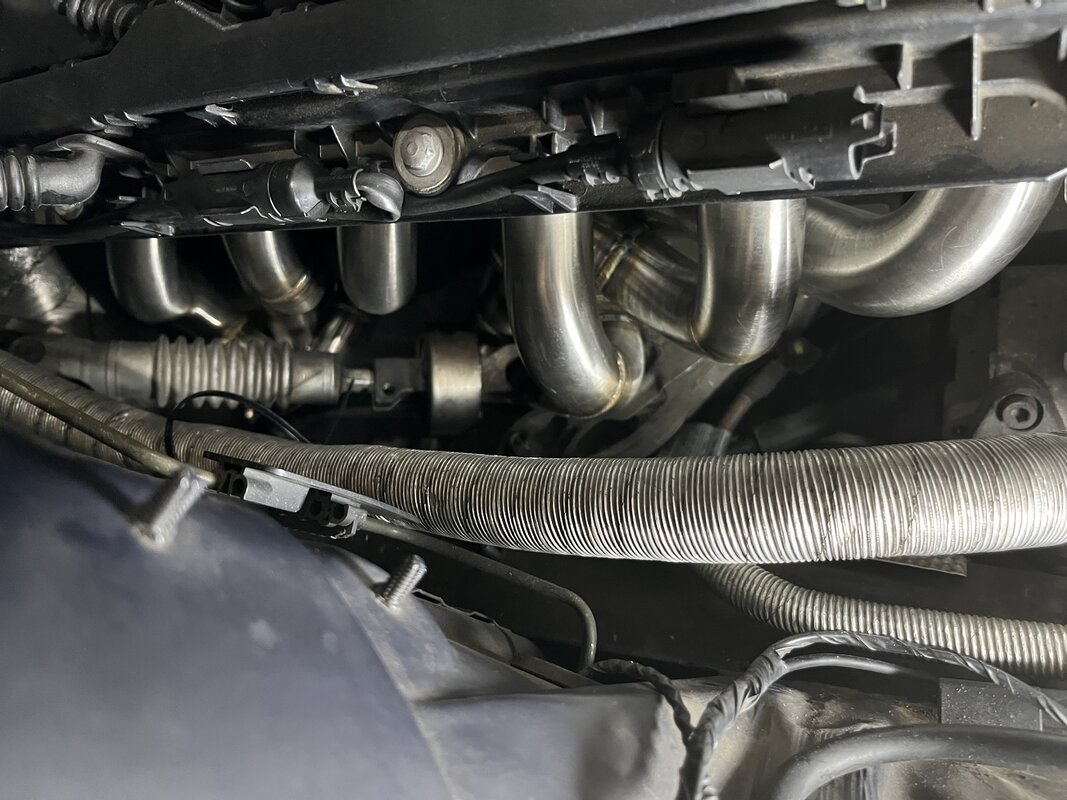
Test-fitting the headers; fitment was perfect. The O2 sensors had no issues contacting the engine or body, with plenty of clearance; the steering universal joint also cleared this well.
IMG_8755.jpeg


IMG_8756.jpeg

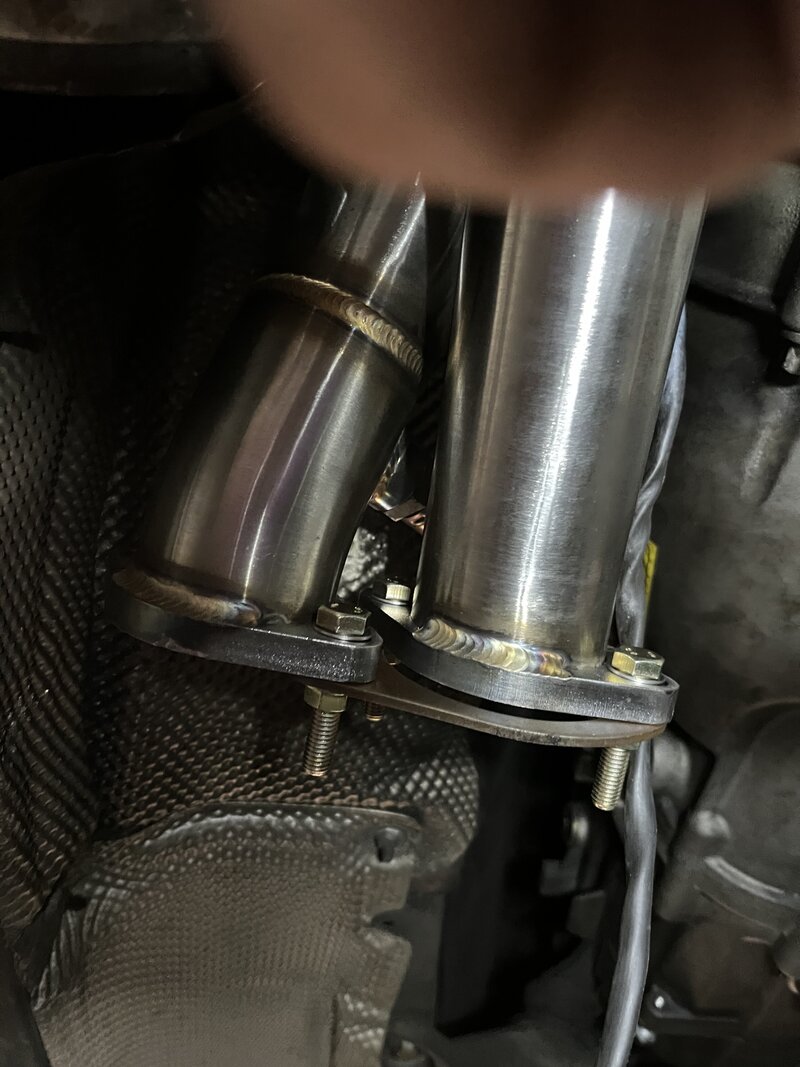
The exhaust flange end of the headers
IMG_8757.jpeg

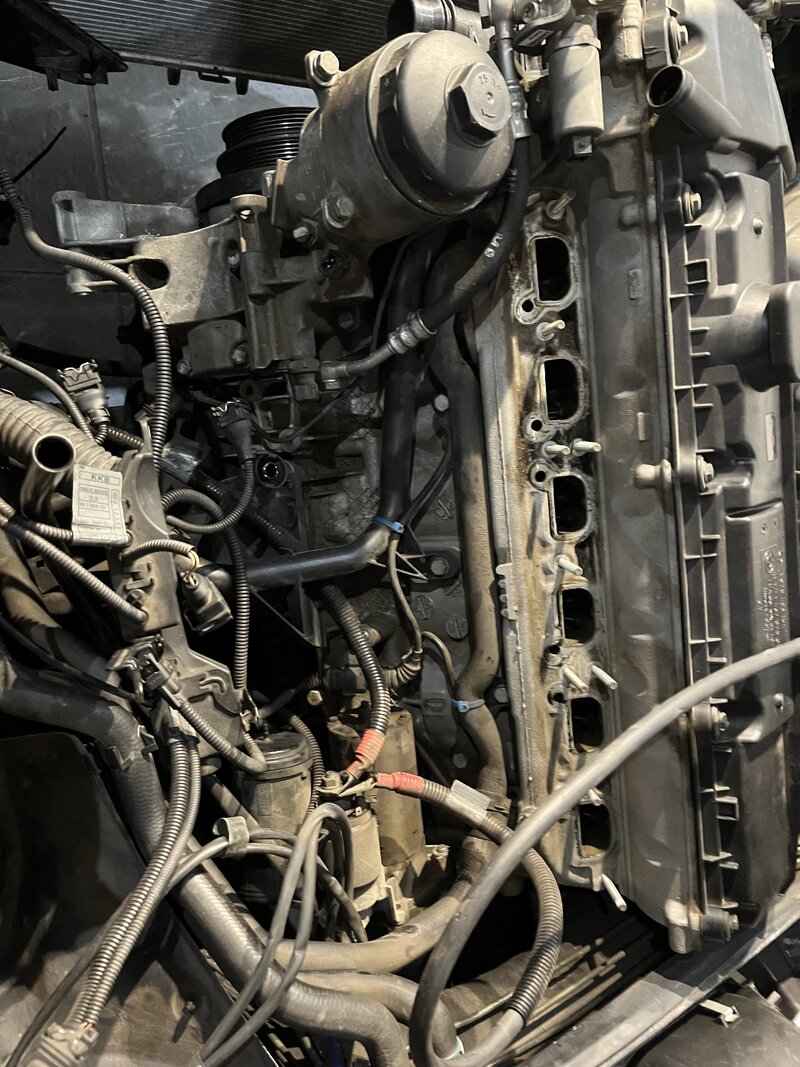
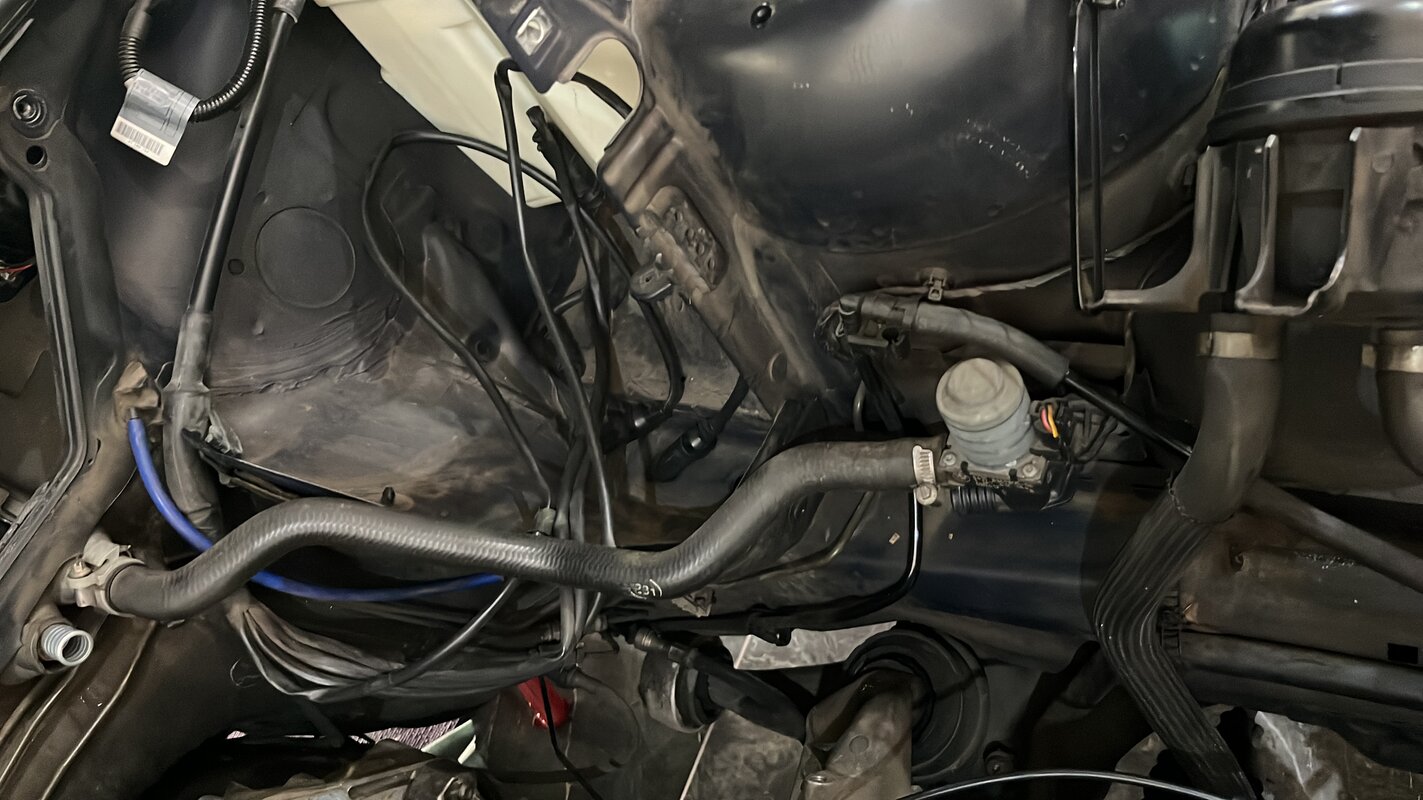
Intake removed to get to all the water pipes I wanted to replace.
3D73151C-78A9-4A18-A97B-263733942C82.jpg

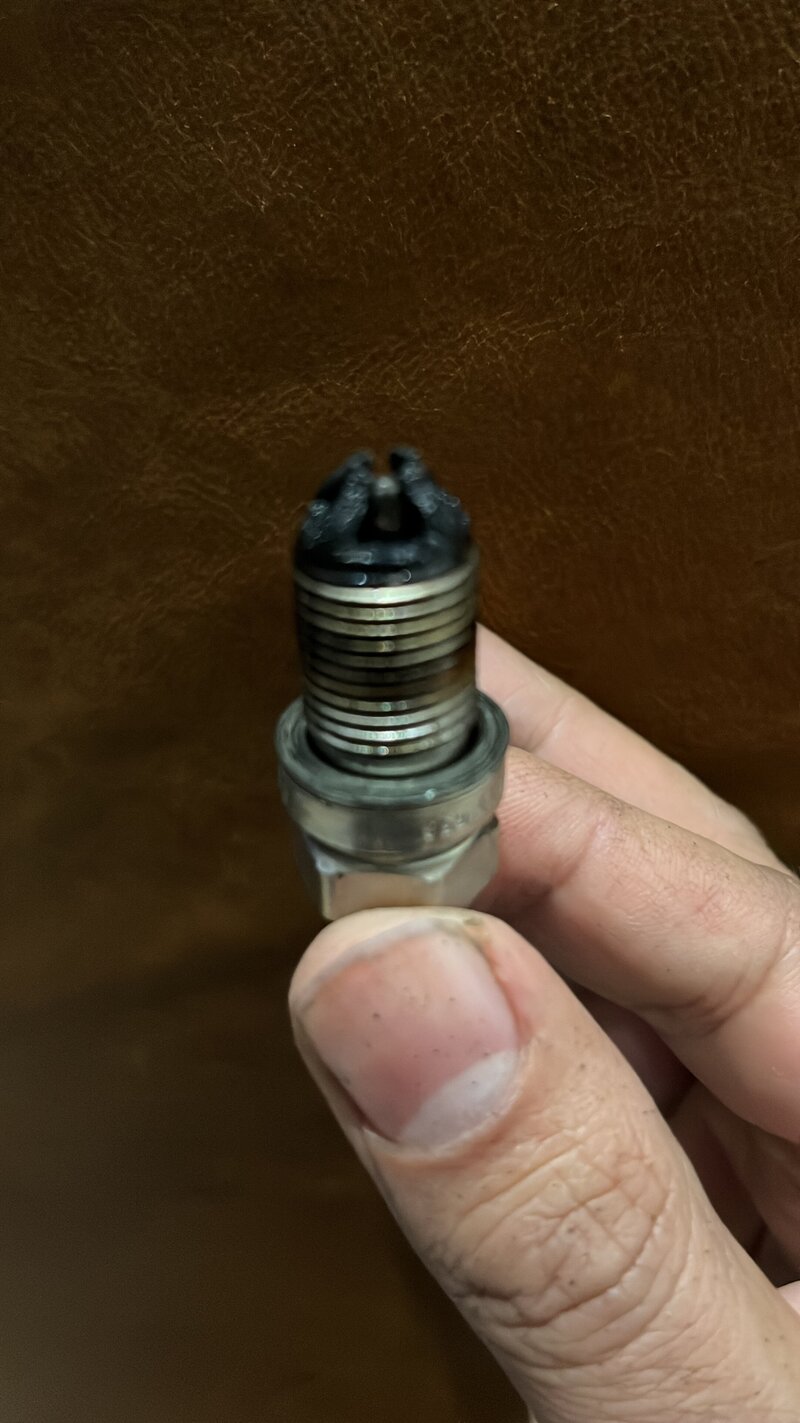
The turning point: ever since this car was new, it has consumed a fair amount of oil. Over the years, it slowly started to increase the amount it took.

The car at this point had 240 000Kms on the clock and was consuming about 1L per 2500Kms, I knew this was most likely due to the two-piece oil ring design that BMW used and workarounds such as the pilot mod. I was going to change the spark plugs and was looking at the buildup around them, and the fact that I had removed everything around the engine to do the above-mentioned items, I said to myself, the engine could come out quite easily now :), and thus I went down the rabbit hole.
0BBC3C21-BBEC-4FB2-BDAE-84895CBDD8AE.jpg
 

Attachments

  • IMG_8692.jpeg
    IMG_8692.jpeg
    1.6 MB · Views: 11
  • 798C8754-098F-4C20-9F61-63010478207B.jpg
    798C8754-098F-4C20-9F61-63010478207B.jpg
    967.2 KB · Views: 11
  • IMG_8710.jpeg
    IMG_8710.jpeg
    2.3 MB · Views: 10
Last edited:
TheFlash

Member
Chapter One - Tools to remove the engine

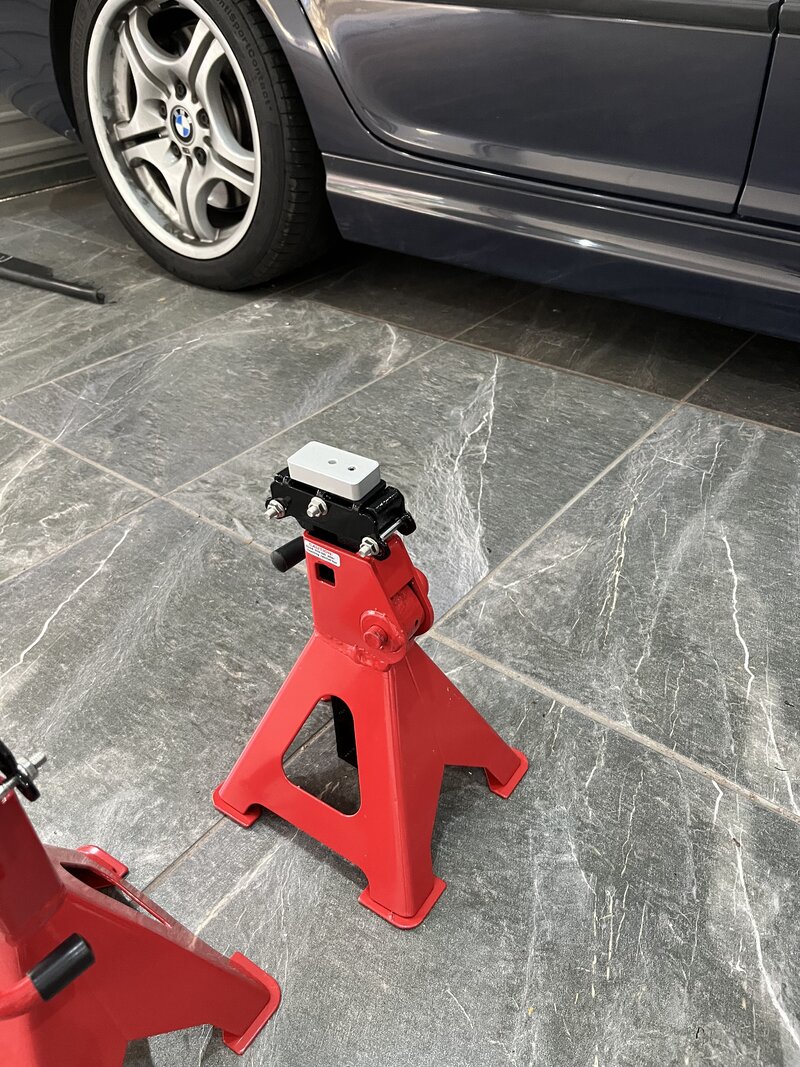
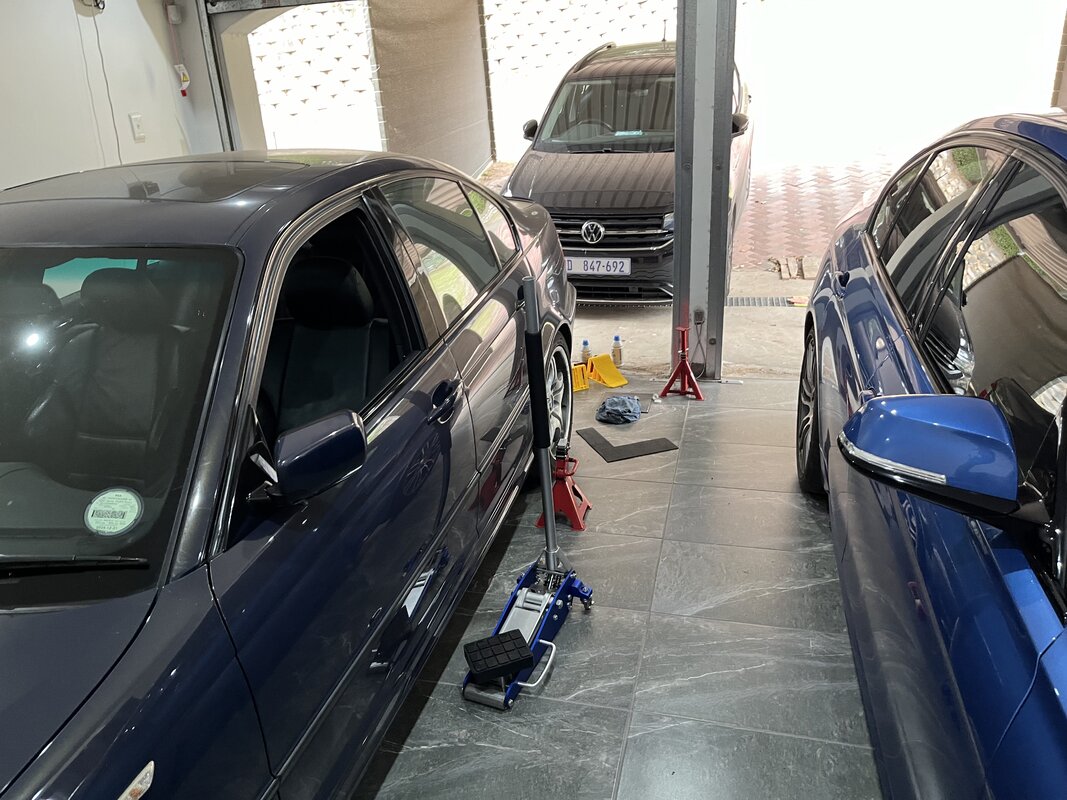
Bolt-on supports for the jack stands; these help secure into the factory jack spots and safely support the car

IMG_8522.jpeg

The jacks I use: this low-profile jack helps get the front end up. The car is on H&R sports with Koni STR shocks, so normal trolley jacks don't work. I also have a higher-lift low-profile jack to lift the rear, as the racing jack runs out of lift.
IMG_8672.jpeg


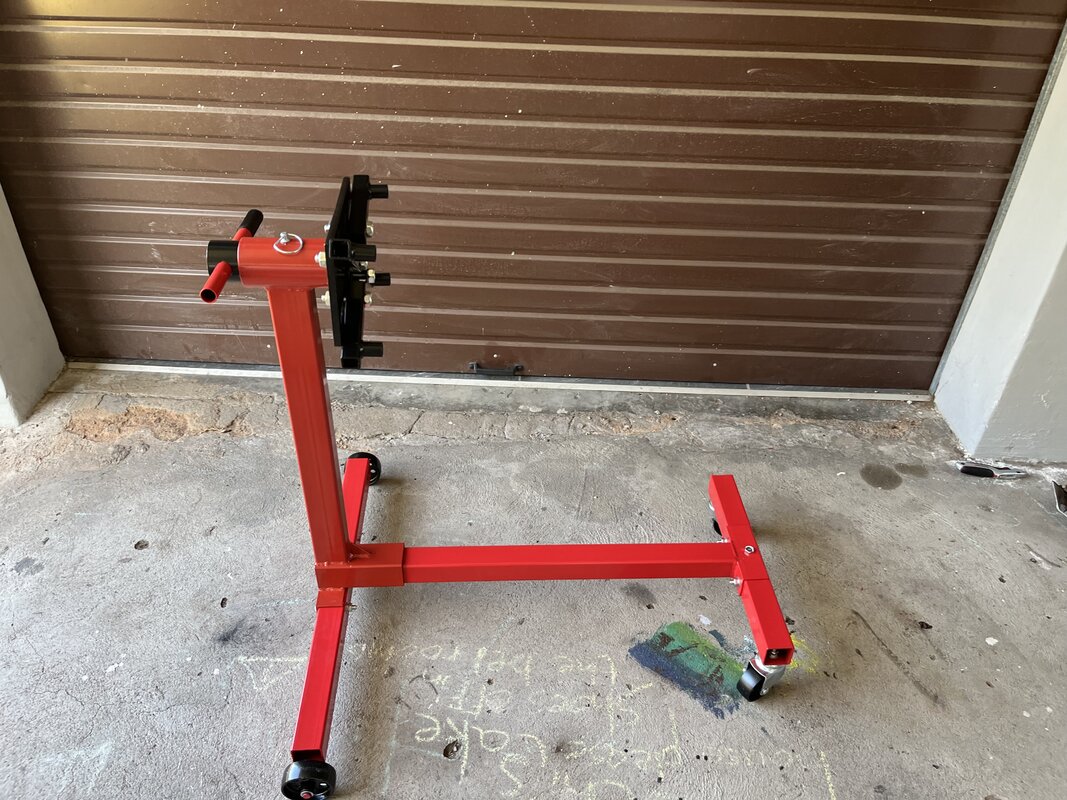
A cheap engine stand did the job and made things easier

IMG_8868.jpeg

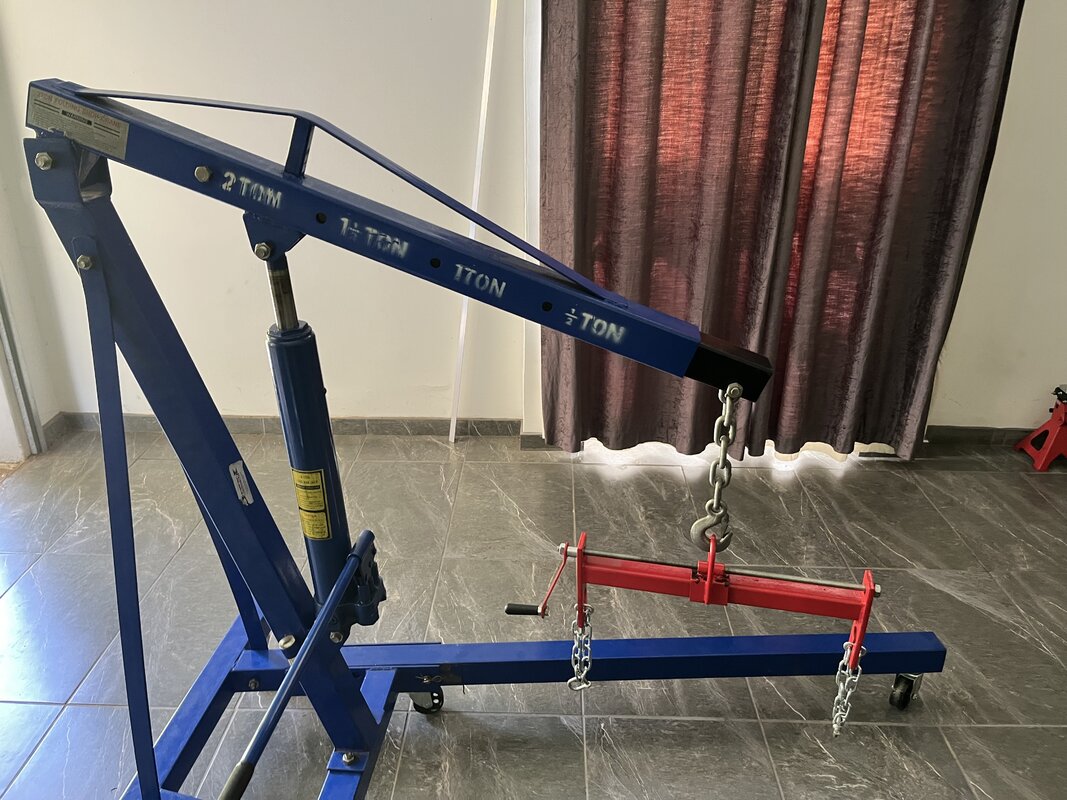
This engine stand with the balance bar made it possible to put engine and gearbox back in case as one assembly

IMG_9154.jpeg

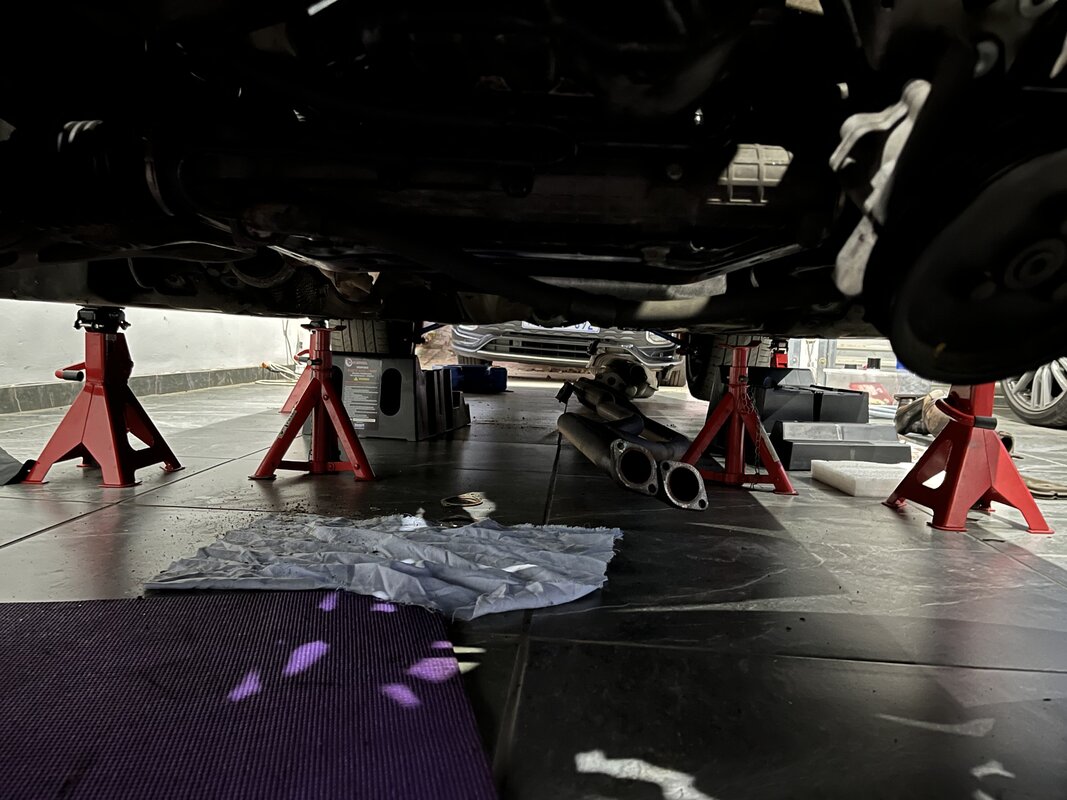
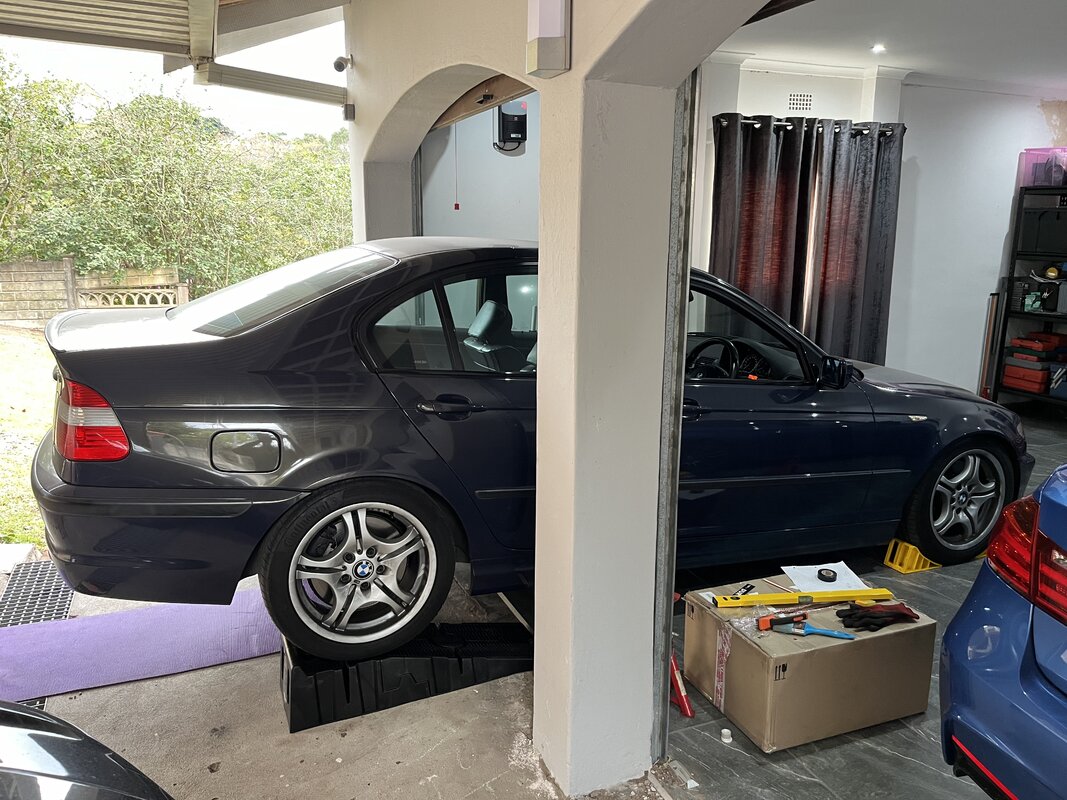
The car support on stands
IMG_8708.jpeg
 

TheFlash

Member
Chapter Two: The Side Quest

What really took care of the road for a week or so was a failed water pipe. I had changed the main radiator hoses to Stett Performance hoses, what I didn't expect to fail was the plastic flange that connects the hose to the thermostat. This happened one night, and I had my car flat-bedded home.

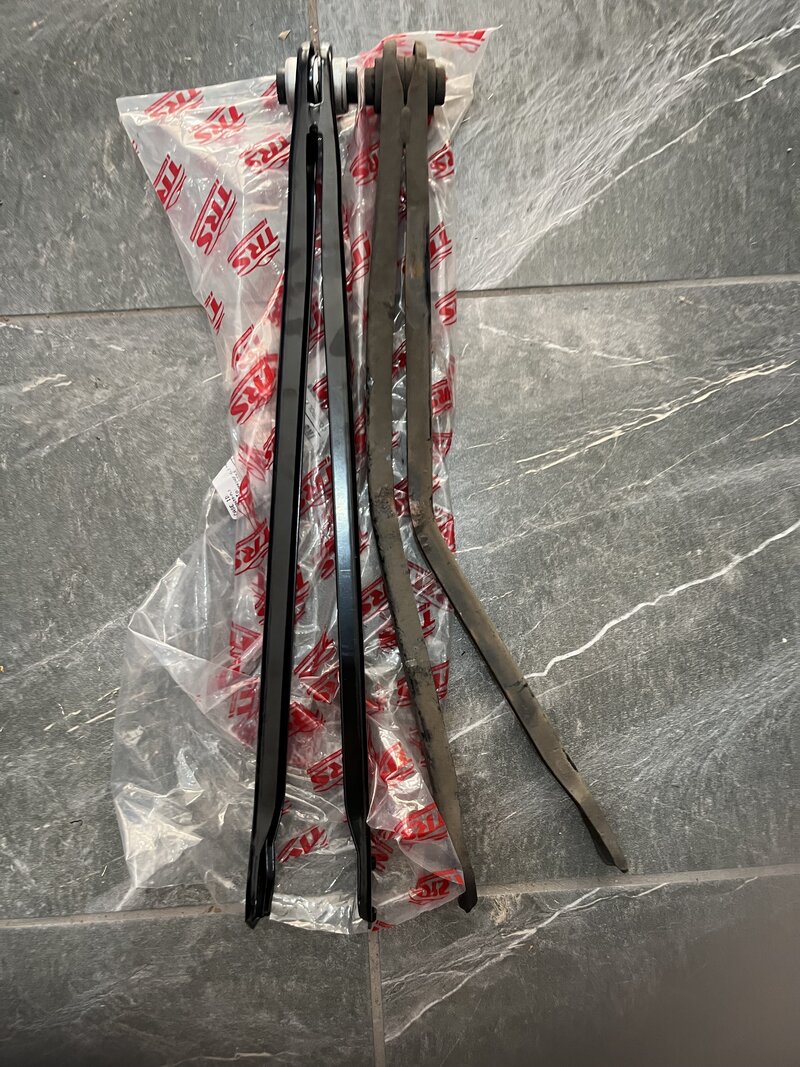
The towing service attached the safety hook to the lower control arm and forgot to remove it before trying to roll the car of. I only notice the resulting damage the next morning.

I used the TRS (cheapie) to make sure nothing else was damaged, replaces with something much better than original later.
IMG_8528.jpeg


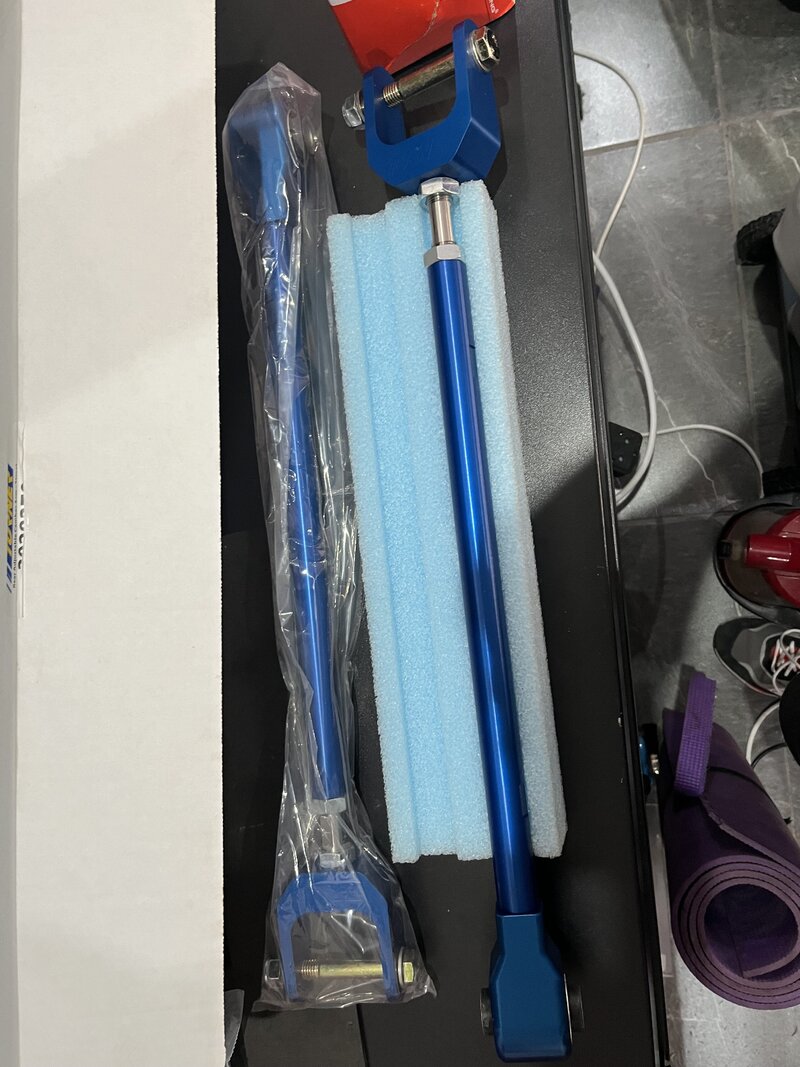
The final replacement from Turner MS helped give better camber adjustment, with the car riding lower.

IMG_8569.jpeg

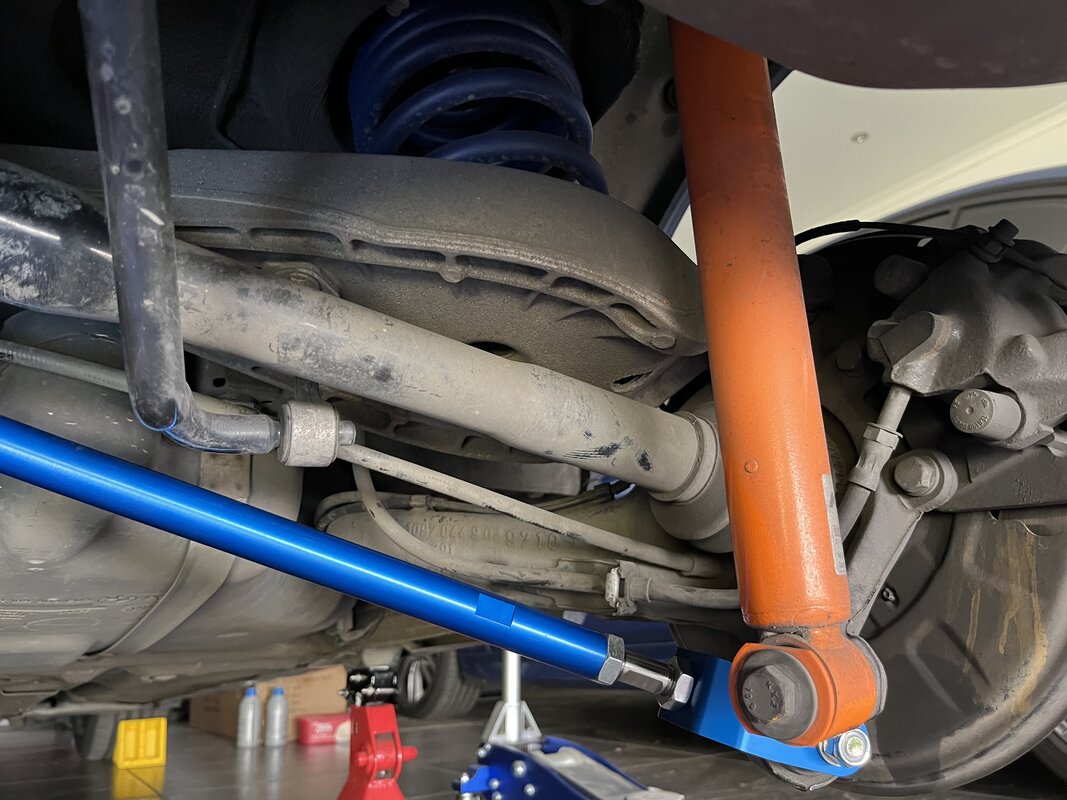
Installed, there are two types of these camber arms which Turner sells. It's worth noting that the adjustment here is on the outside, which helps because on the left side the exhaust would be in the way when doing wheel alignment on the other version
IMG_8663.jpeg


Got a set of water pipes only for the plastic flanges; I suspect the broken engine mount might have also contributed to the aging flange

IMG_8917.jpeg


Needed a car with weight on it to torque the control arms; the diff had to be unbolted and moved out of the way to get the left control arm bolt out. Other than that, it was a simple job.
IMG_8670.jpeg
 

TheFlash

Member
Chapter Three - Engine Removal
Incredible write up... Please share where you got those supports for the jack stands please?
I originally bought them from eBay, but I also found them here


TheFlash

Member
Chapter Three - Engine Removal

Remove Intake, Exhaust Manifolds

IMG_8956.jpeg

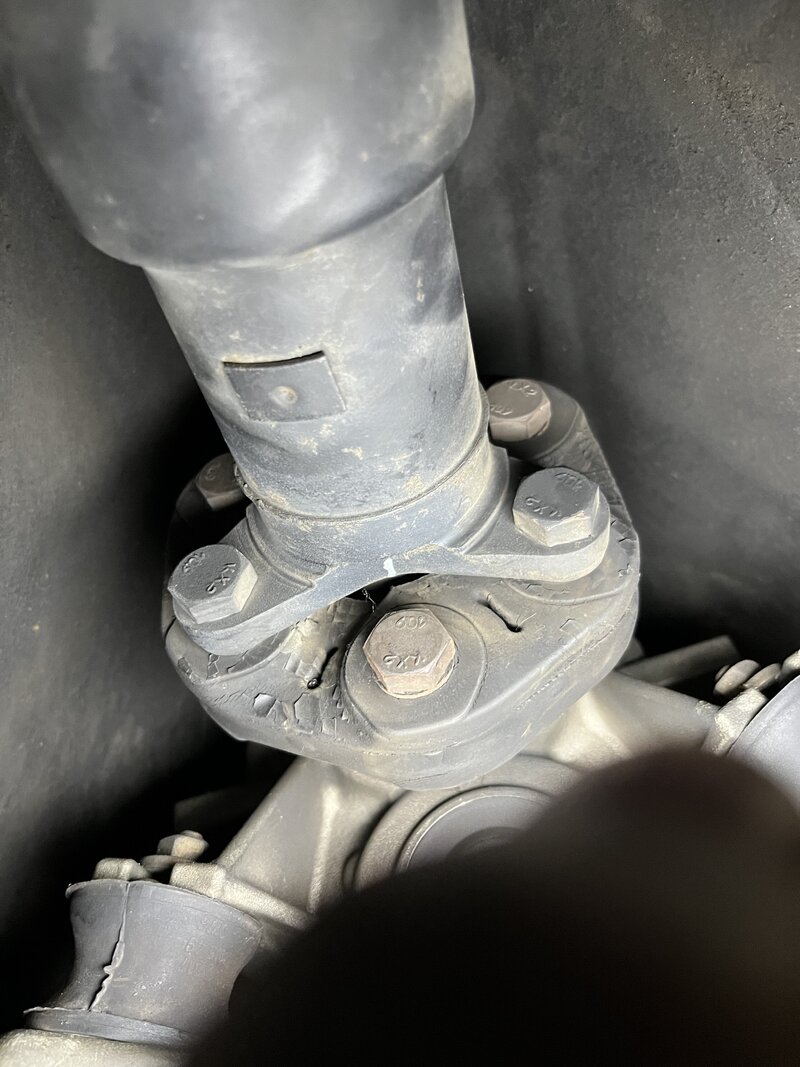
Remove the drive shaft bolts on the gearbox side from the flex disc
IMG_8777.jpeg

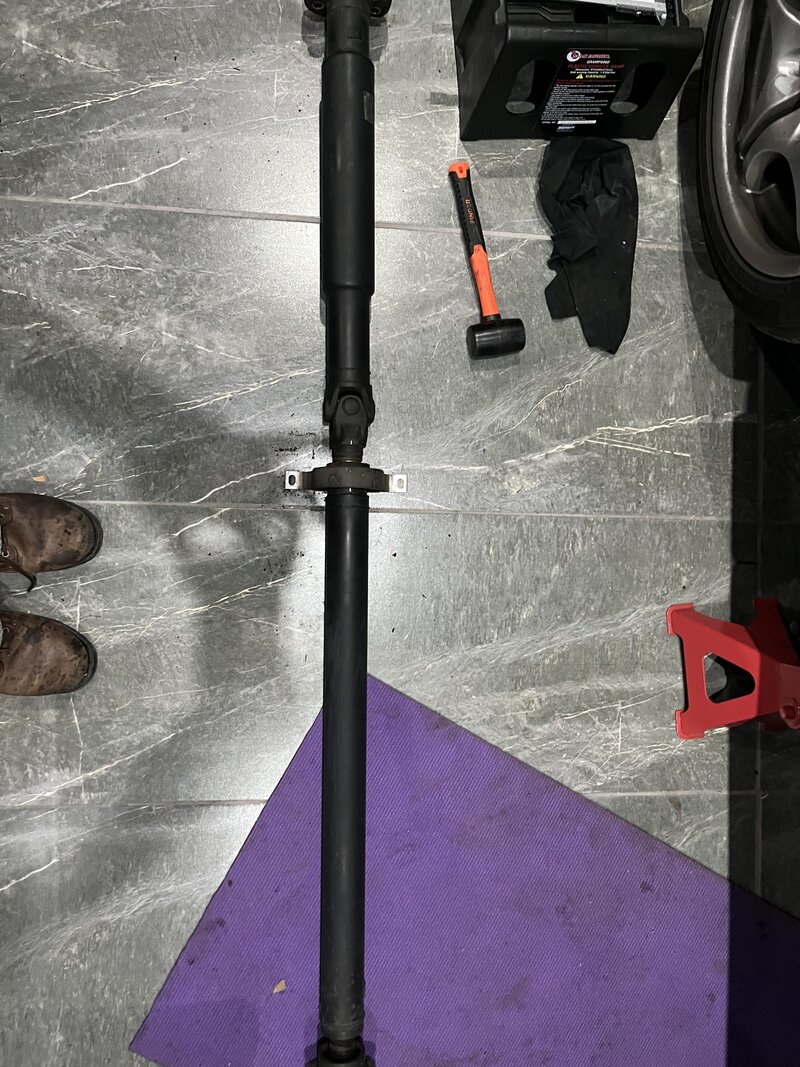
The driveshaft removed
IMG_8790.jpeg

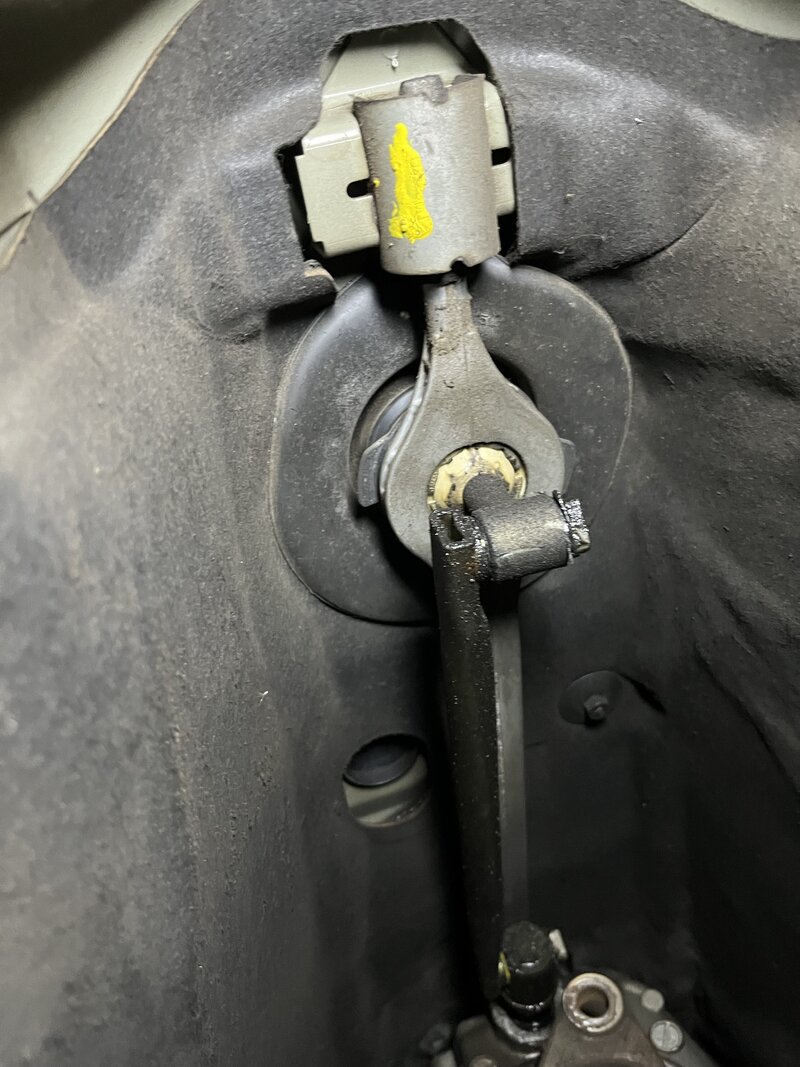
The gear linkage removal
IMG_8792.jpeg

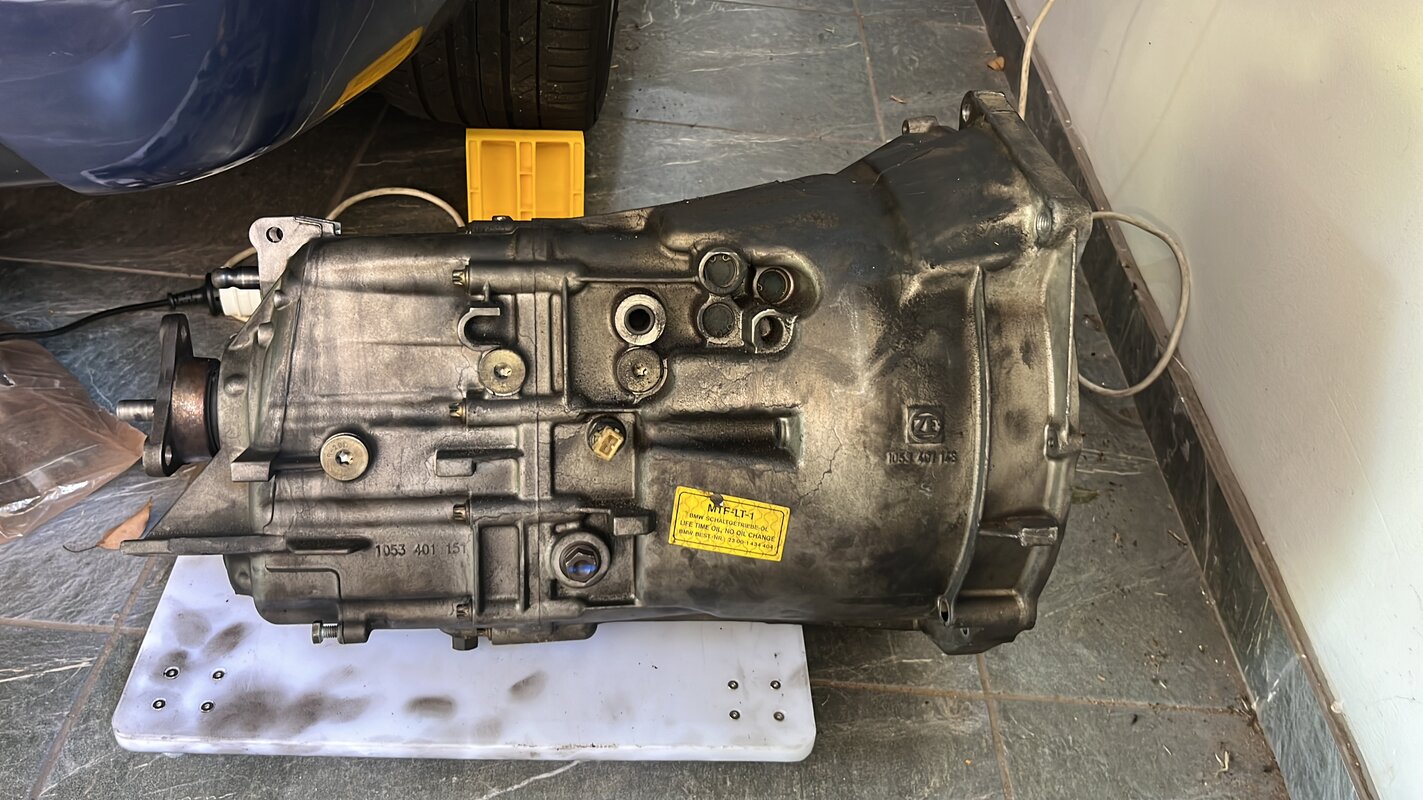
Gearbox removed
E11D58B1-2AAA-4428-9EE4-E64E3FA9B35F.jpg


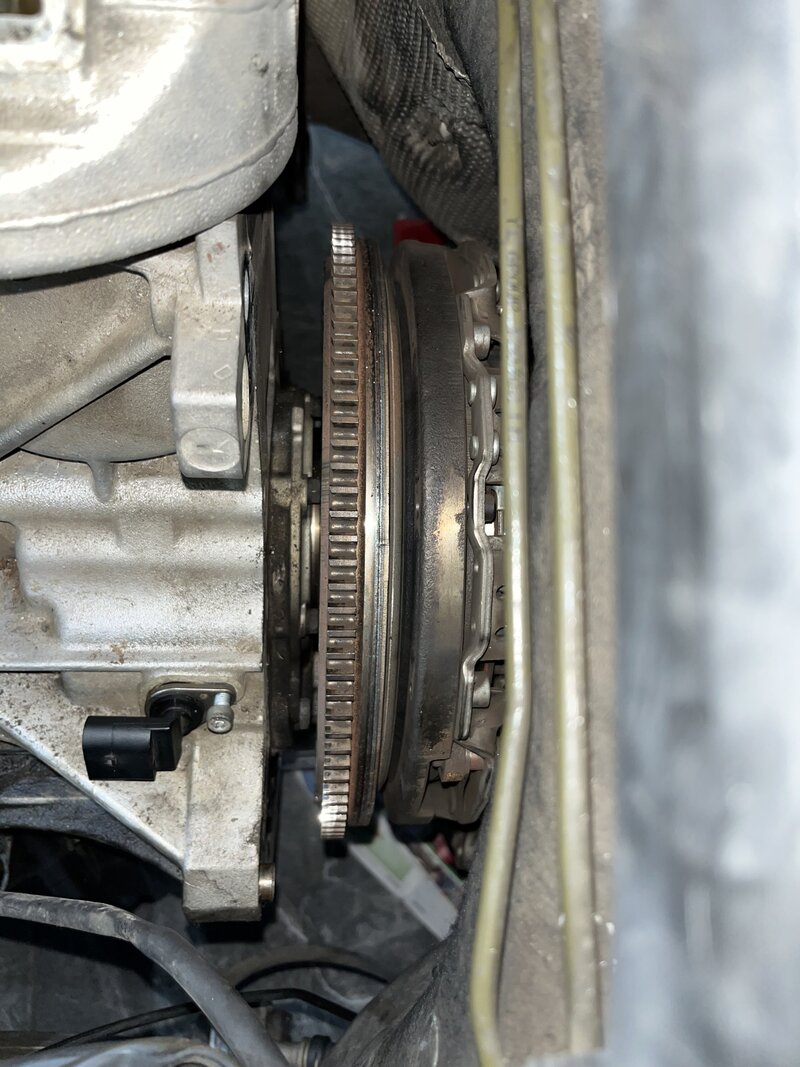
The flywheel is visible once the gearbox has been removed
IMG_9055.jpeg

Remove the engine harness and bell housing bolts.

IMG_9156.jpeg


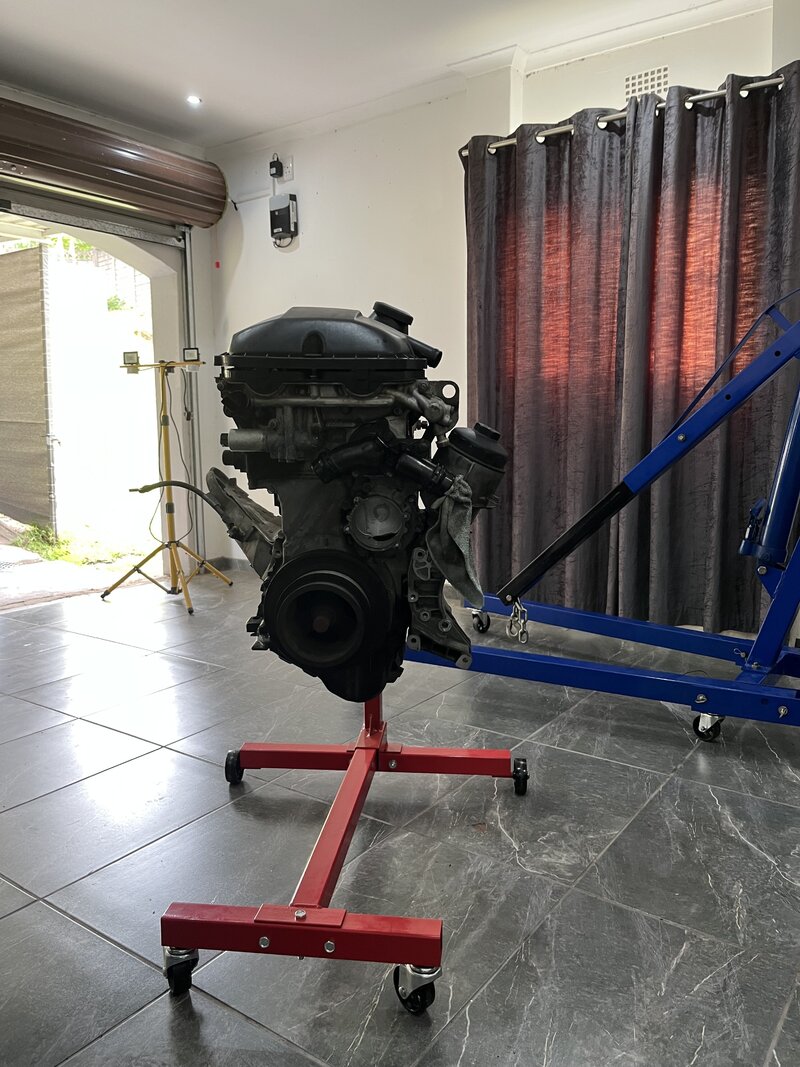
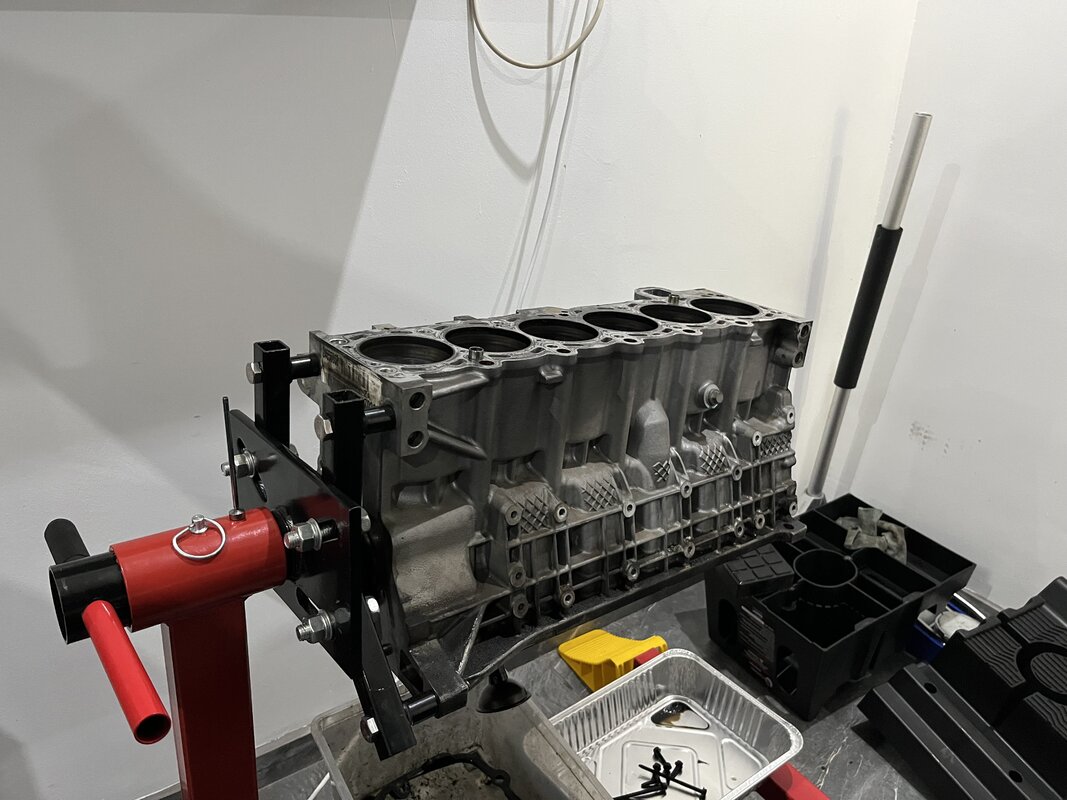
Finally, the engine is removed and mounted to the stand

IMG_9157.jpeg


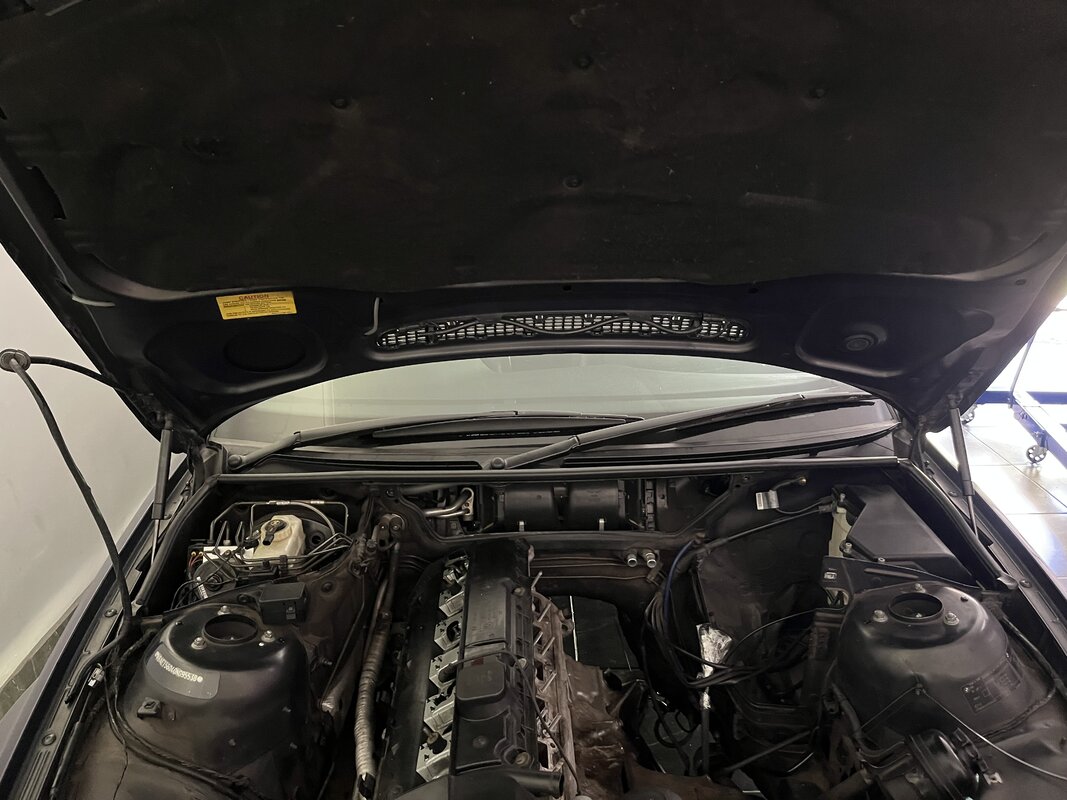
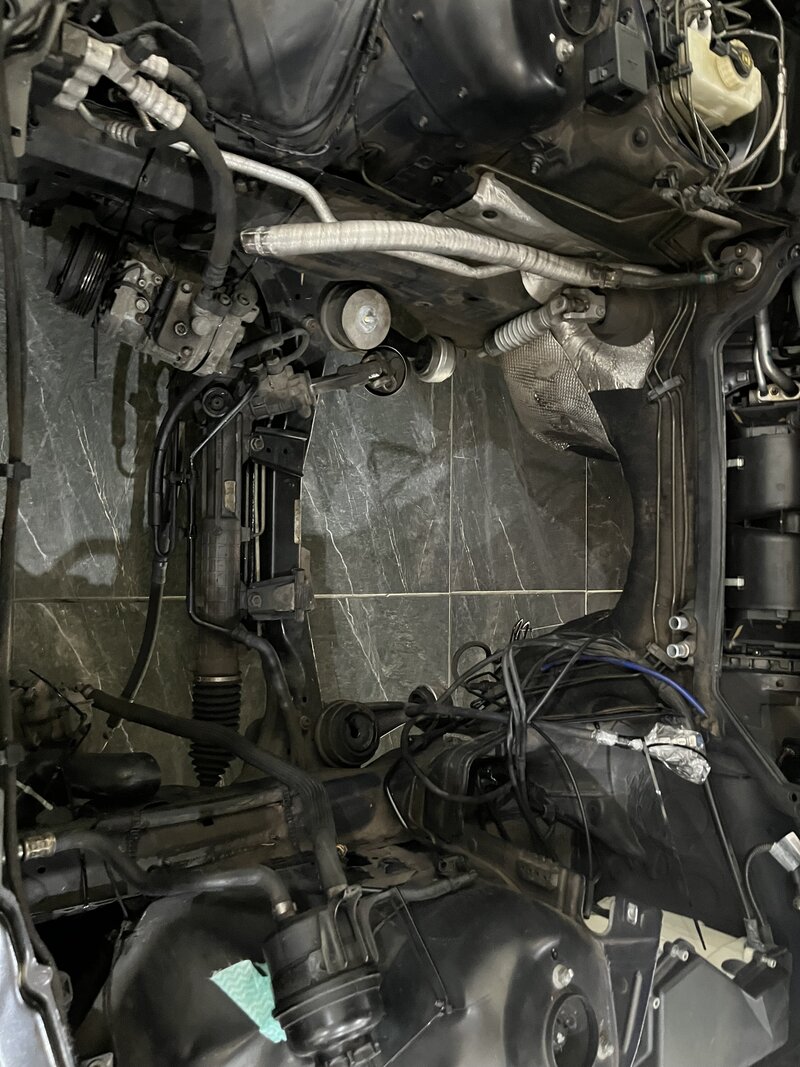
The empty engine bay

IMG_9158.jpeg
 

TheFlash

Member
Chapter Four - The Engine Teardown

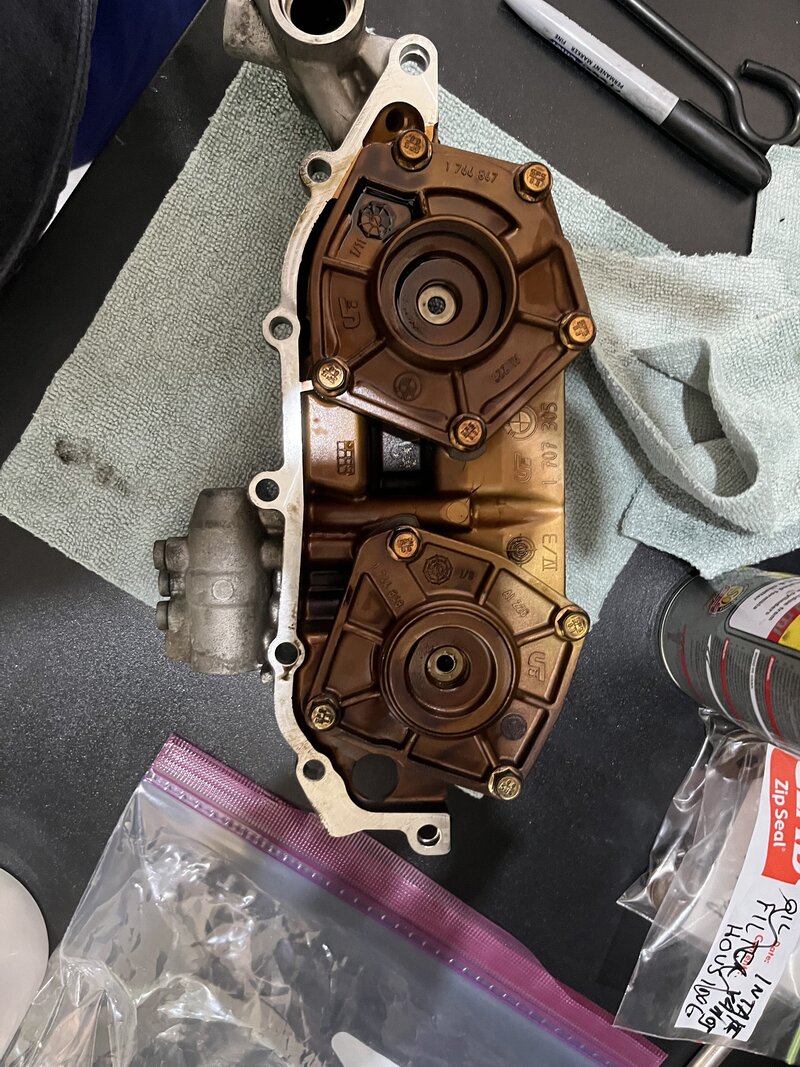
Vanos Removed
IMG_9220.jpeg

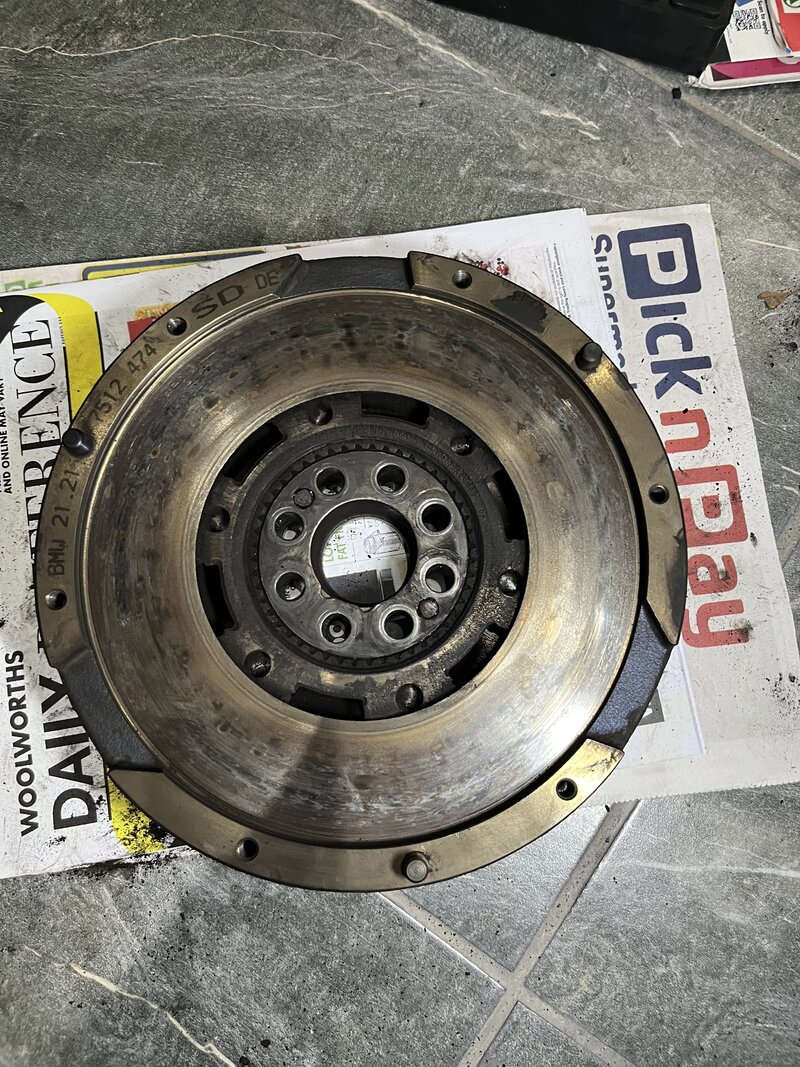
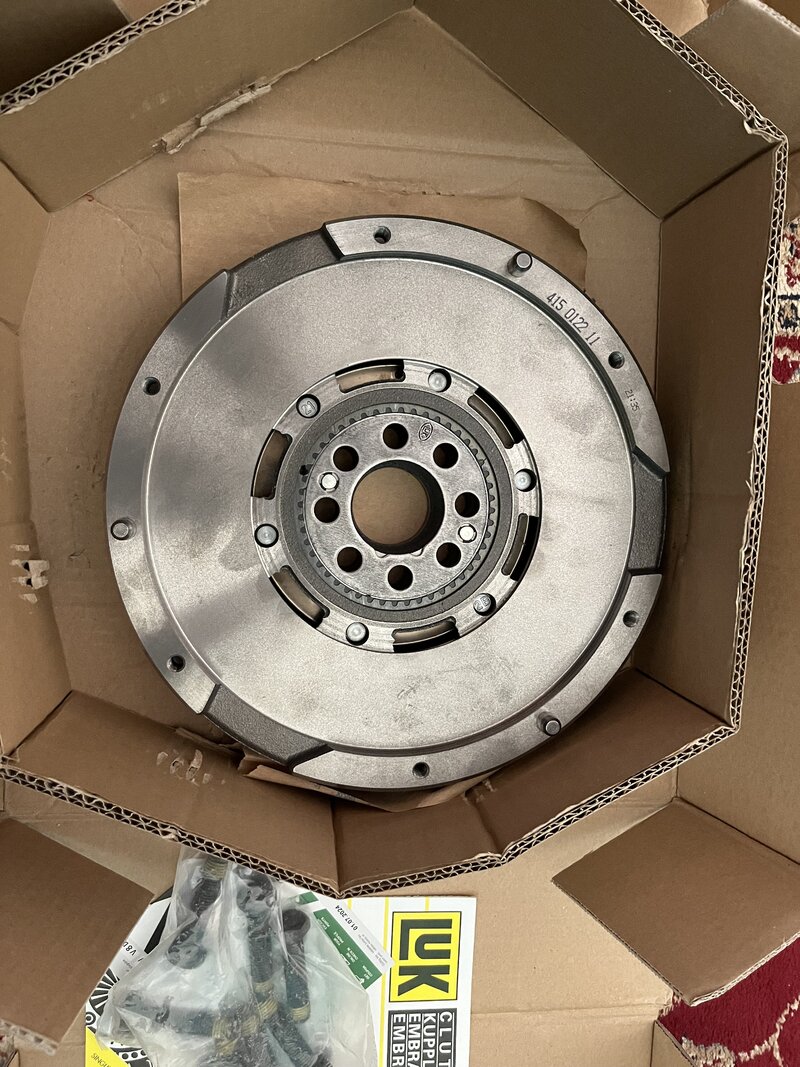
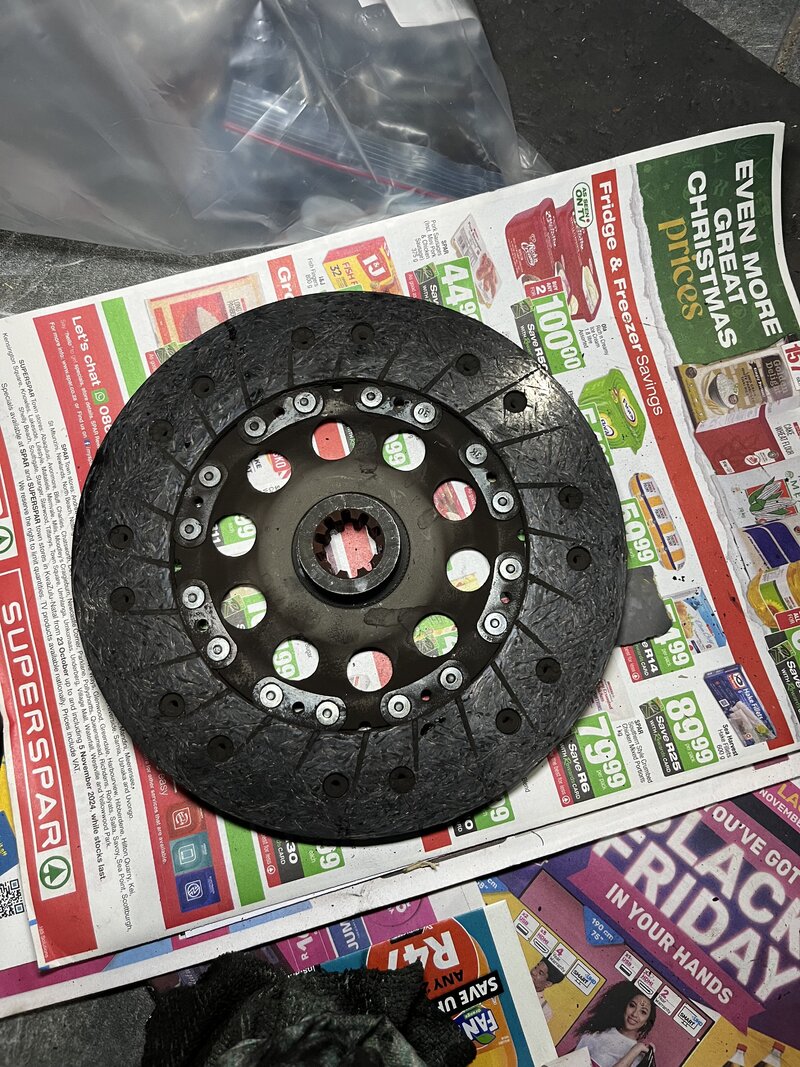
The dual mass flywheel wasn't in bad condition but LUK clutch and flywheel replacement was ordered
IMG_9100.jpeg

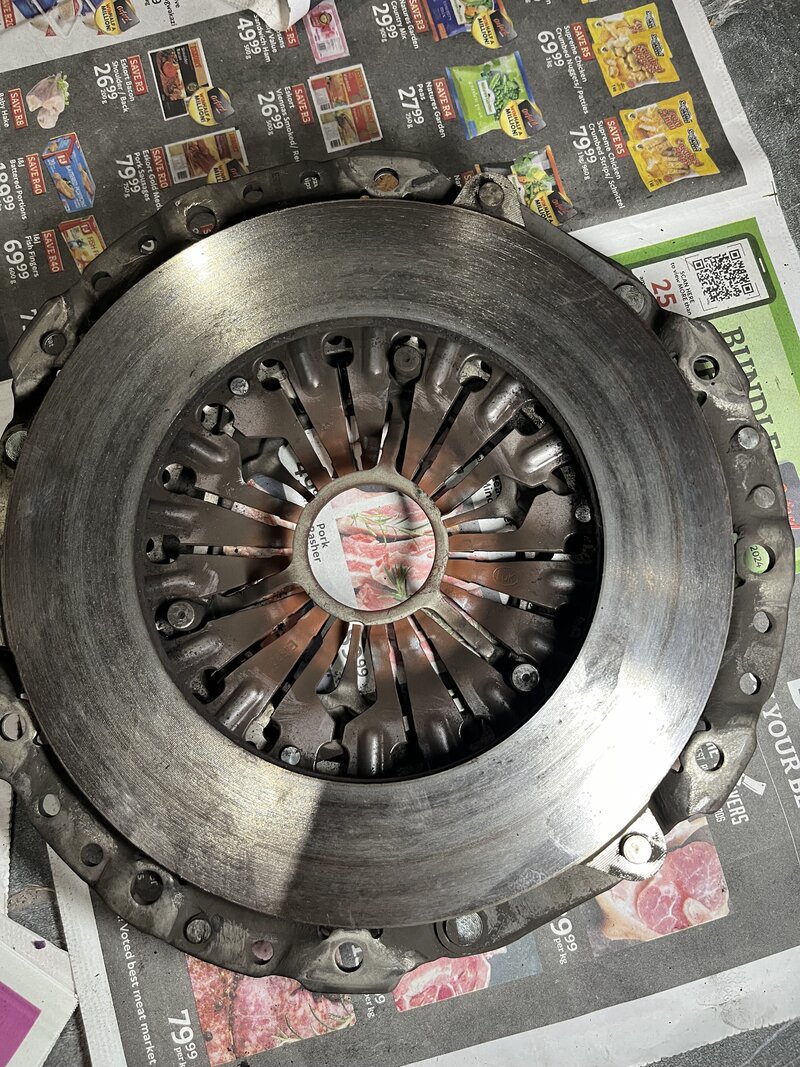
The pressure plate
IMG_9101.jpeg


Clutch after 240 000kms
IMG_9102.jpeg


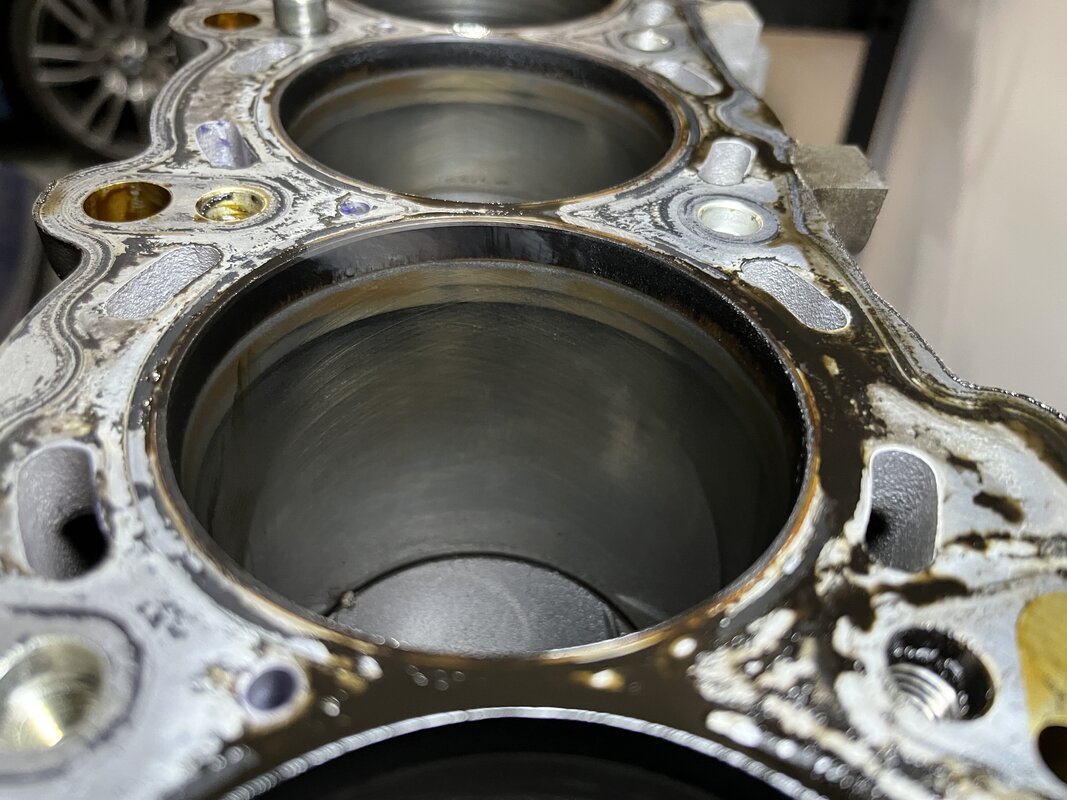
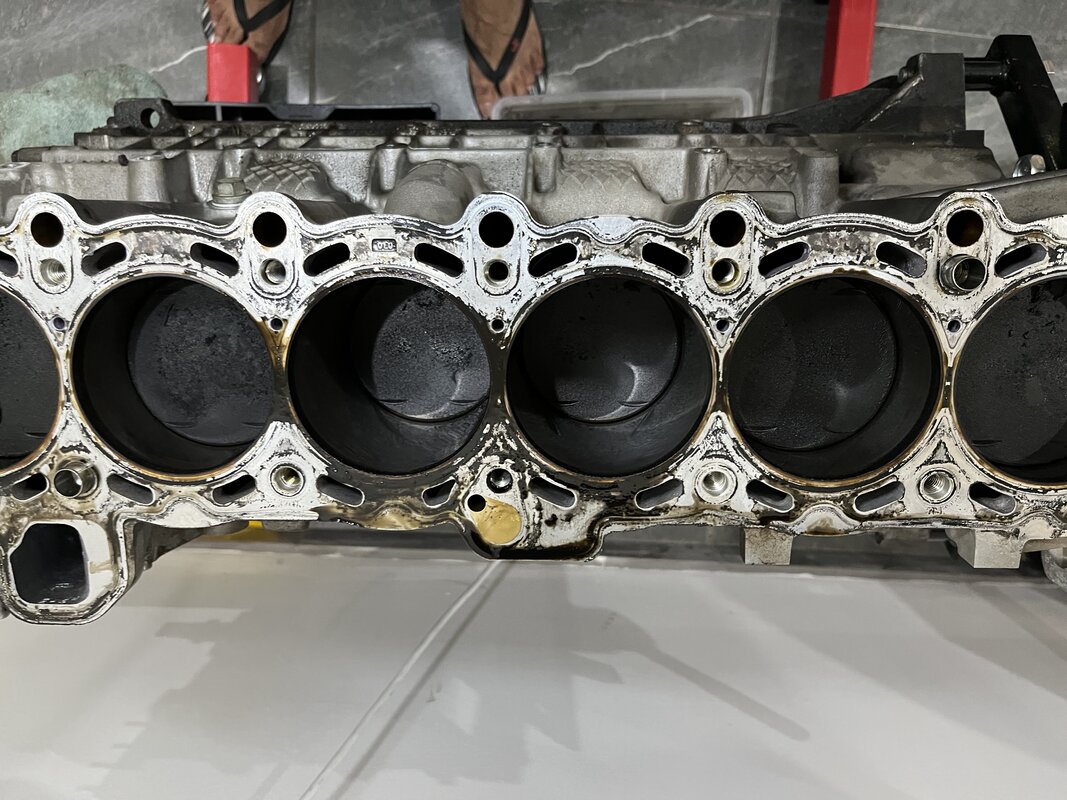
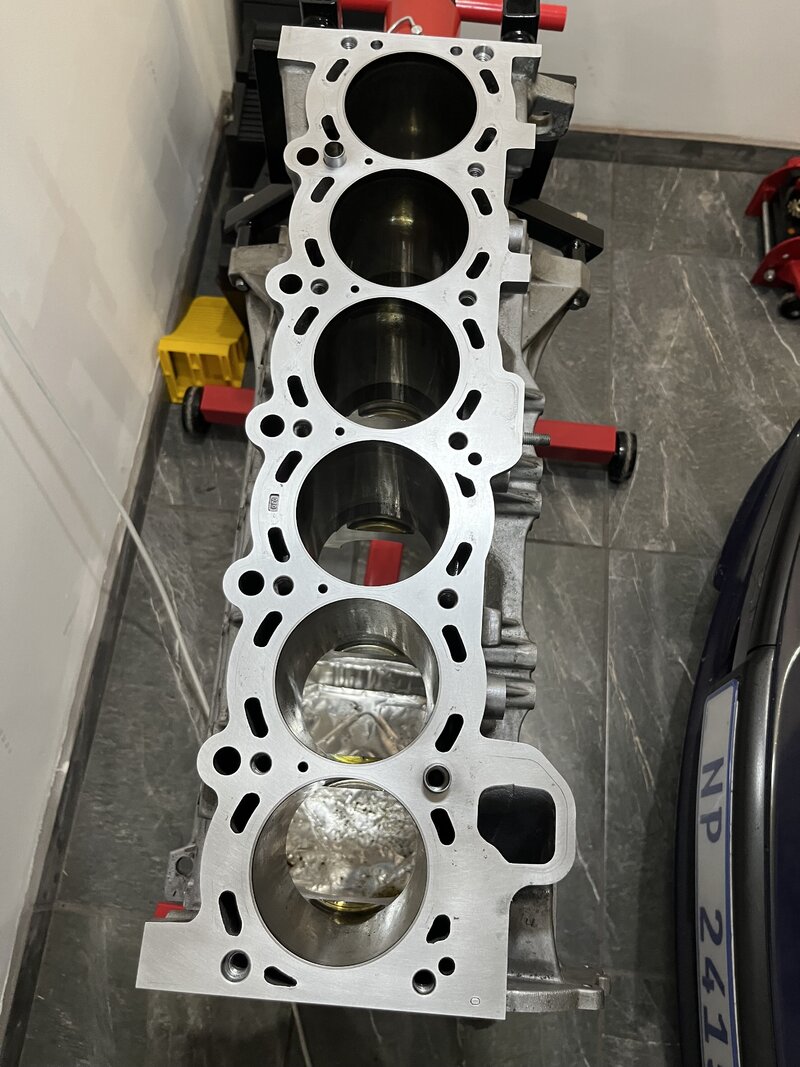
Head removed condition of cylinders

IMG_9231.jpeg


IMG_9232.jpeg


IMG_9252.jpeg


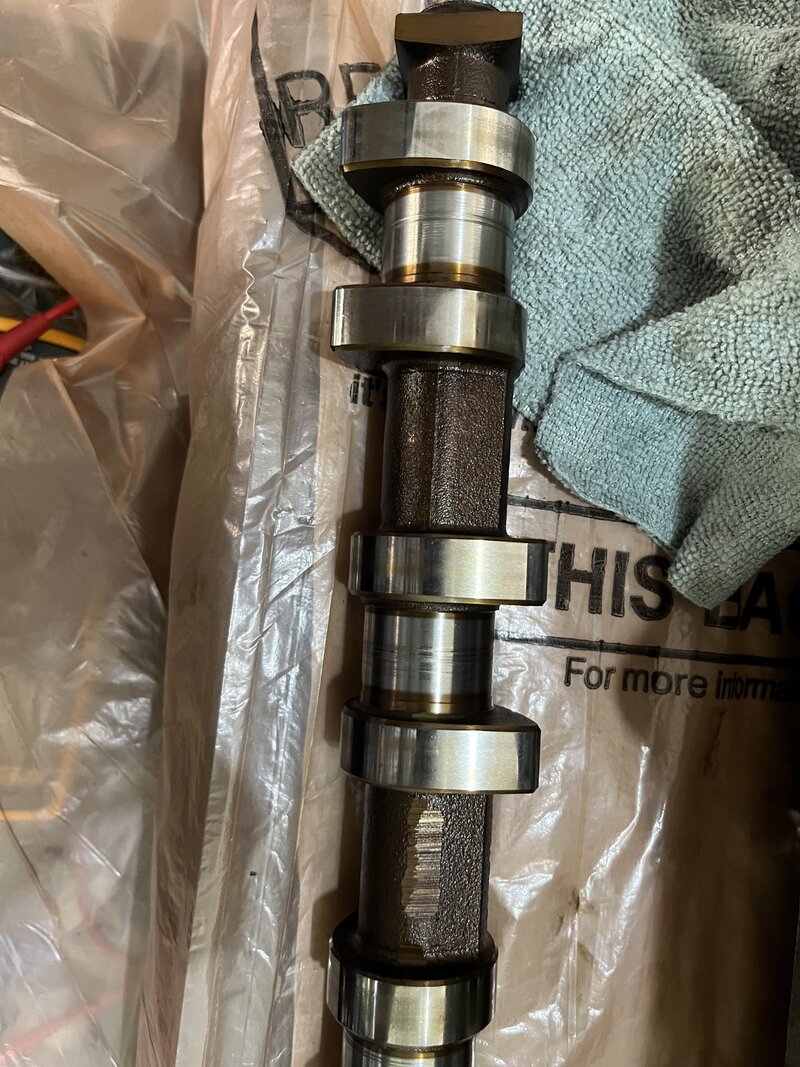
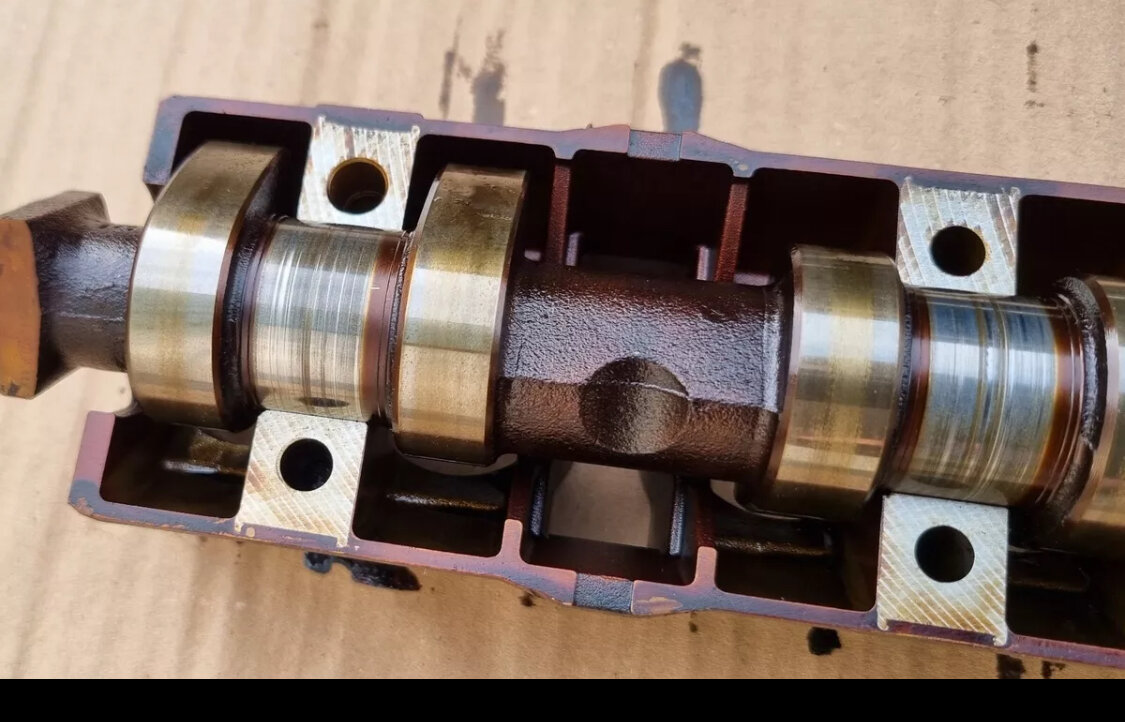
Camshaft had some scoring, but apparently this is normal on M54's
IMG_9264.jpeg
IMG_9268.jpeg

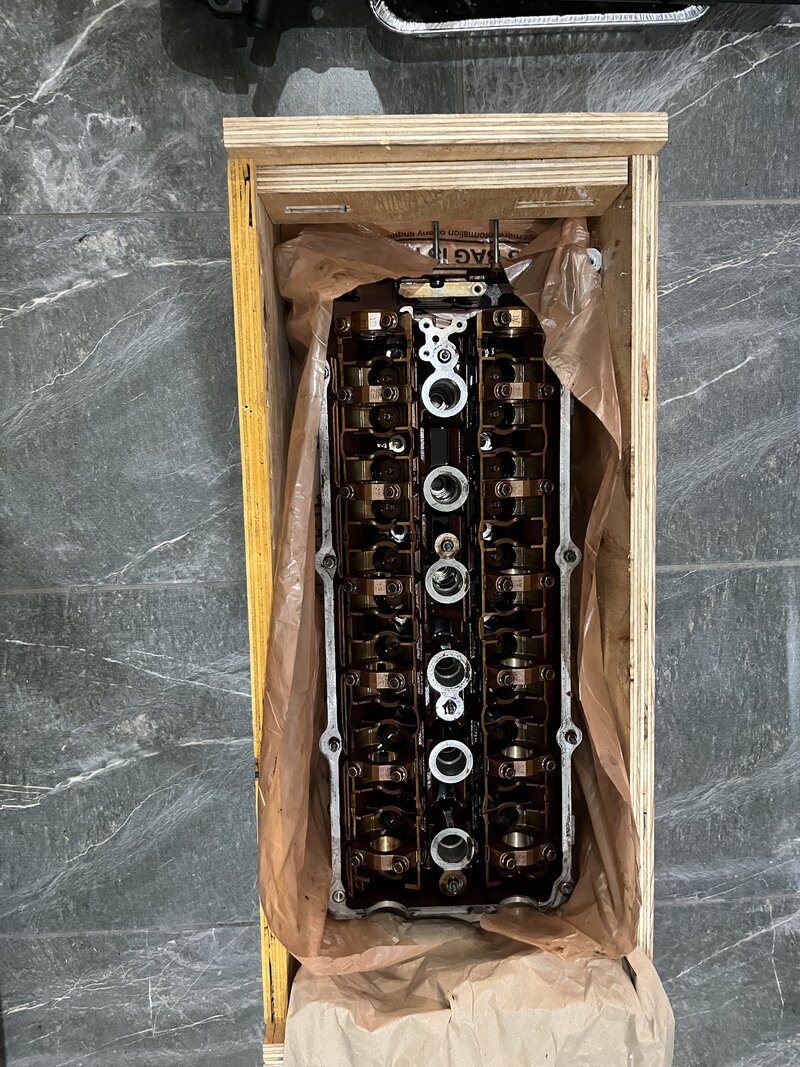
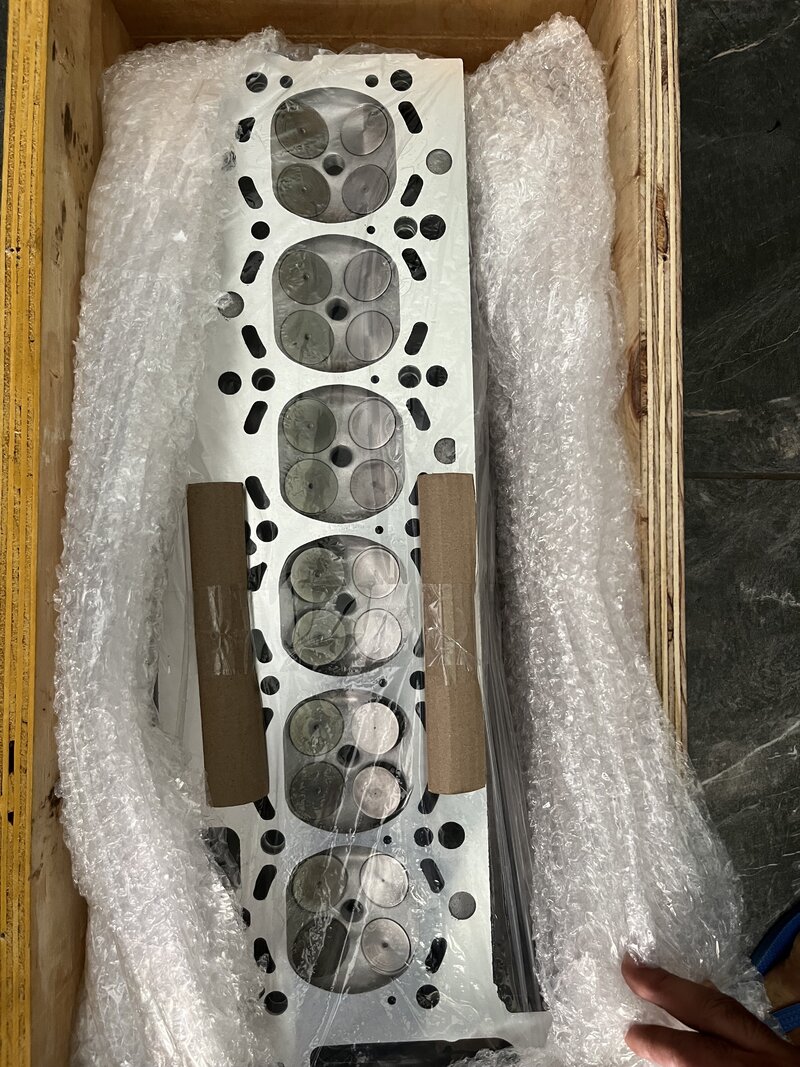
Head crated up for shipment to Vanderlinder Racing for gas flow, engineering, and CAMs
IMG_9291.jpeg


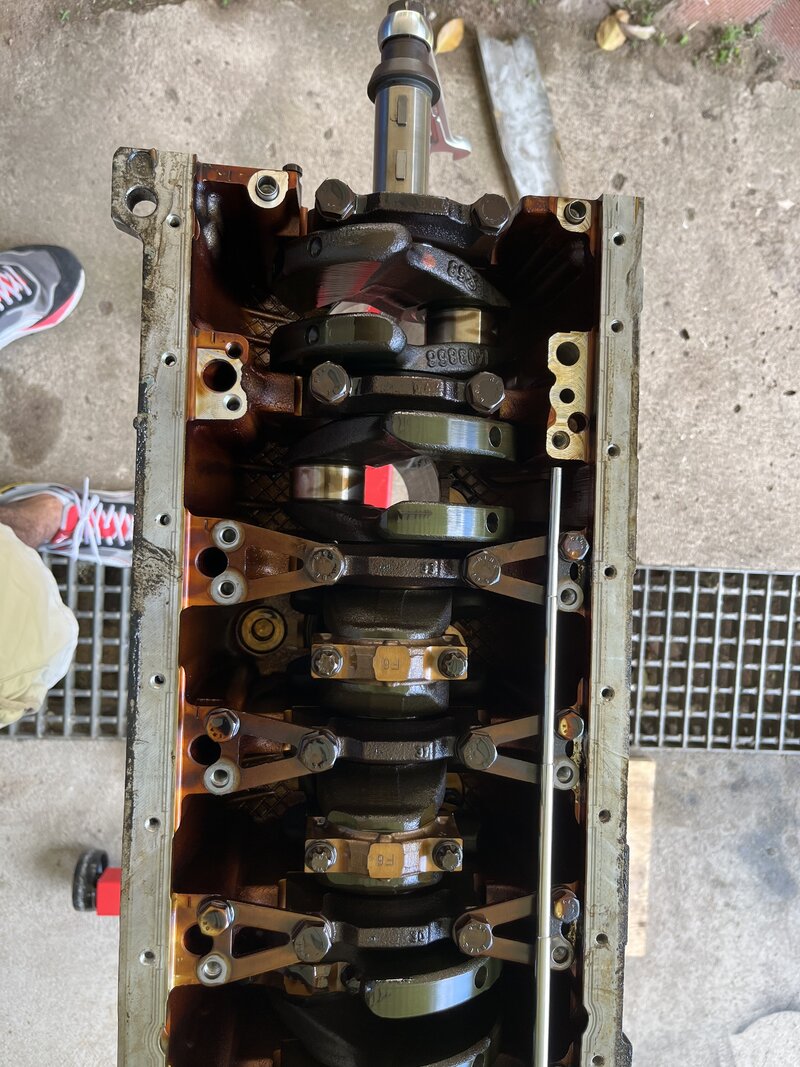
Bottom end being taken apart
IMG_9302.jpeg

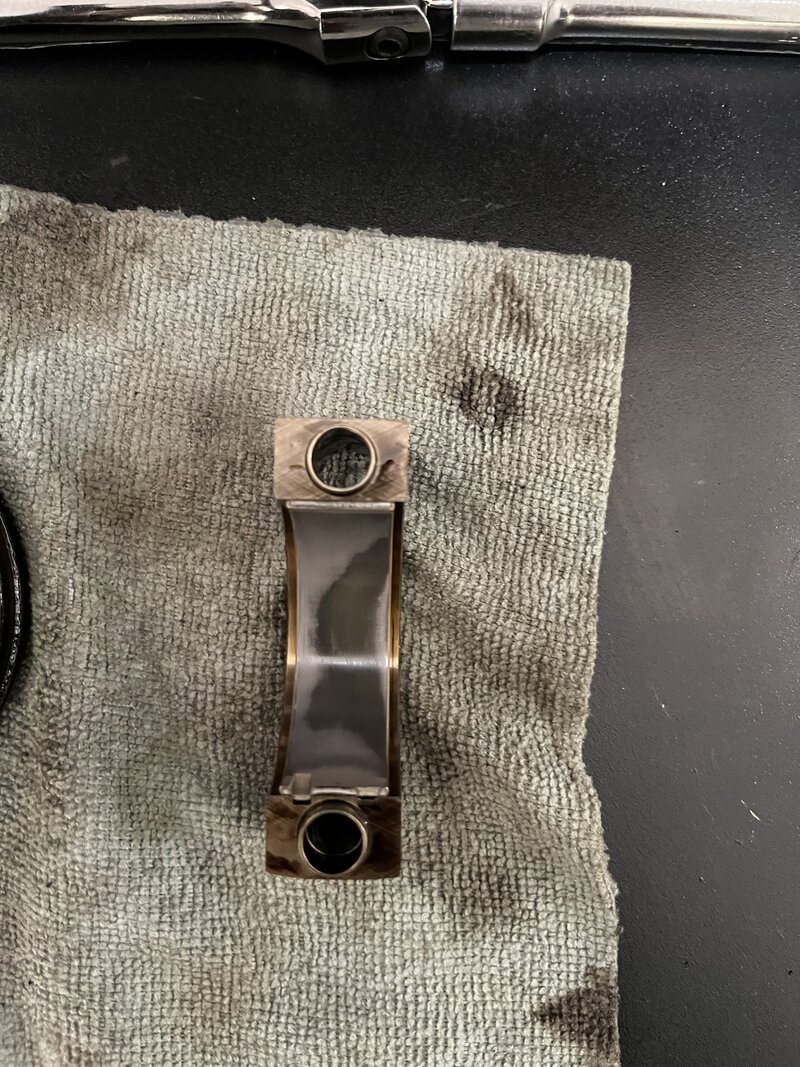
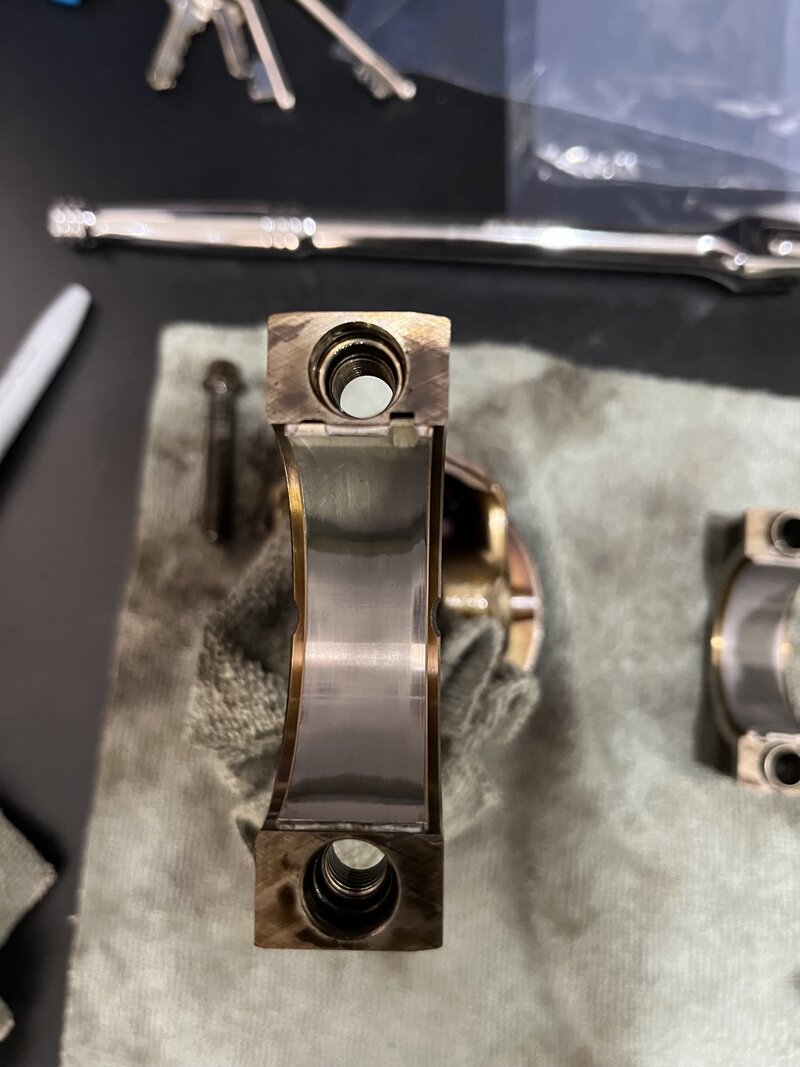
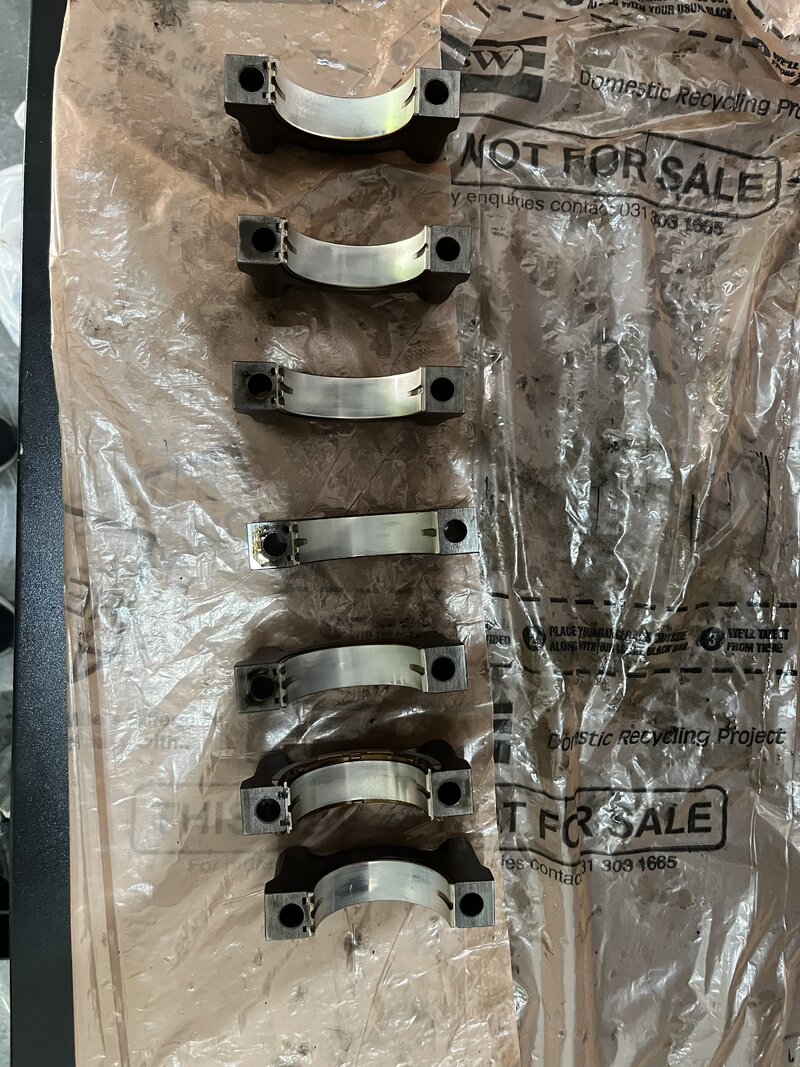
Rod bearings were not in bad shape for the mileage
IMG_9304.jpeg

Upper rod bearing
IMG_9305.jpeg

Main bearings could have been reused
IMG_9312.jpeg

The only real issue was the oil rings; they had a 2mm gap. The compression rings were still within tolerance, but as mentioned previously, oil rings were a known issue even when the car was new; it seems to be only the 3L M54s. I think the 2.5L used a 3-piece oil control ring
IMG_9308.jpeg


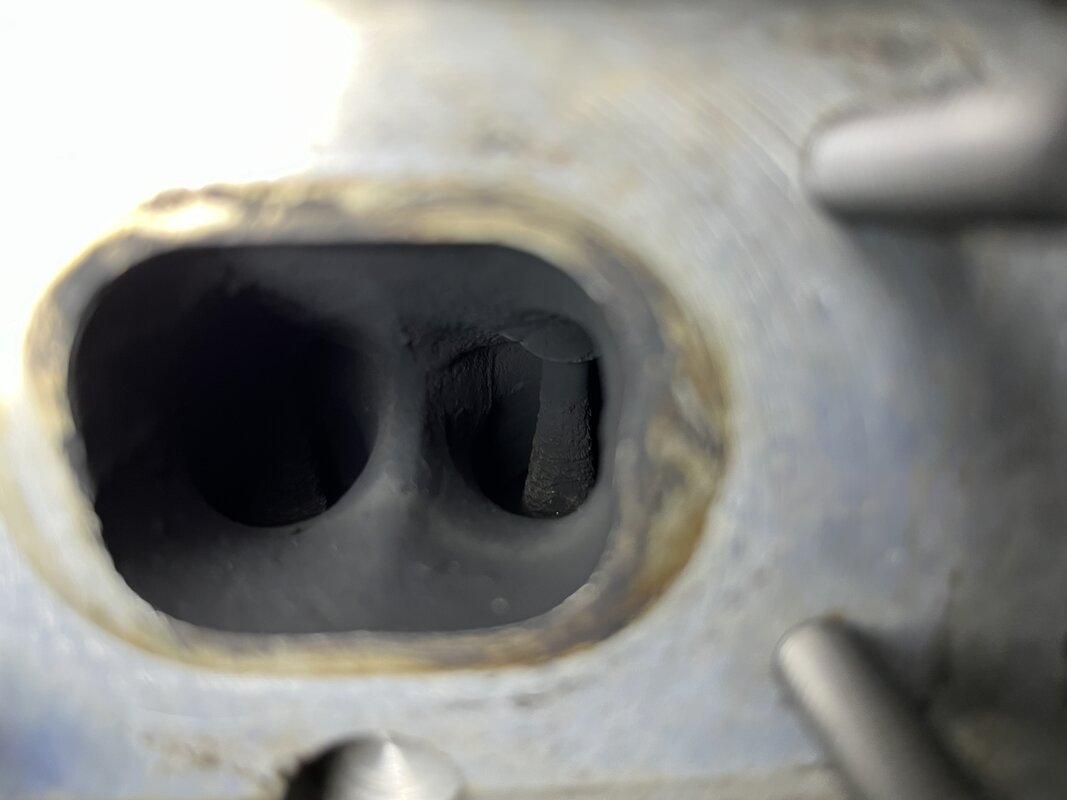
The carbonised exhaust side of the head
IMG_8837.jpeg
 

gavsadler

///Member
The forum delivers!

Thank you for taking the time to document the journey, as well as the pictures.

Subscribed and looking forward to future updates
 

Peter@AEW

BMWFanatics Advertiser
Official Advertiser
Nice write up.

You might wish to reconsider porting the head unless you are changing cams as well as injectors.
The heads are typically at the upper end of performance with the standard set up.

The exhaust manifolds are certainly the trick on your build good choice.
 

TheFlash

Member
Chapter Four - The 5th Gear Lean

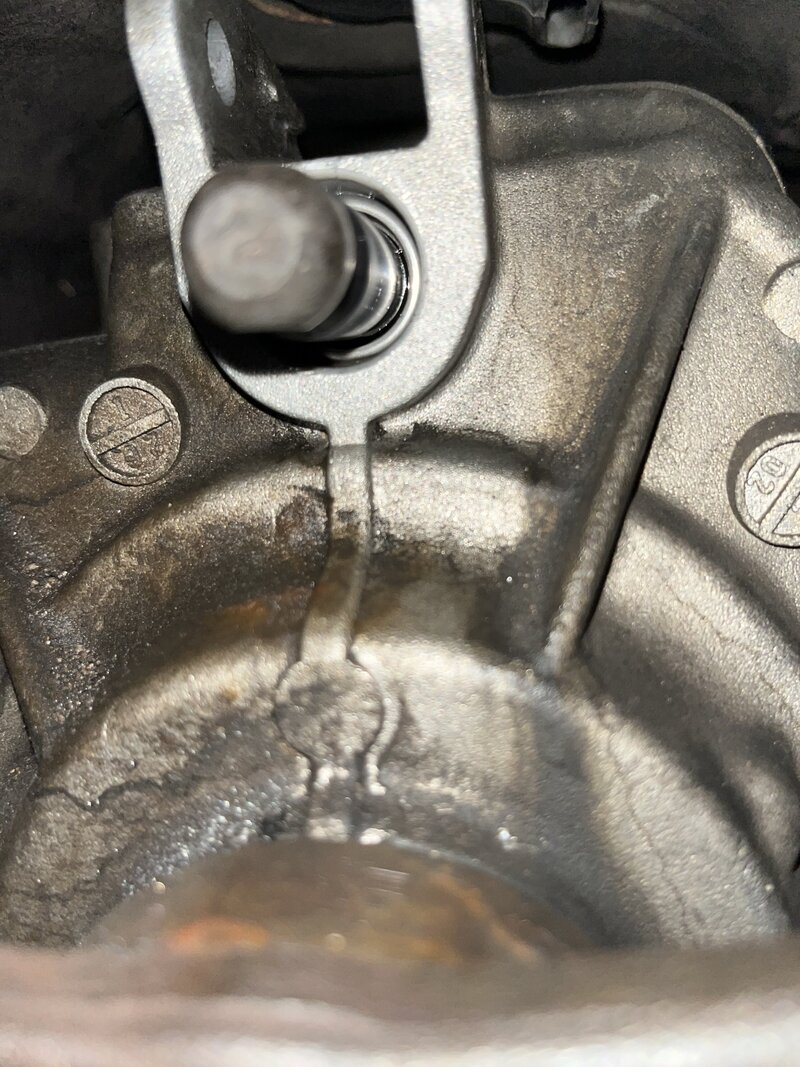
This car came equipped with the five-speed manual ZF gearbox; at some point in my ownership of over 20 years, the detent must have gotten stuck. The fix involves the removal of the gearbox, so now was the best time while I wait for the headwork.


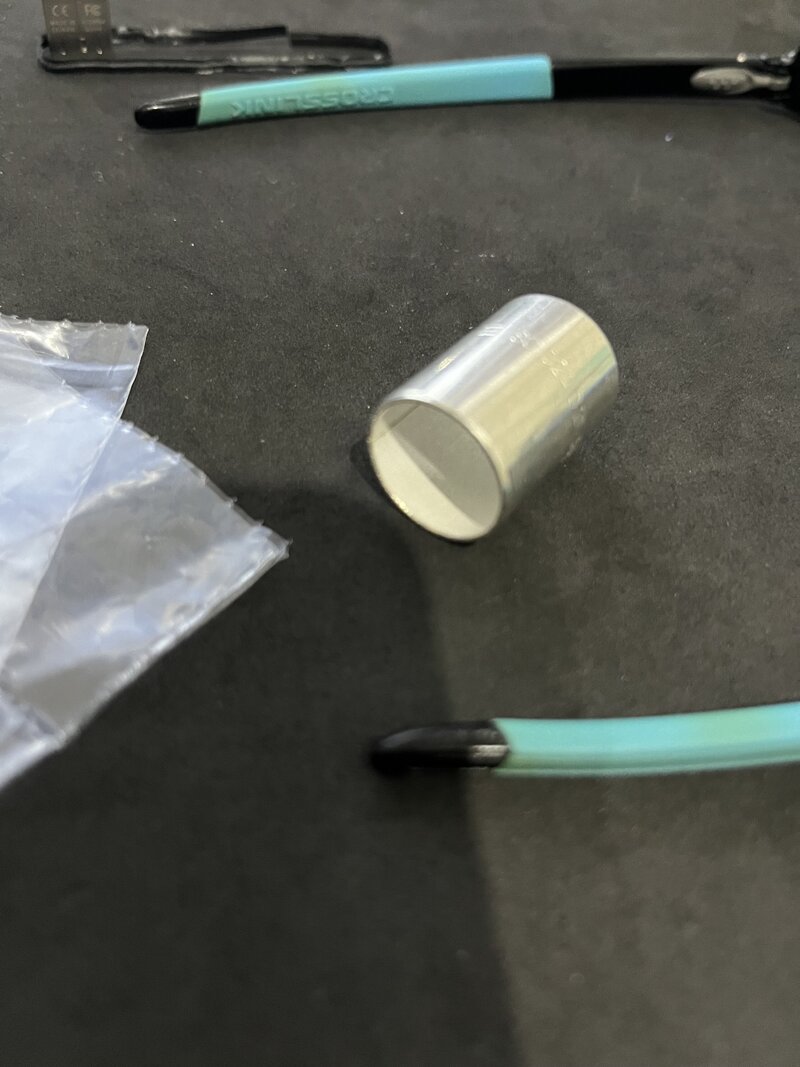
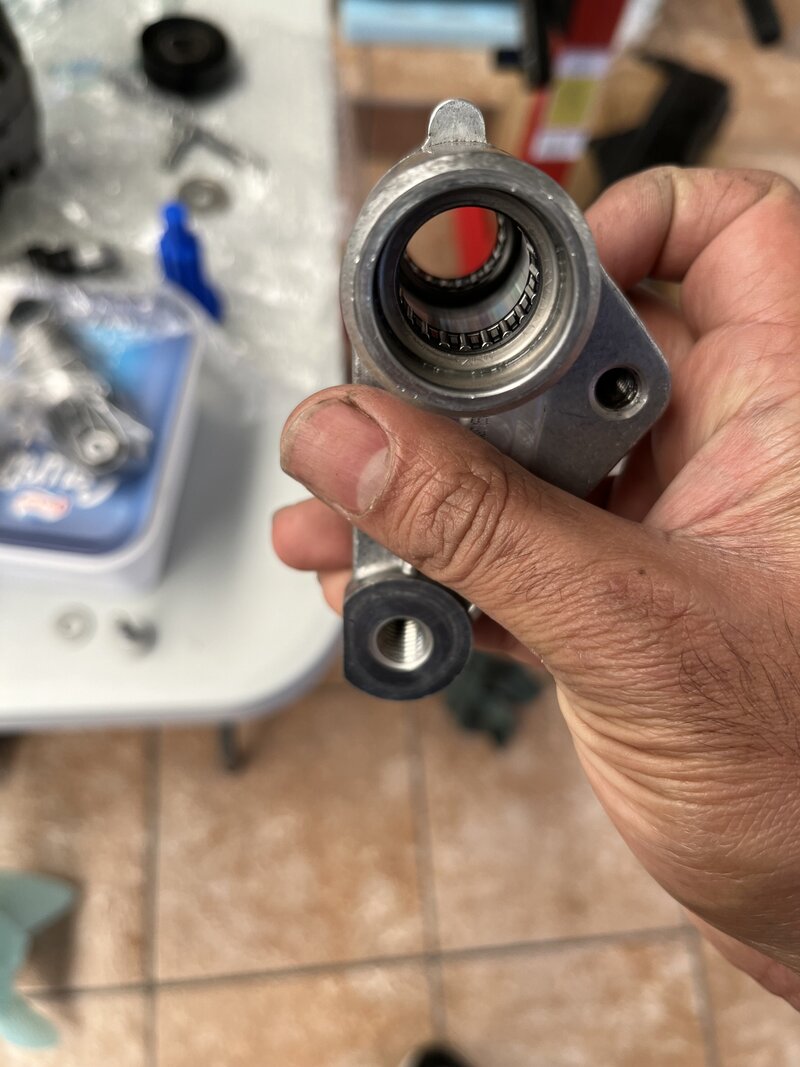
The sleeve which needs to be replaced
IMG_8980.jpeg


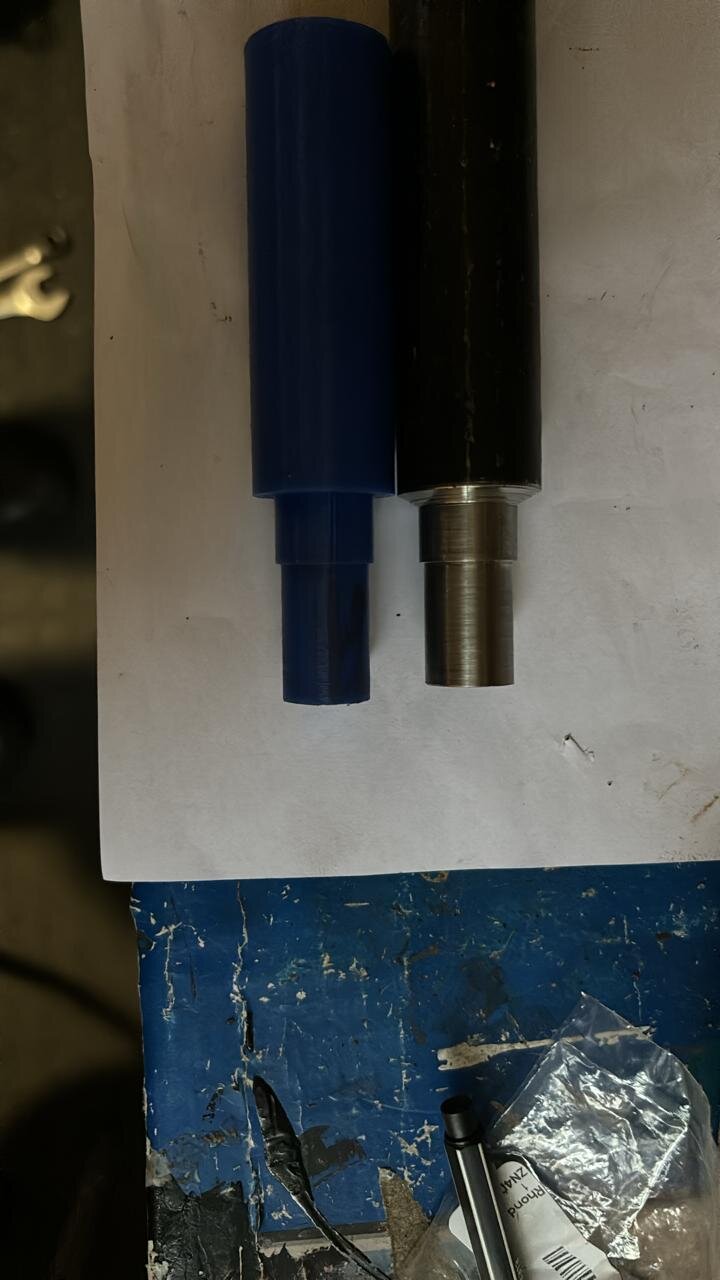
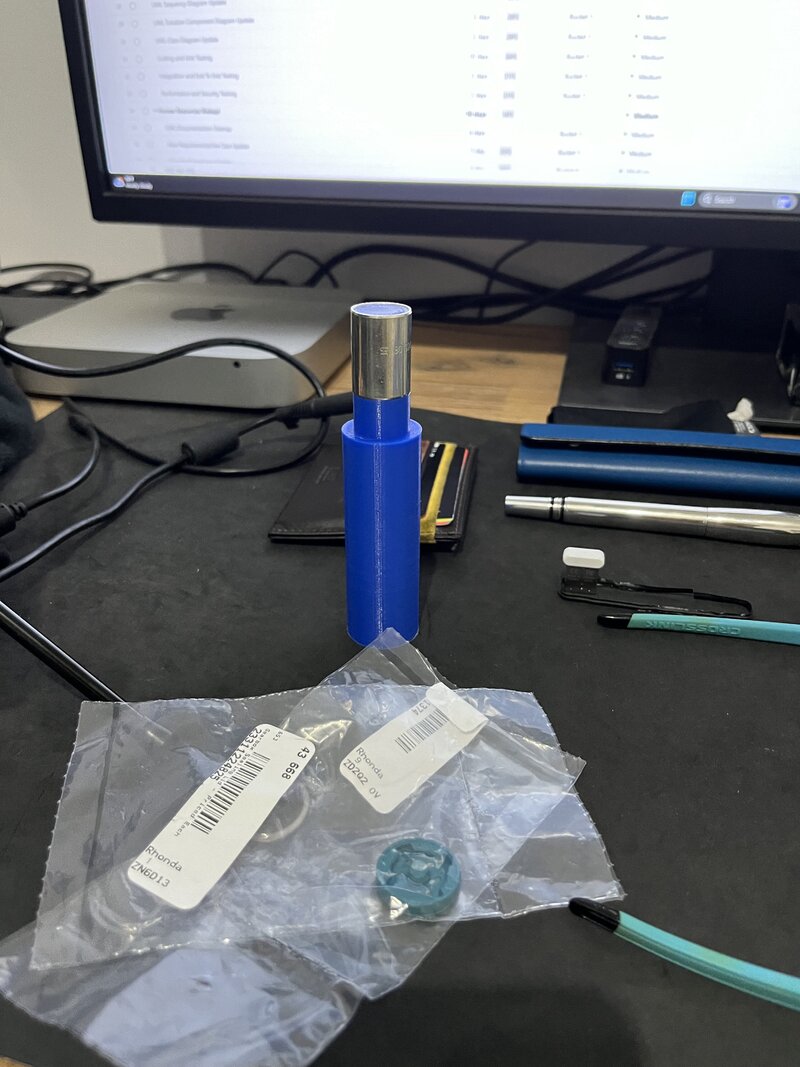
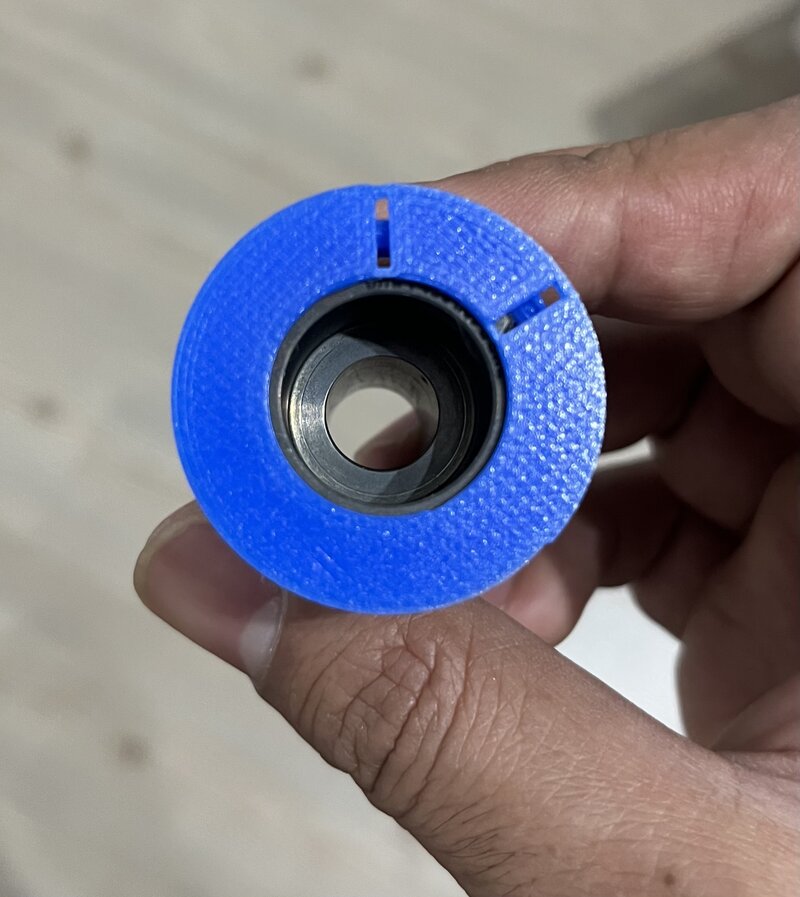
The tool required to drive it to the correct depth. I printed the first one out of PLA but decided this might need to take some force, so I turned it out of steel in the end. The printed one might have worked, but it wasn't tested


0e536ef9-520f-4cc2-a43d-10281d5156d0.jpg

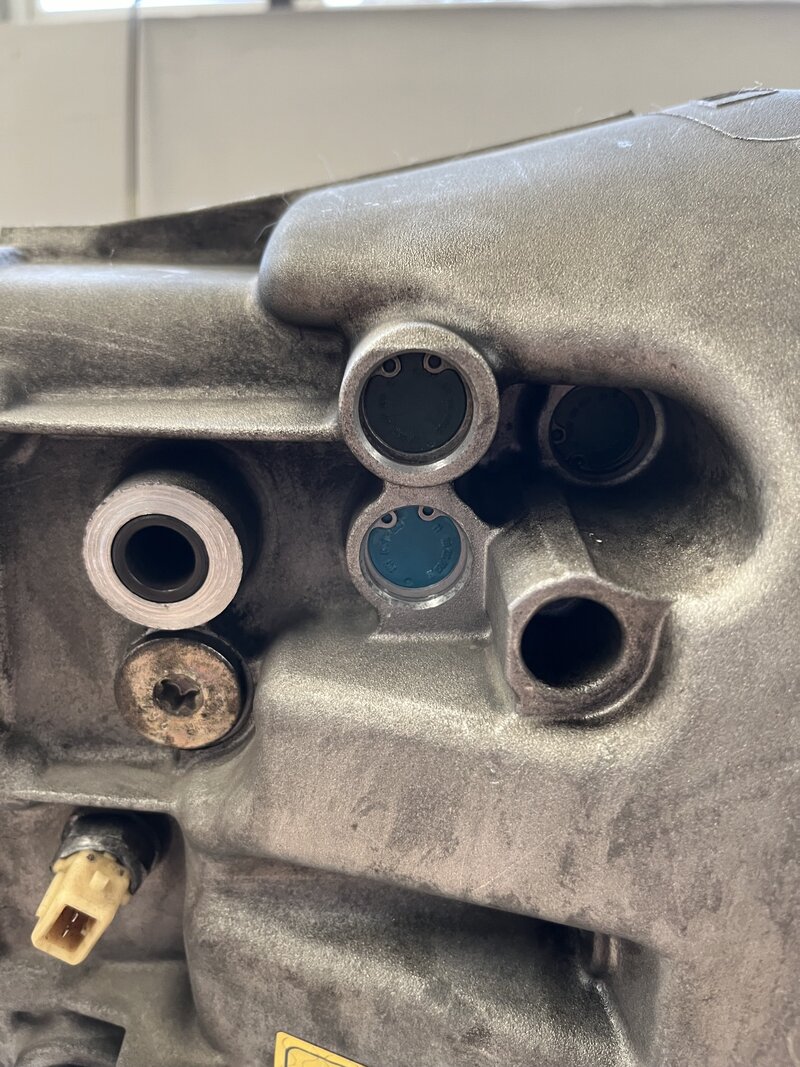
This tool needs to keep the shape of the bush as it is driven in; removal involves denting the edge of the old bush and using a pair of pliers to twist it out. A new cap is also required. BMW didn't have stock of these parts, so they had to be sourced online.

IMG_8979.jpeg


No more lean; this should make it easier, especially finding 3rd and 4th gear coming from 5th or 2nd.

IMG_9112.jpeg


Other gearbox items to address


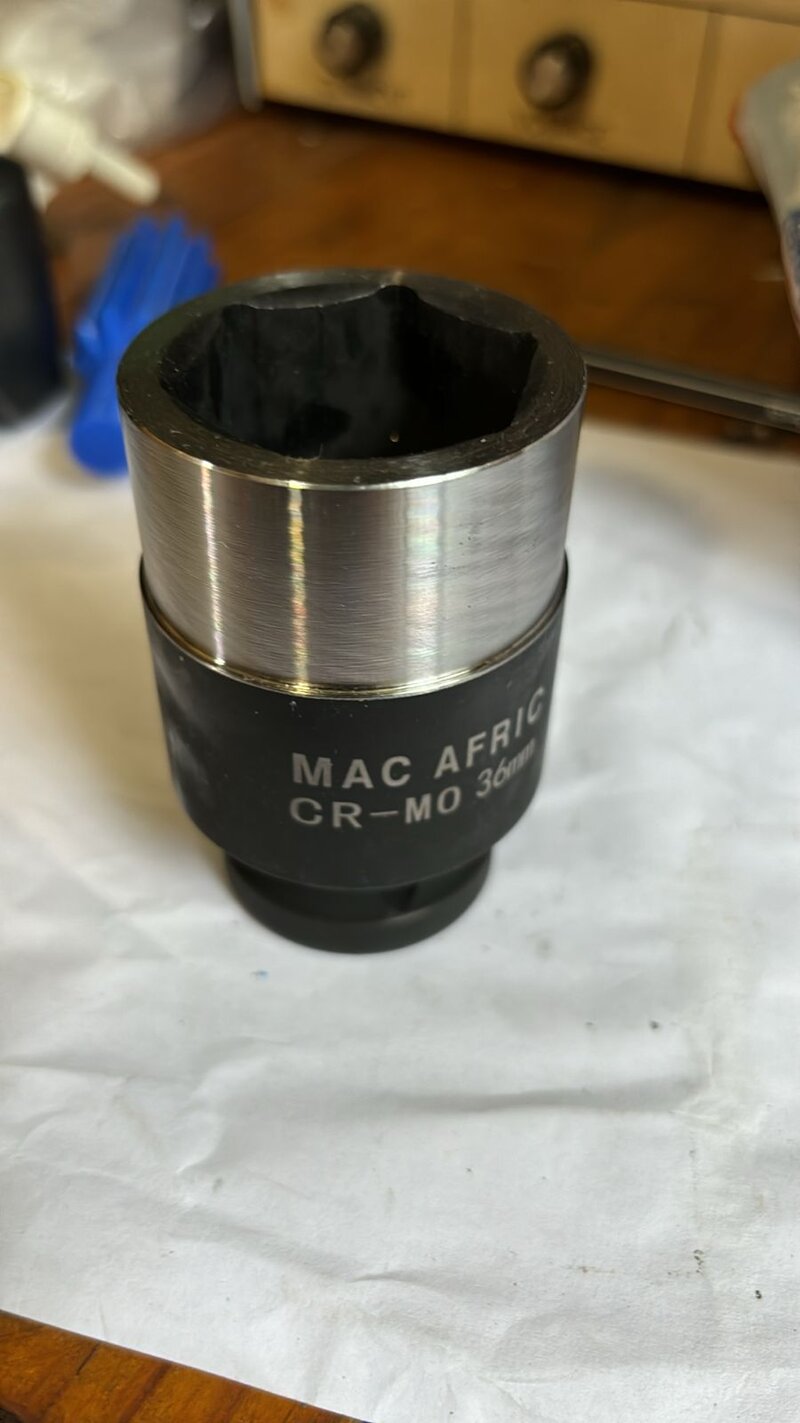
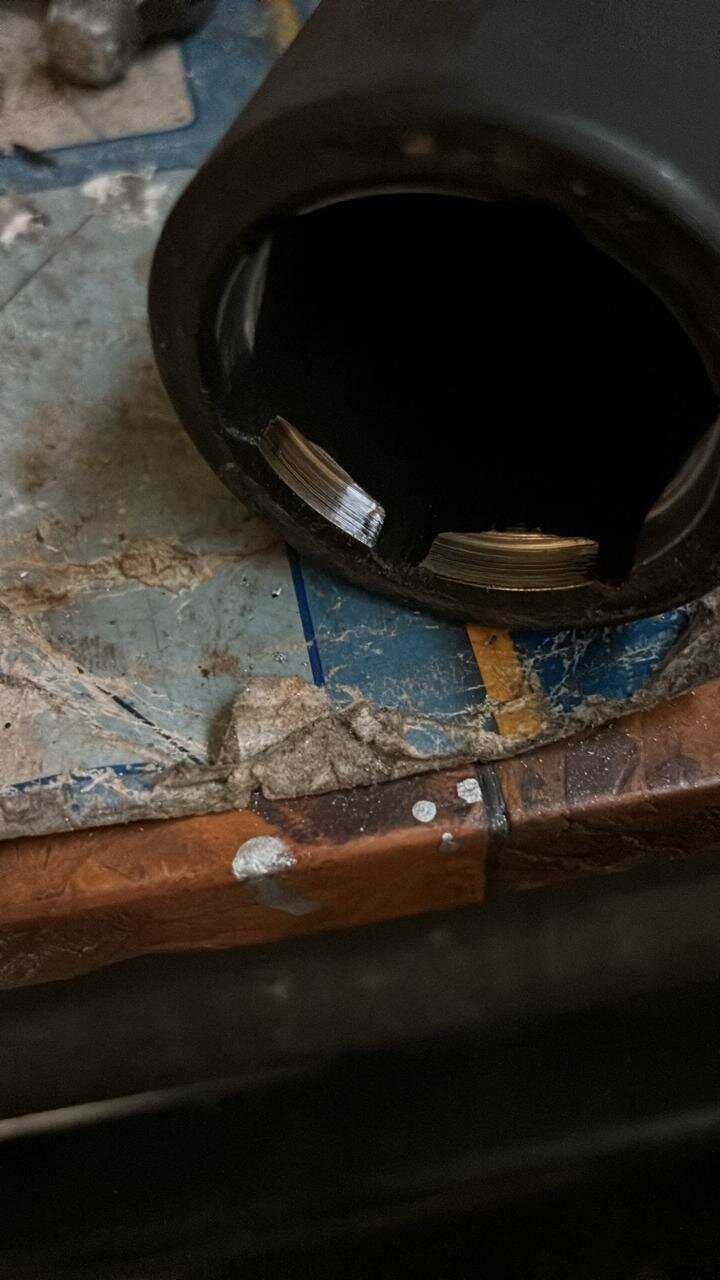
Removal of the output flange needs a deep-well socket that isn't too thick to fit, and because the nut holding it is thin, it needs to bite from almost the tip of the socket; a machined impact socket did the trick
fd517690-568c-4e31-a5f7-5fcd8b6d1919.jpg

02c3b87c-3680-48b7-990f-cfc34677eb4e.jpg

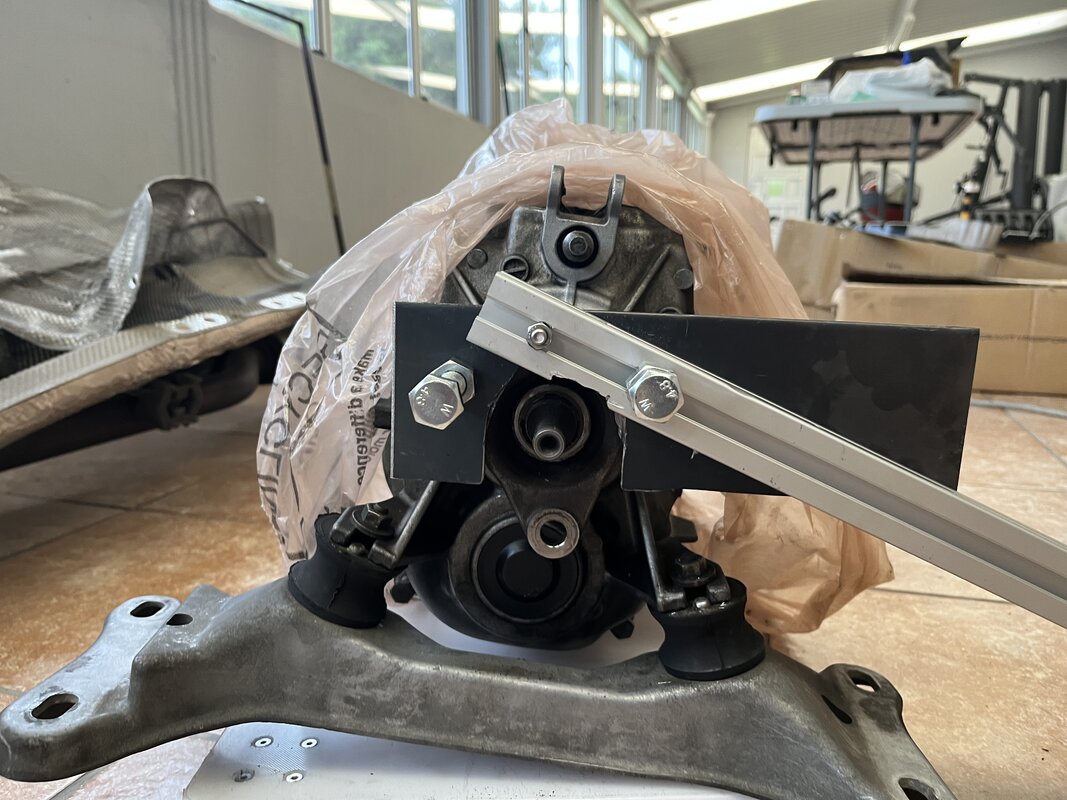
Counter-hold the output flange while loosening and tightening

IMG_9284.jpeg


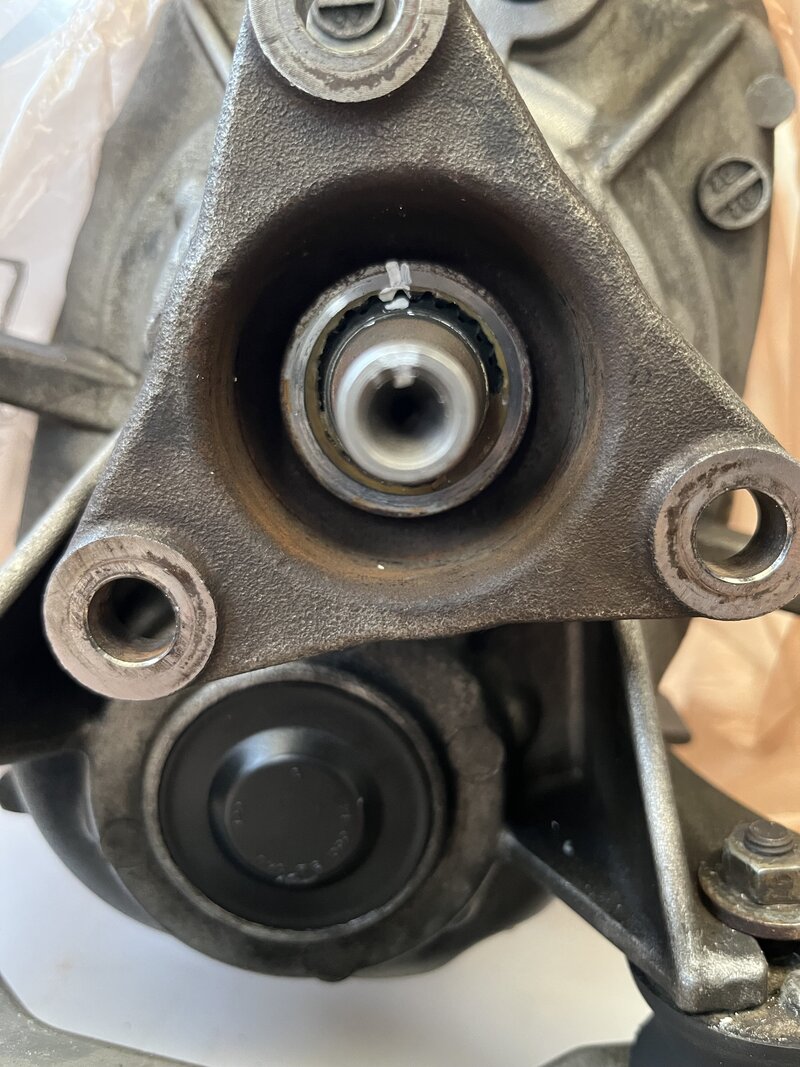
Kept everything lined up; the output flange needs thread sealer on the spline and thread lock on the threads; it also needs to be heated up when installing.

IMG_9286.jpeg

The selector shaft seal is a common area for small leaks, so that was taken care of
IMG_8815.jpeg

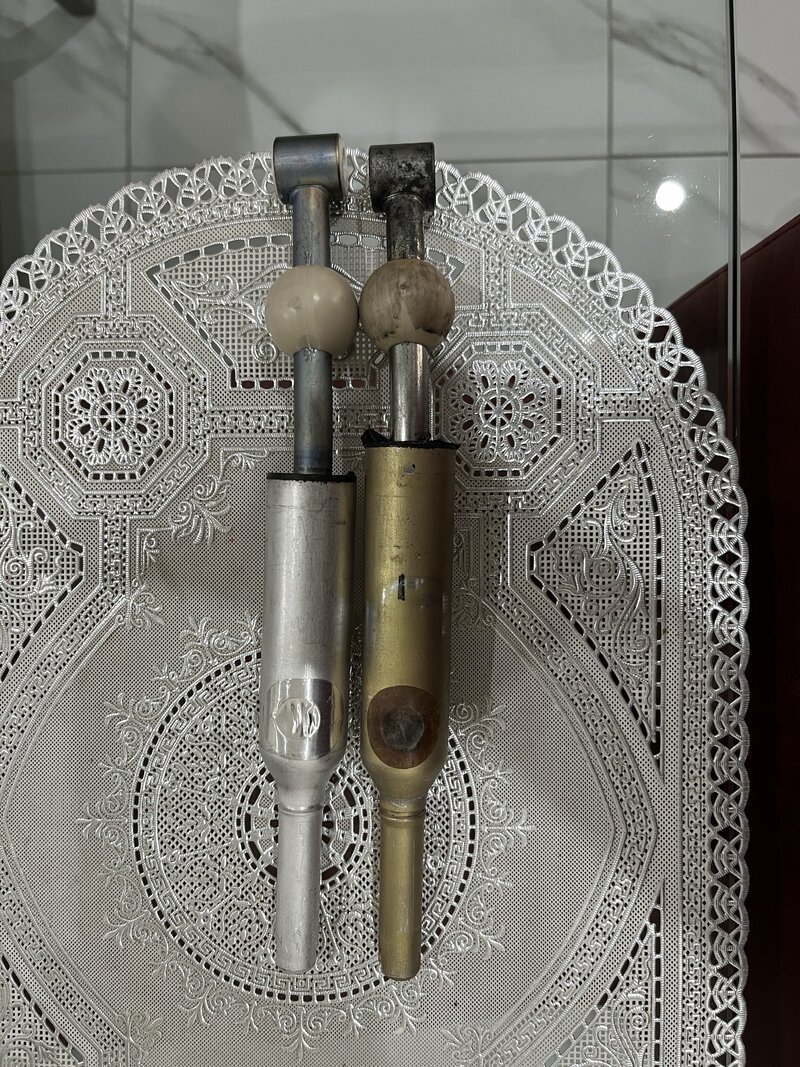
Now is the time for some upgrades, like a short shift kit; also replaced all the bushings and the clips associated with the gear change linkage, with an original shift shift gearknob, the difference between the original and shorter level isn't much; the shorter gearknob makes things feel sportier
IMG_9005.jpeg


Changed the input seal; all parts used were OE from BMW
IMG_9141.jpeg


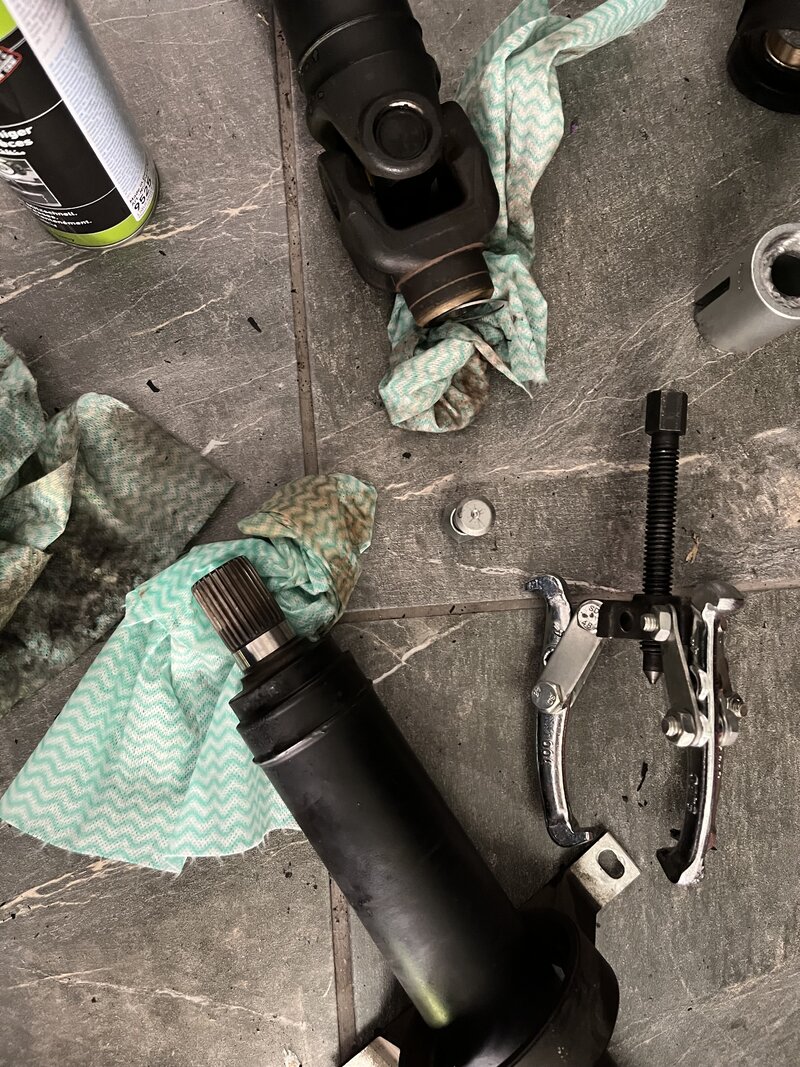
Next thing to service was the driveshaft; change the flex disc and the carrier bearing

IMG_8796.jpeg

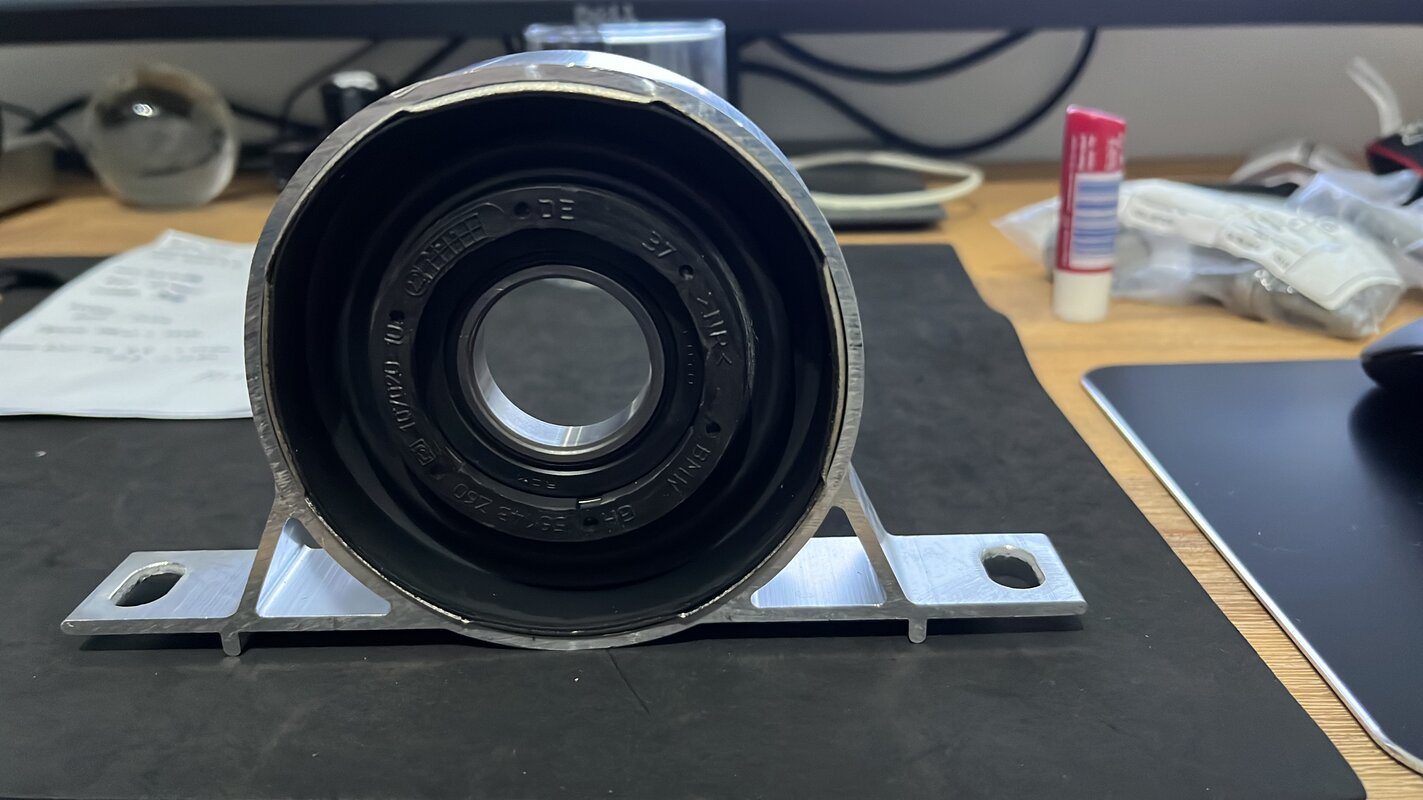
OE carrier bearing; the one on the car was fine, but while I was there
76B19CB0-3025-4CE3-B5DE-1FDEA7A8C98E.jpg


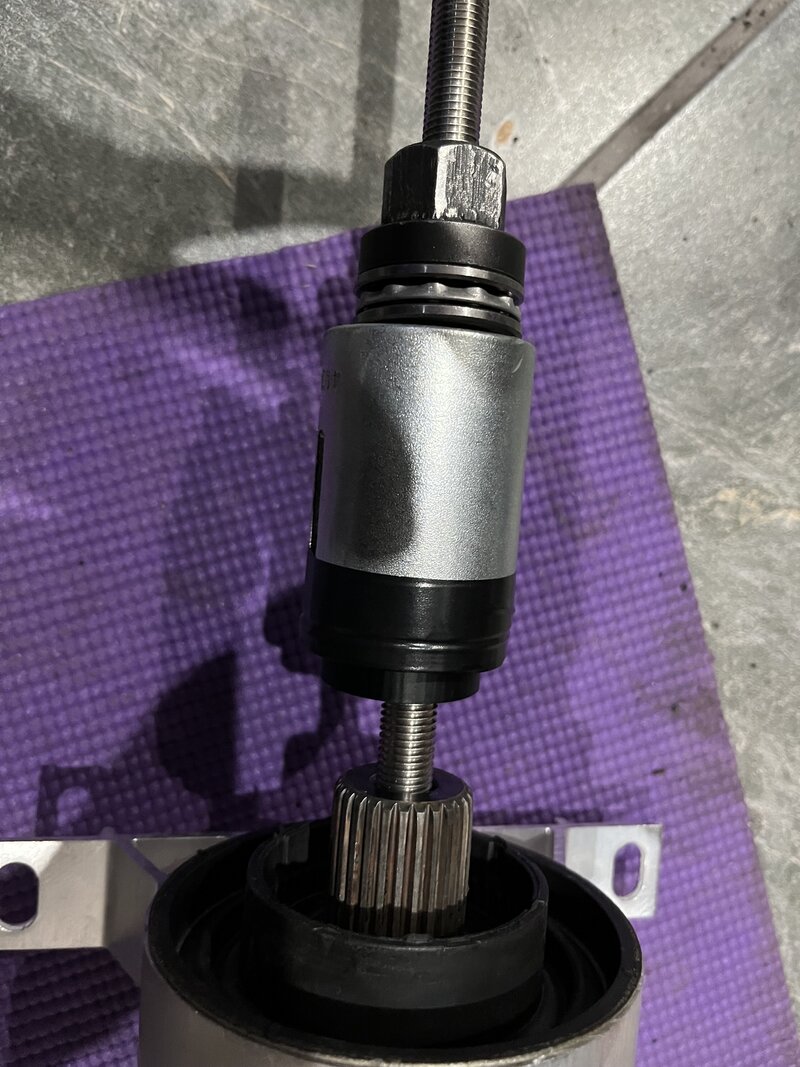
Setup to drive the new carrier bearing to the correct depth
IMG_8797.jpeg

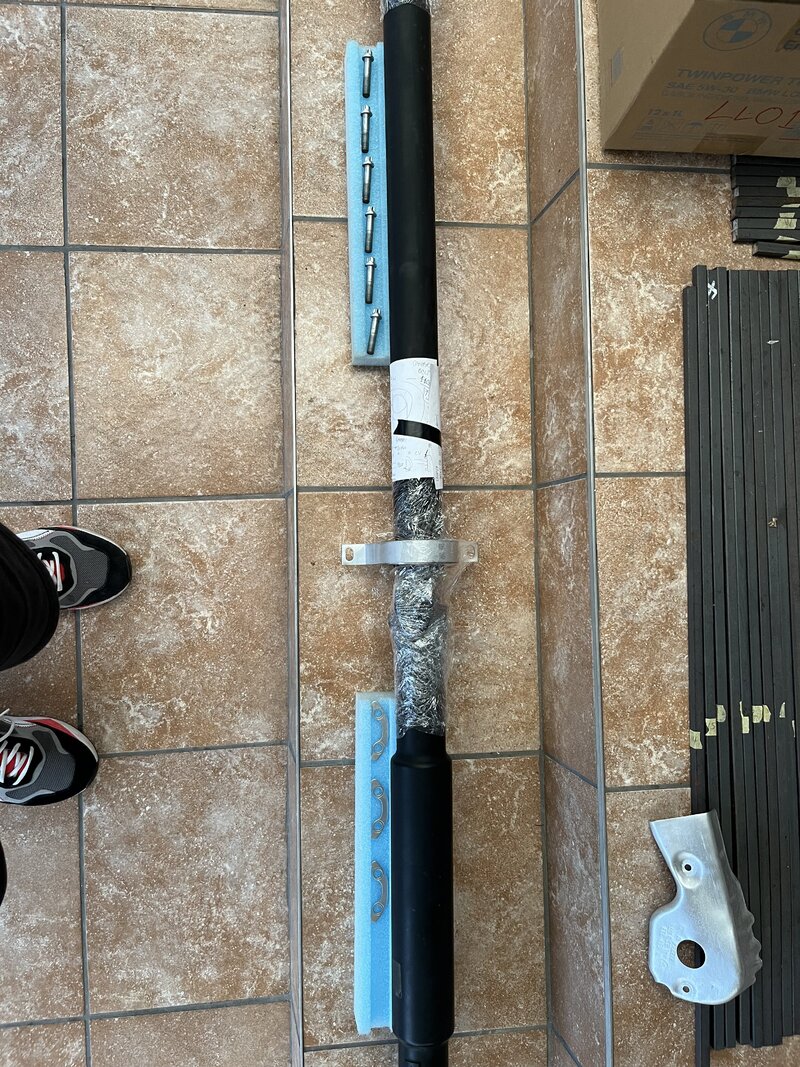
Driveshaft ready to go back although it would be a few months
IMG_8803.jpeg
 

TheFlash

Member
Chapter Five - The Head

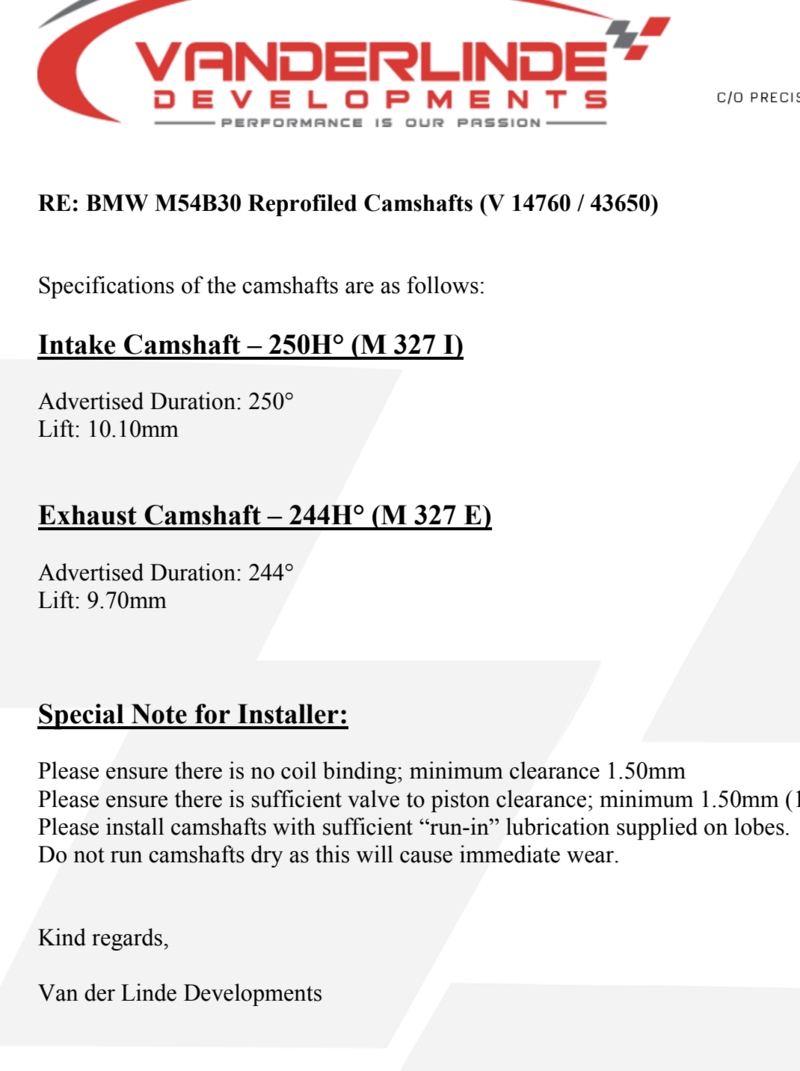
I see some suggestions, so I will get to it, the head was gas-flowed with CAMS, all done by Vanderlinder Developments

IMG_9365.jpeg


There is a one-way valve in the head that keeps oil from draining back when the car is turned off; the only time you can change this is when the head is of.

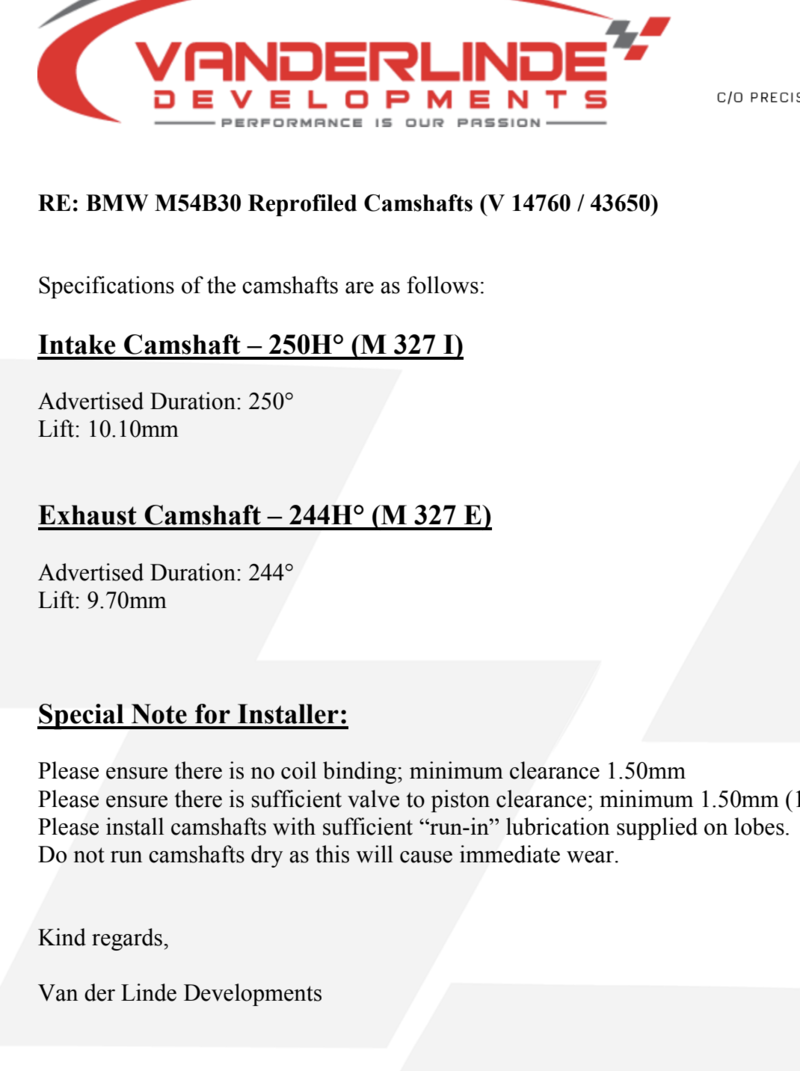
The specs of the CAMs used
1791107436403.png
 

TheFlash

Member
Chapter Six - Rings, Bearings, Oil Pump etc.

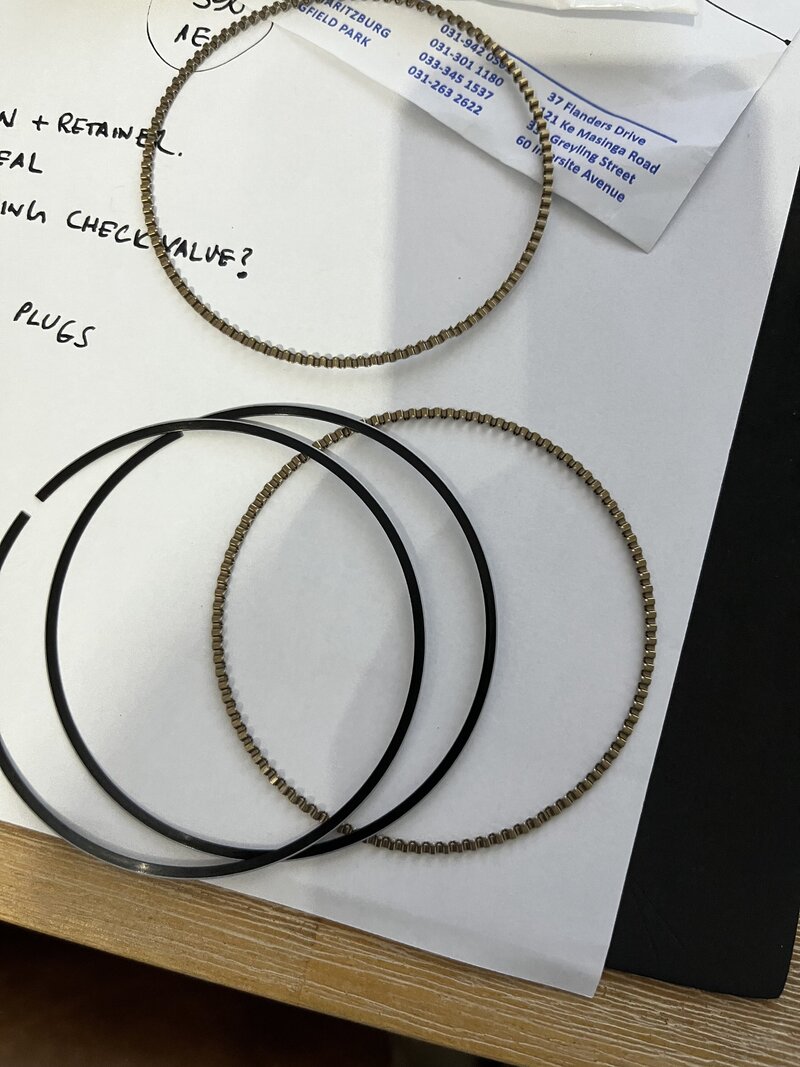
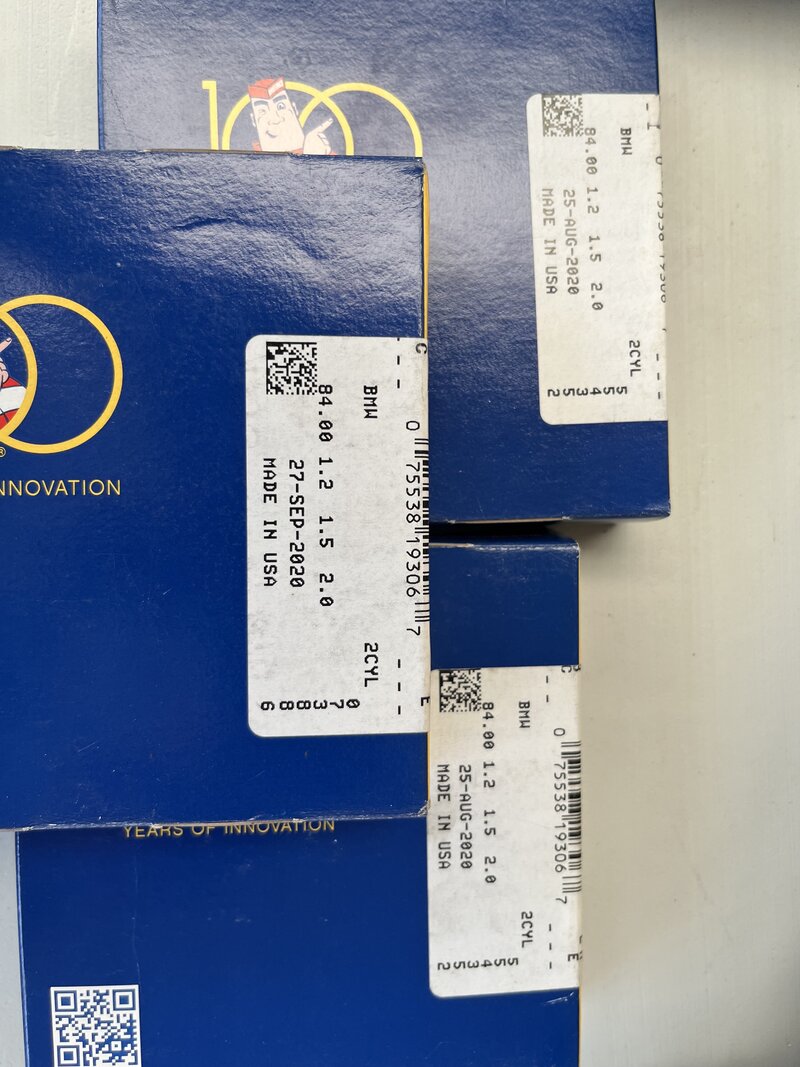
Since the rings were the source of trouble since new, I was determined not to use the OE two-piece and found Hastings three-piece

The solution-hopefully :)

IMG_8882.jpeg

IMG_8889.jpeg


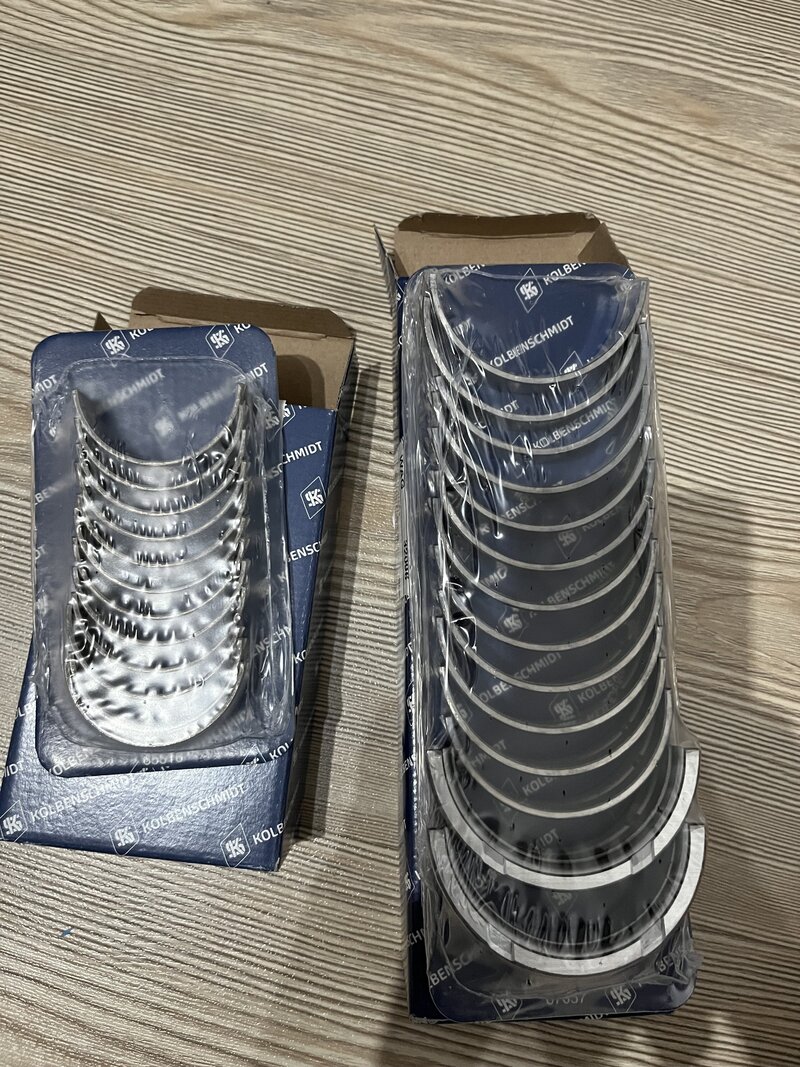
For main and big-end bearings, KS is what was chosen
IMG_8896.jpeg

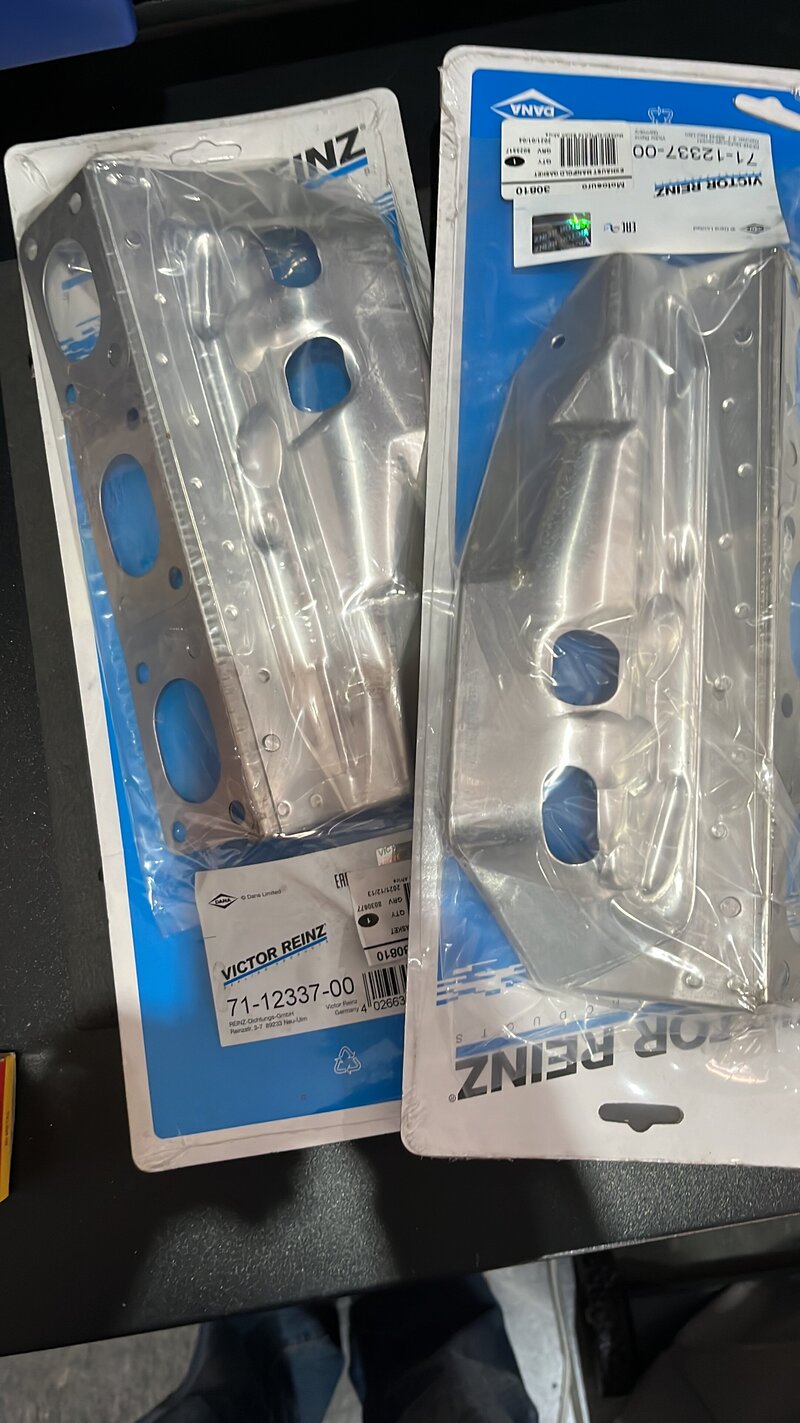
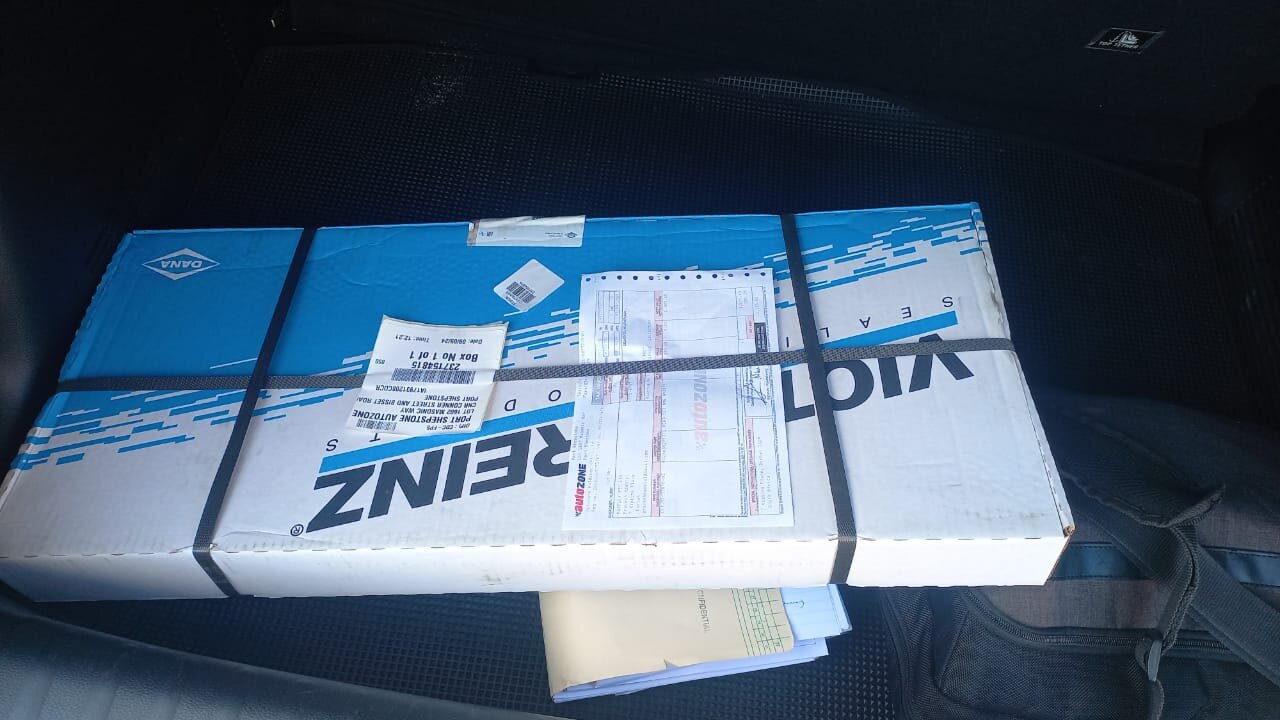
Managed to get a top-end Victor Reinz Gasket kit at a good price. I used an OE head gasket and sump gasket from BMW, as well as head bolts from BMW. I did buy a set of Victor Reinz head bolts but decided not to use them, as they measured a bit smaller in diameter than OE, and since this is an aluminum block, I was nervous about the threads stripping.

32c75fd1-24c3-49c3-8e91-55b2249dec0e.jpg

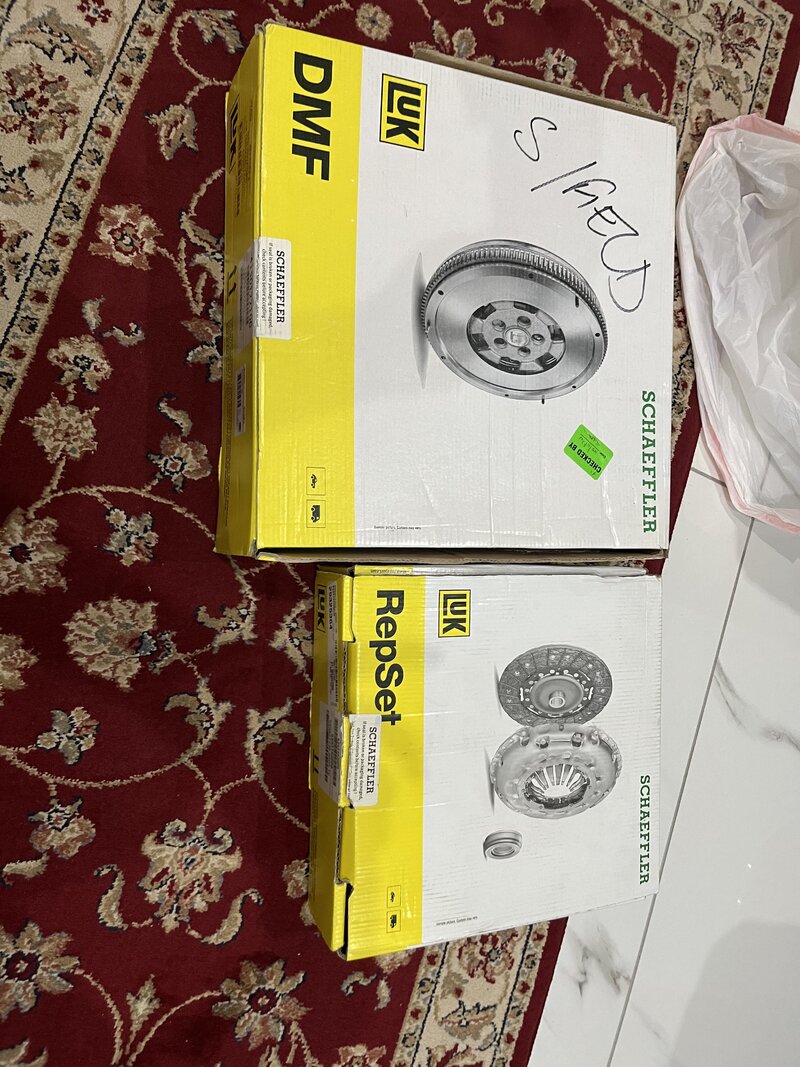
The clutch, pressure plate, and dual-mass flywheel
IMG_9122.jpeg


Ordered new bolts from BMW since I wasn't sure what type of sealant or thread lock was used on them. I see LUK supplied those in the kit but used OE

IMG_9108.jpeg

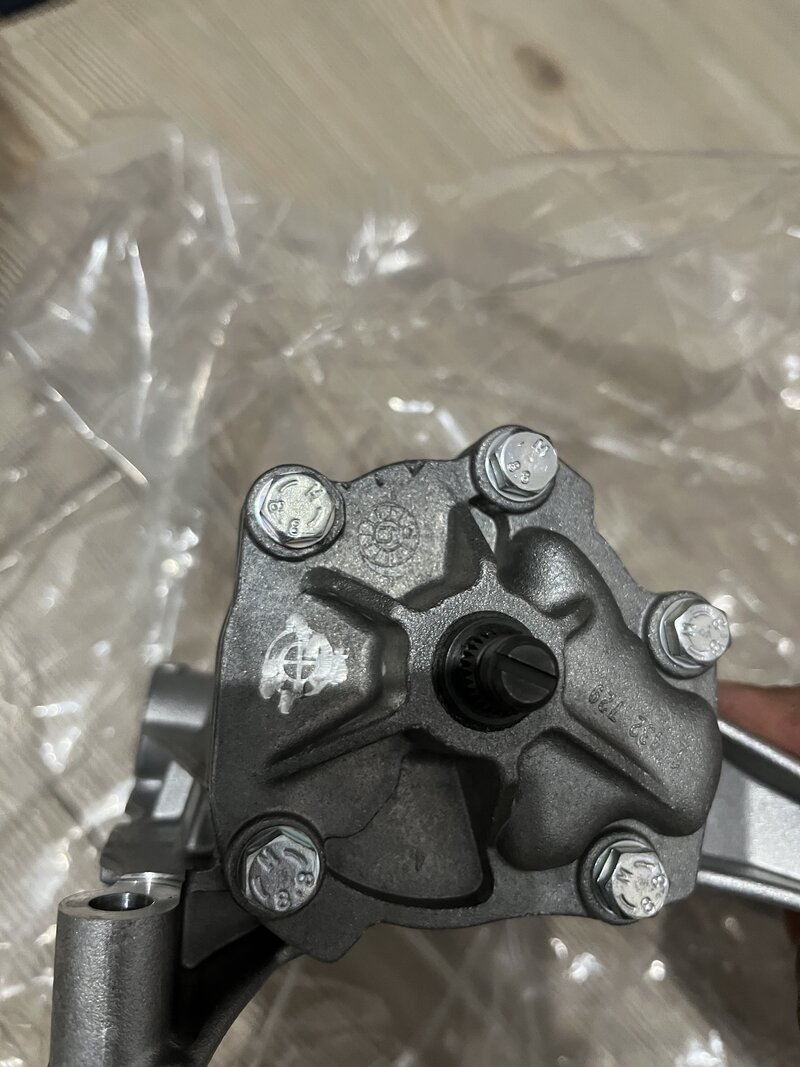
New oil pump, expected OEM turned out to be overstock OE
IMG_8895.jpeg
 

TheFlash

Member
Nice write up.

You might wish to reconsider porting the head unless you are changing cams as well as injectors.
The heads are typically at the upper end of performance with the standard set up.

The exhaust manifolds are certainly the trick on your build good choice.
I ended up doing CAMs too, it's going to need a tune to get the benefits though
 

Peter@AEW

BMWFanatics Advertiser
Official Advertiser
I ended up doing CAMs too, it's going to need a tune to get the benefits though
Excellent choice the B30 is really an engine that can accept mods easily.
Xceede may be able to assist in a better tune for that engine.

May I equally encourage you to make contact with Beisan for their vanos repair and rattle repair kit.
Order the needle rollers as well.
A worthwhile repair.
 

TheFlash

Member
Chapter Seven - Vanos

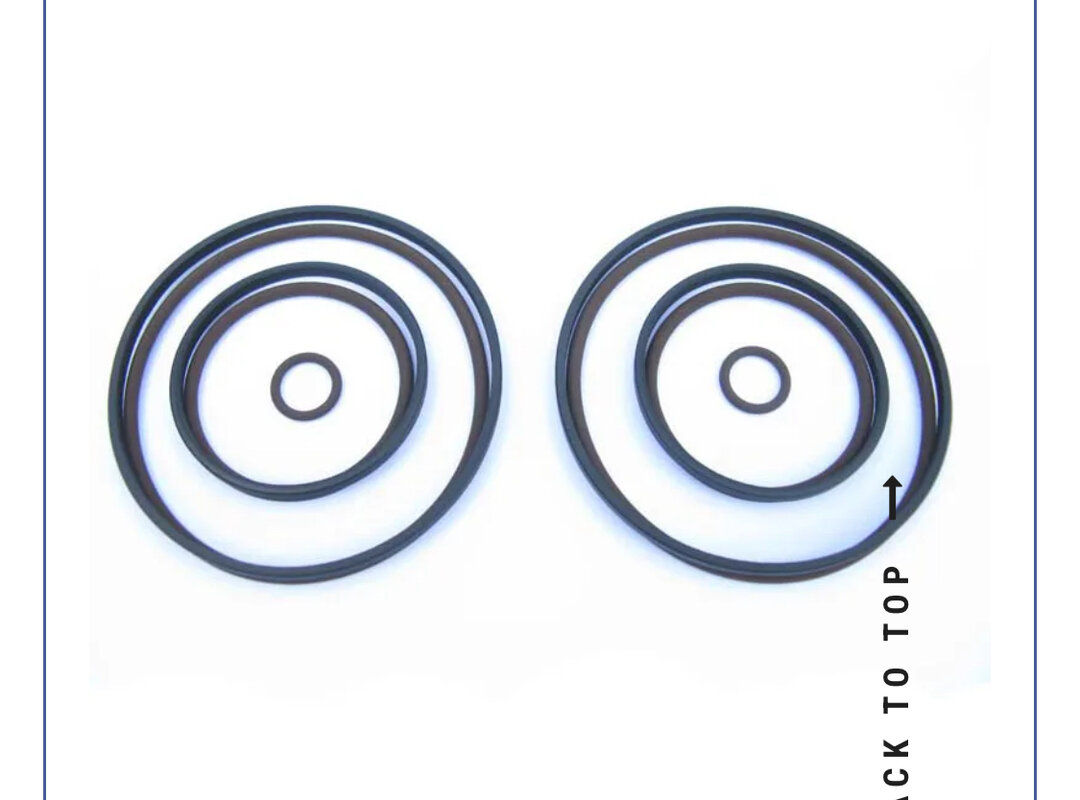
I looked around a bit and did end up with a seal kit from Beisan Systems, I didnt have any rattle issues so decided to only get the seal kit with new filters from BMW. Shipping ended up being same cost as part but these will last.

IMG_8898.jpeg


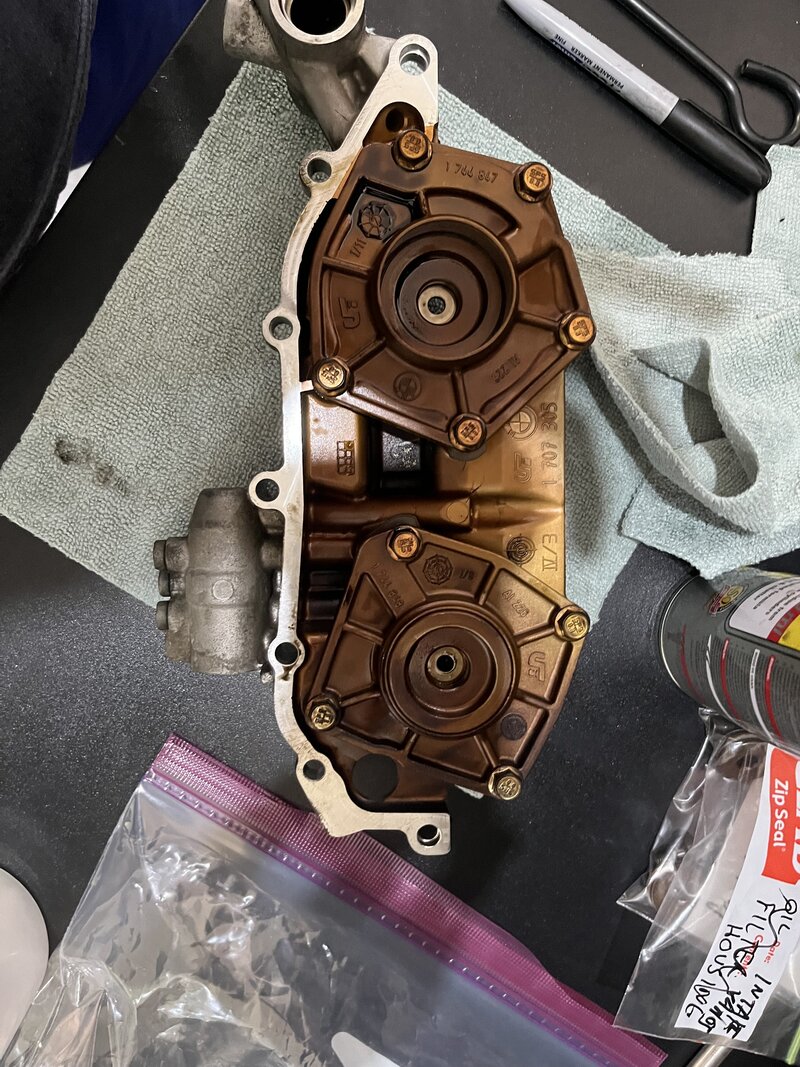
Vanos before

IMG_9220.jpeg

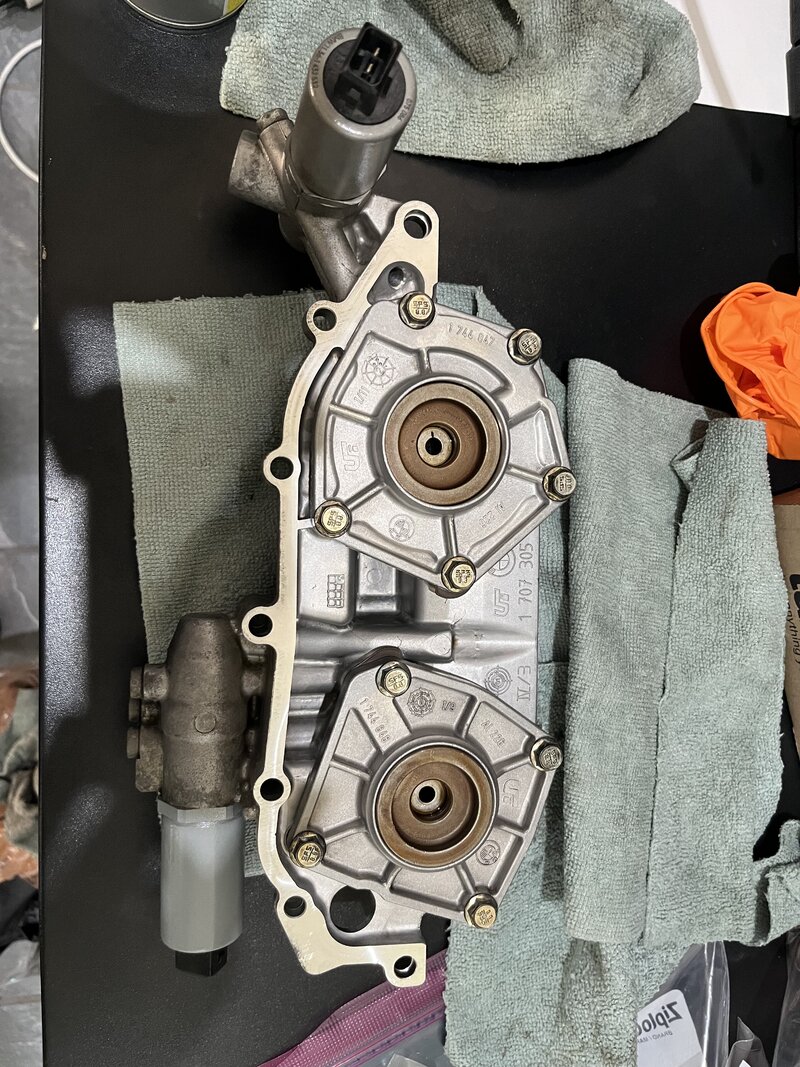
Vanos after: the gaskets for the covers holding the pistons are not sold by BMW separately; since the originals seemed fine, I reused them as I could not find a source anywhere.

IMG_9223.jpeg
 

Attachments

  • 1791114862879.png
    1791114862879.png
    252 KB · Views: 4

TheFlash

Member
Chapter Eight -The Cleanup and Cylinder Hone

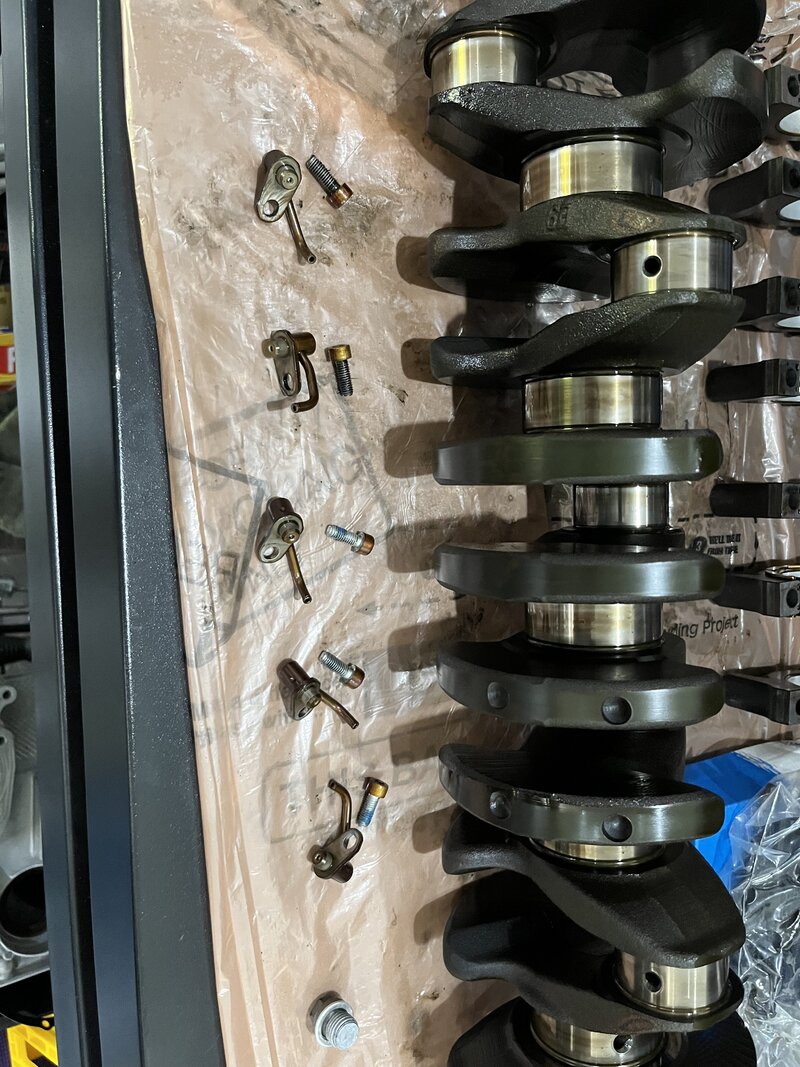
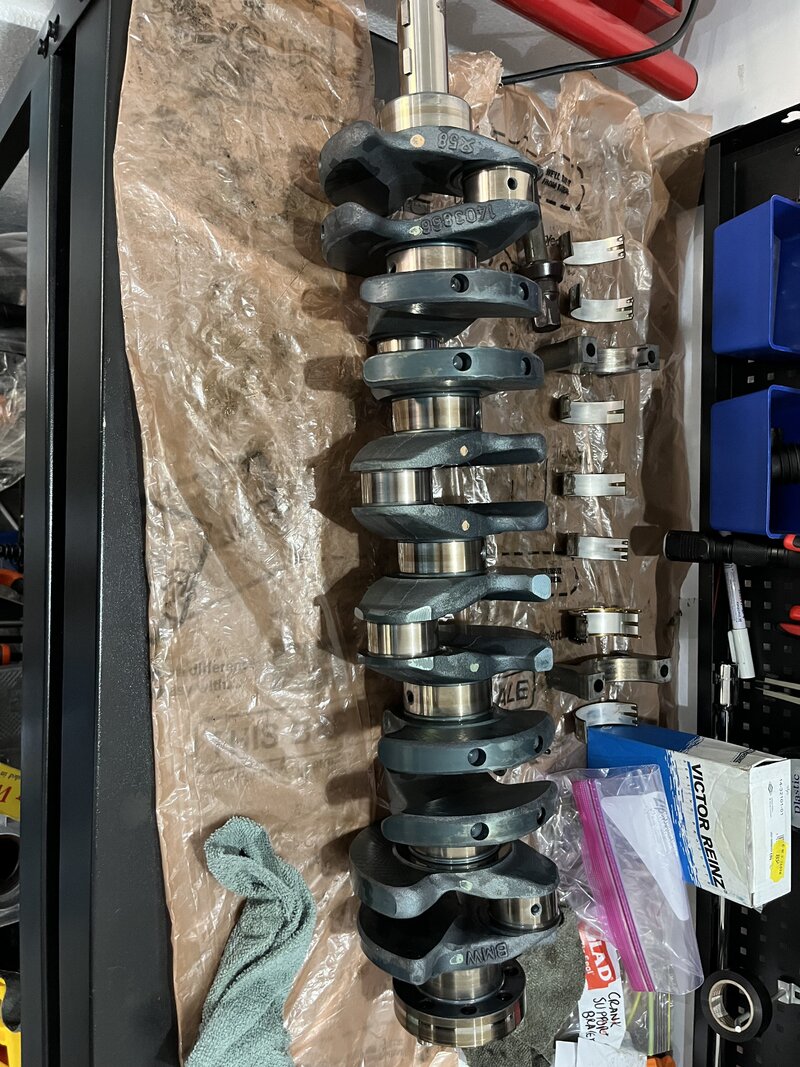
Start cleaning the crankshaft and oil squirters
IMG_9314.jpeg


Once the varnish is removed, the crank shows the blue heat treatment

IMG_9340.jpeg


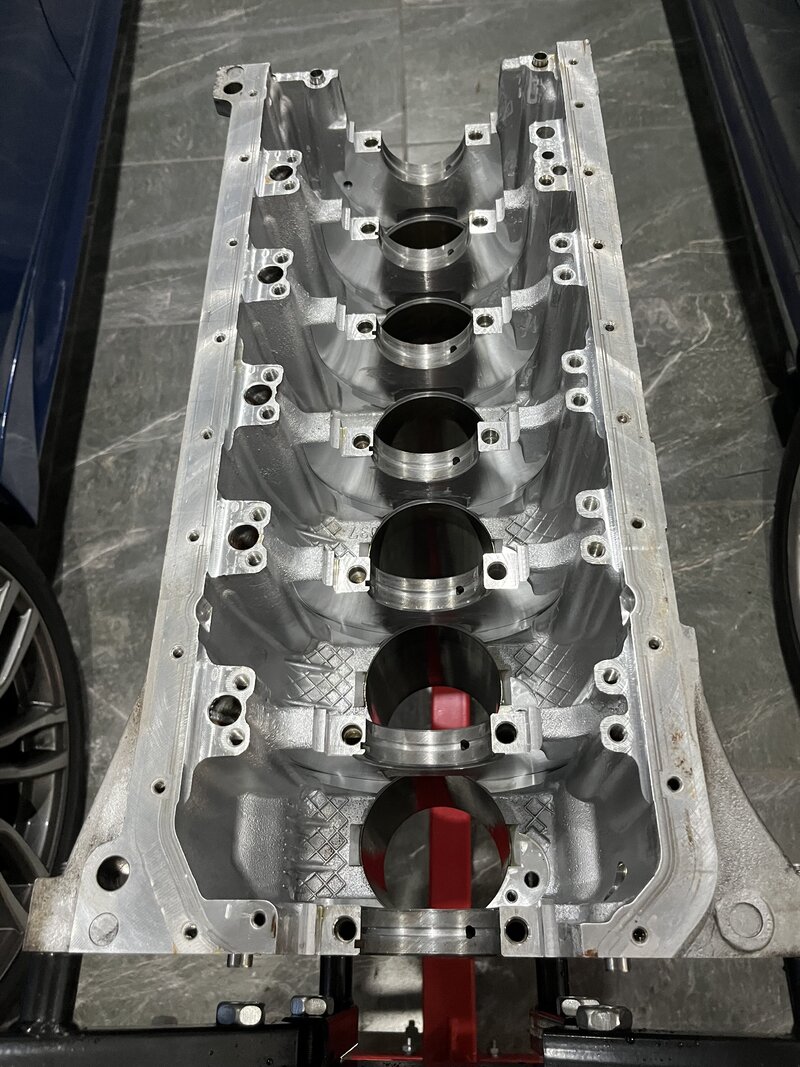
Vanish removed from block
IMG_9342.jpeg


IMG_9363.jpeg

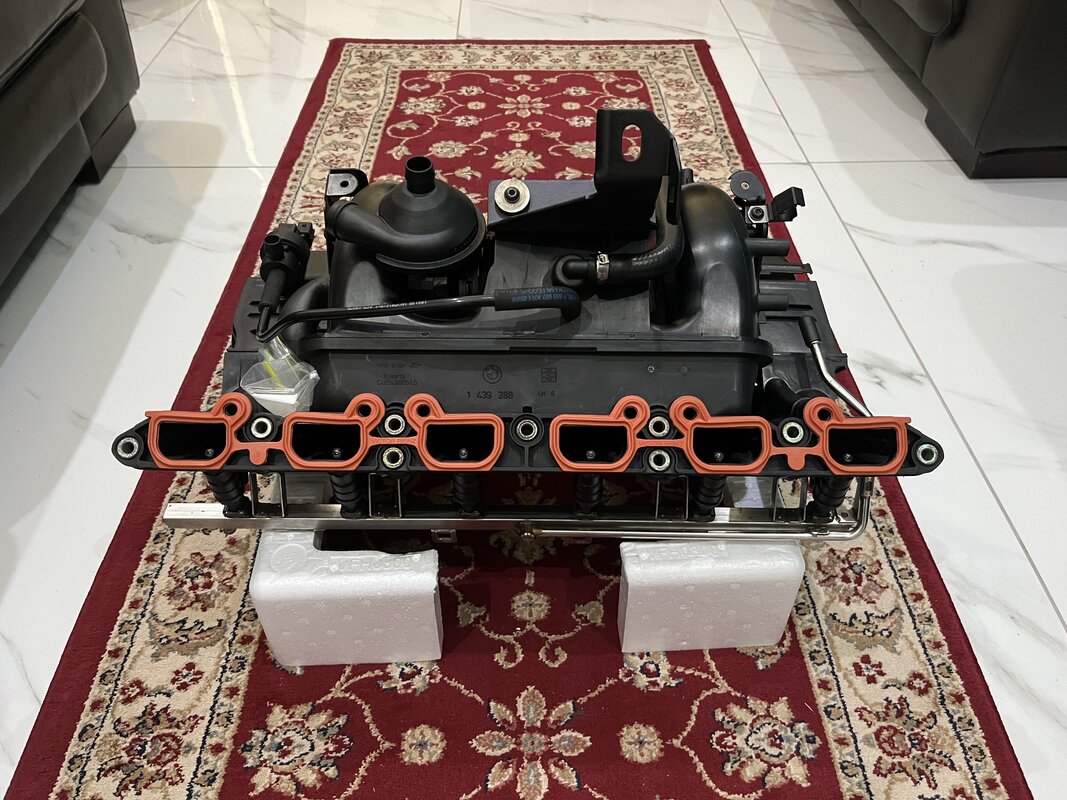
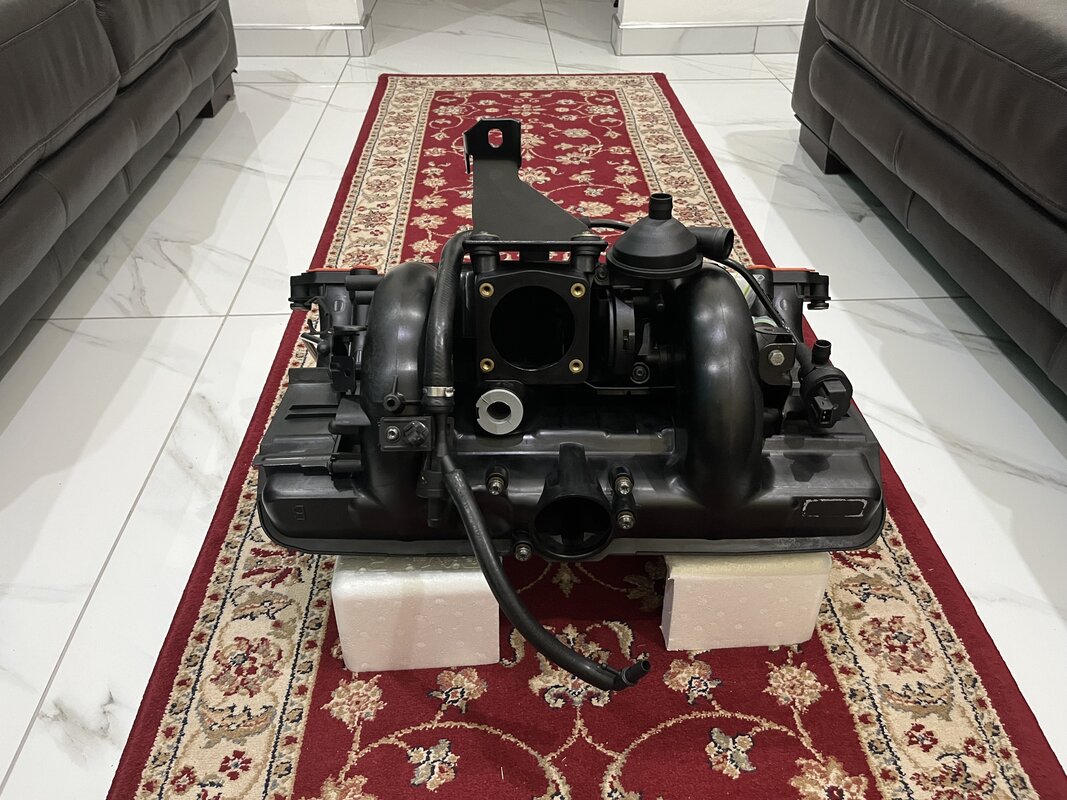
Cleaned up intake, I replace the PCV a short while ago with original BMW one, also used OE pipes aftermarket seemed weaker plastic and not a job I want to repeat.

IMG_9380.jpeg


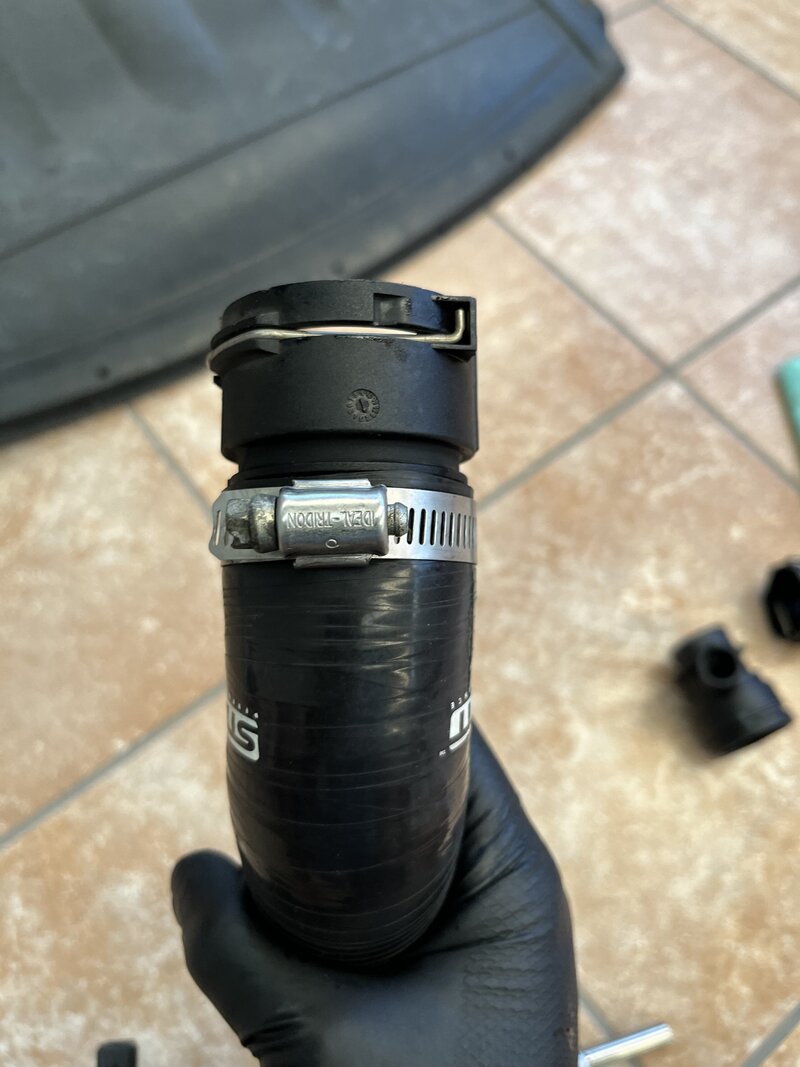
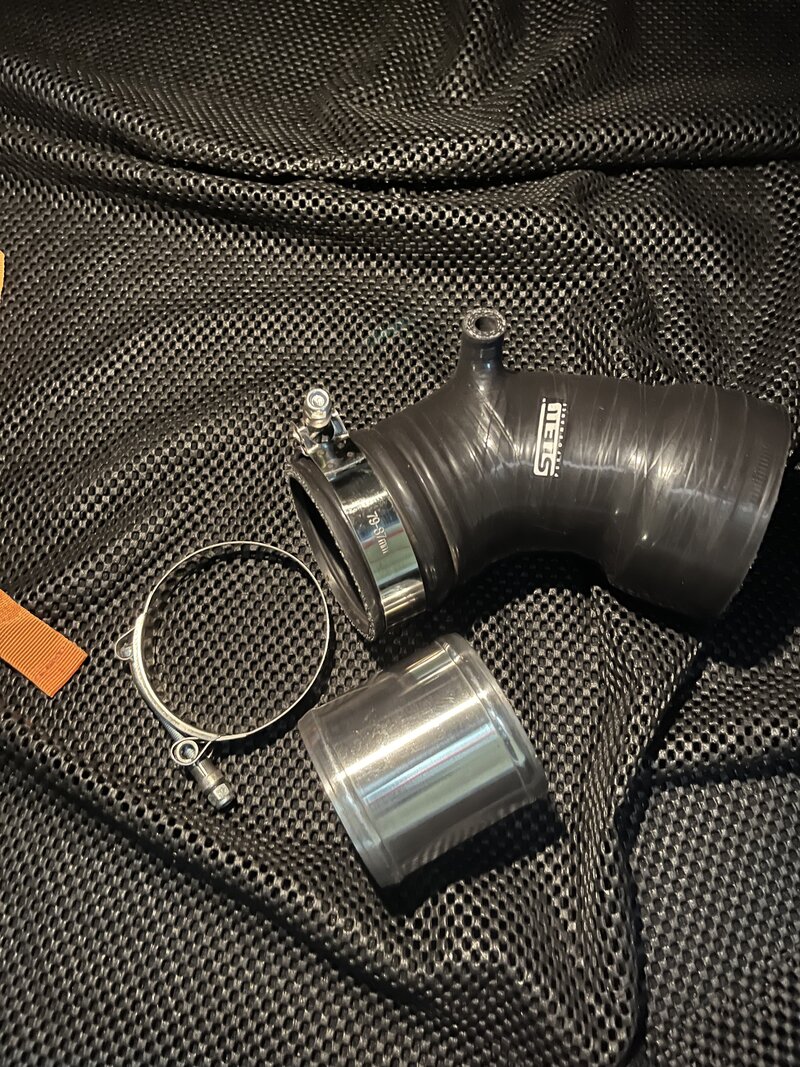
The Disa valve has an upgraded aluminum flap with a bolt, so it can't fail with the pin getting sucked into the engine; the throttle is also relatively new. I had it crashing and throwing the car into limp mode a few years ago; it turns out BMW has a software fix for that, but I had already replaced that with a mass airflow sensor and a silicone intake boot, so I don't have to worry about rubber failing
IMG_9381.jpeg

The intake boot, at least the top half; the bottom part is also silicone
IMG_8694.jpeg


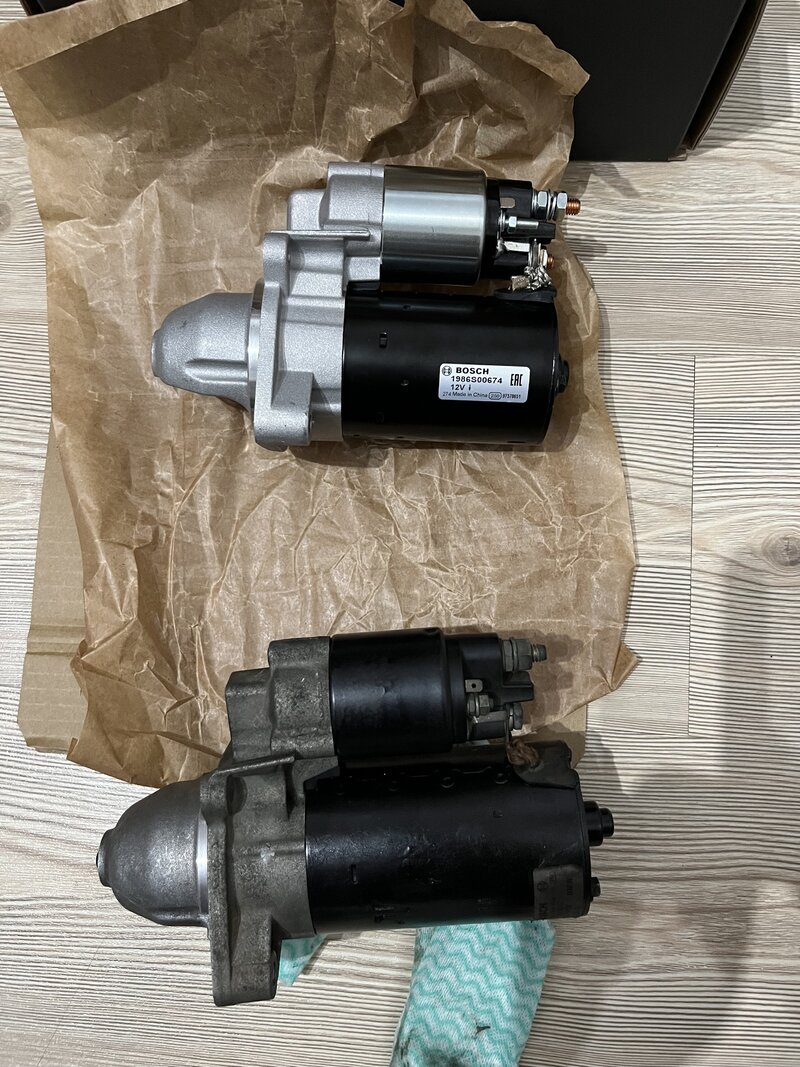
Because the starter is in a difficult place to get to, I decided to replace it. The new replacement from Bosch isn't as well made as the original, but I ended up still using it. I will recondition the old one in case I need it someday.
IMG_9052.jpeg


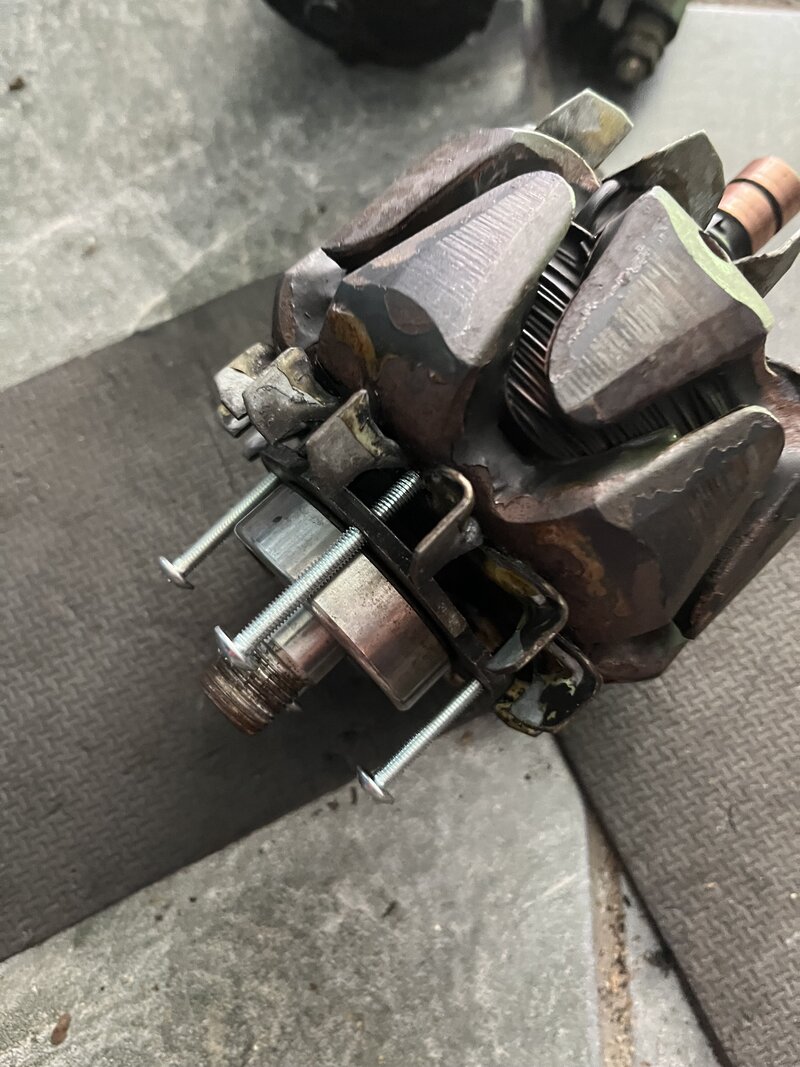
Changed bearings on the alternator, the regulator was replaced before, so this should keep it running well for a while

IMG_8991.jpeg


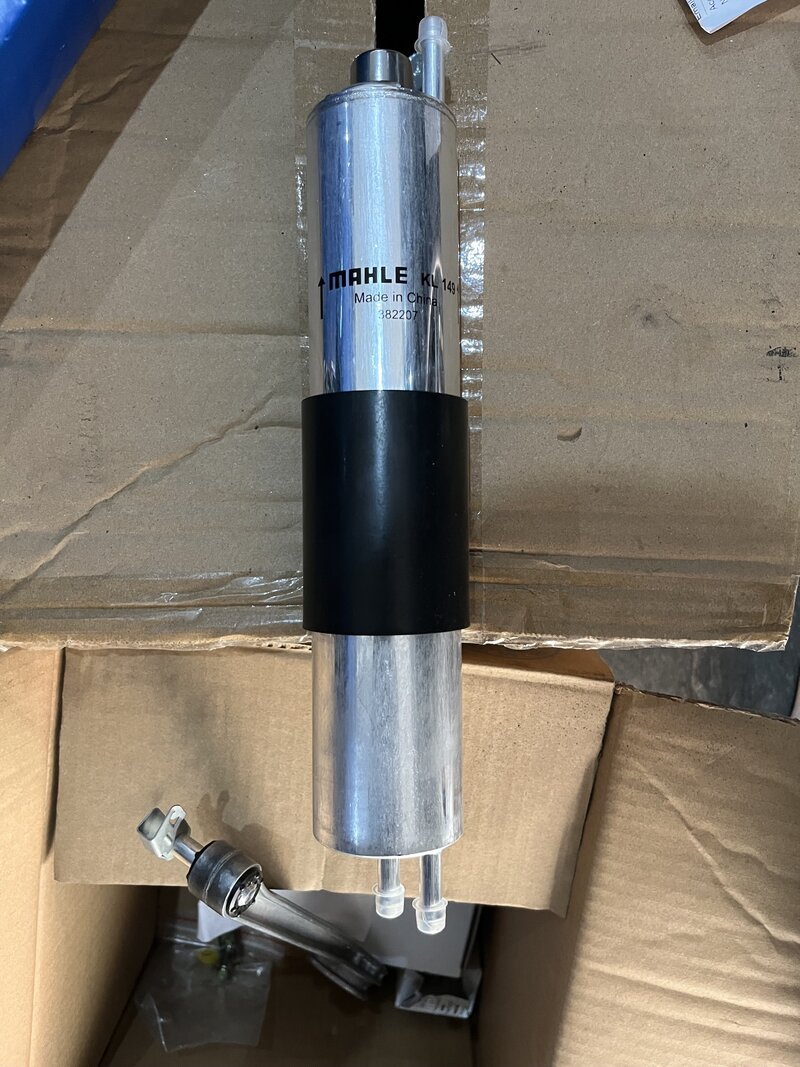
Changed the fuel filter; the old one was dirtier than I expected. I need to start tracking when I change these better

IMG_8843.jpeg


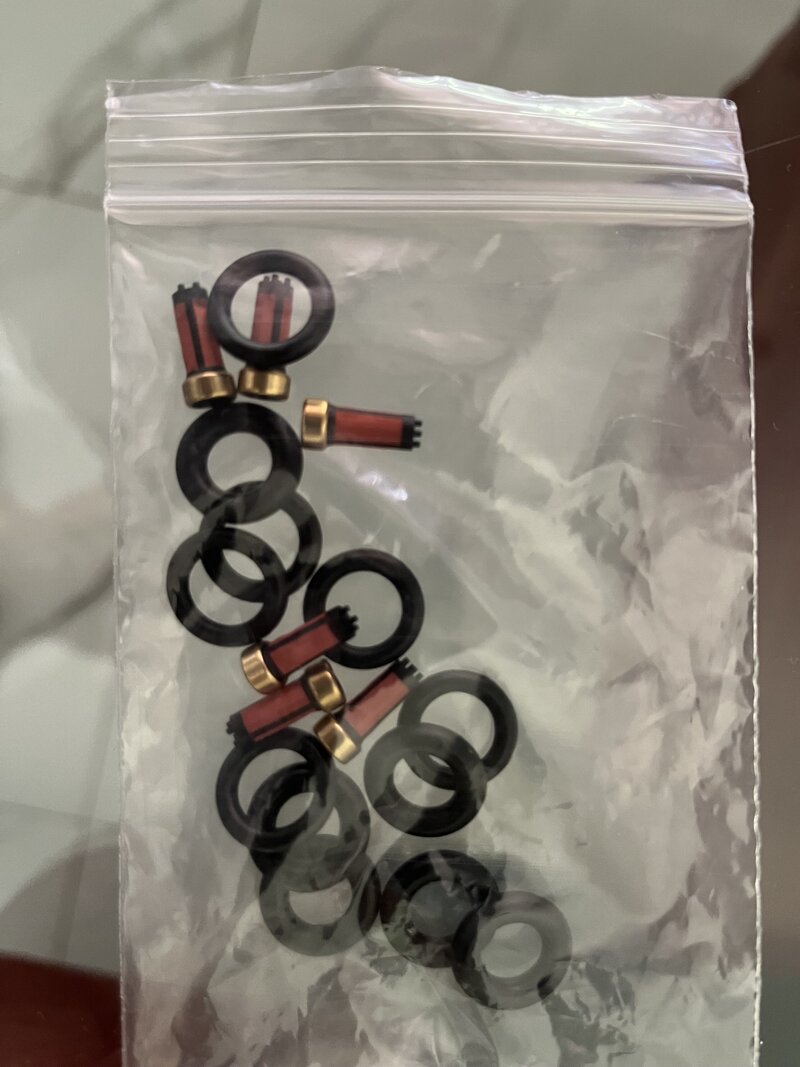
Got a kit of fuel injector filters. I wasn't sure about doing this, but ended up doing it. I removed the old filter with a self-tapping screw and sprayed brake cleaner into the injector while activating to make sure they are atomising correctly. I will check if bigger injectors are required when I am tuning, but I suspect standard will be fine.
IMG_9029.jpeg

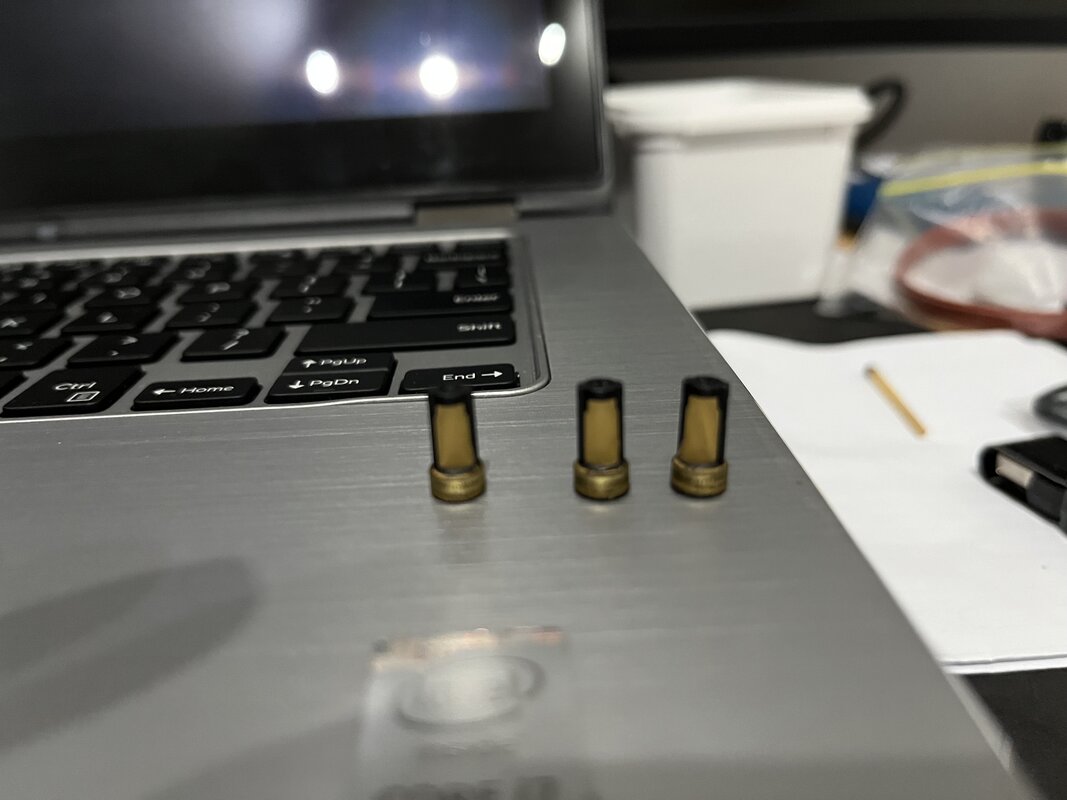
Old injector filters were brown but seemed to still be clear. I didn't have any issues with these, so I don't think there was any difference changing them
IMG_9287.jpeg

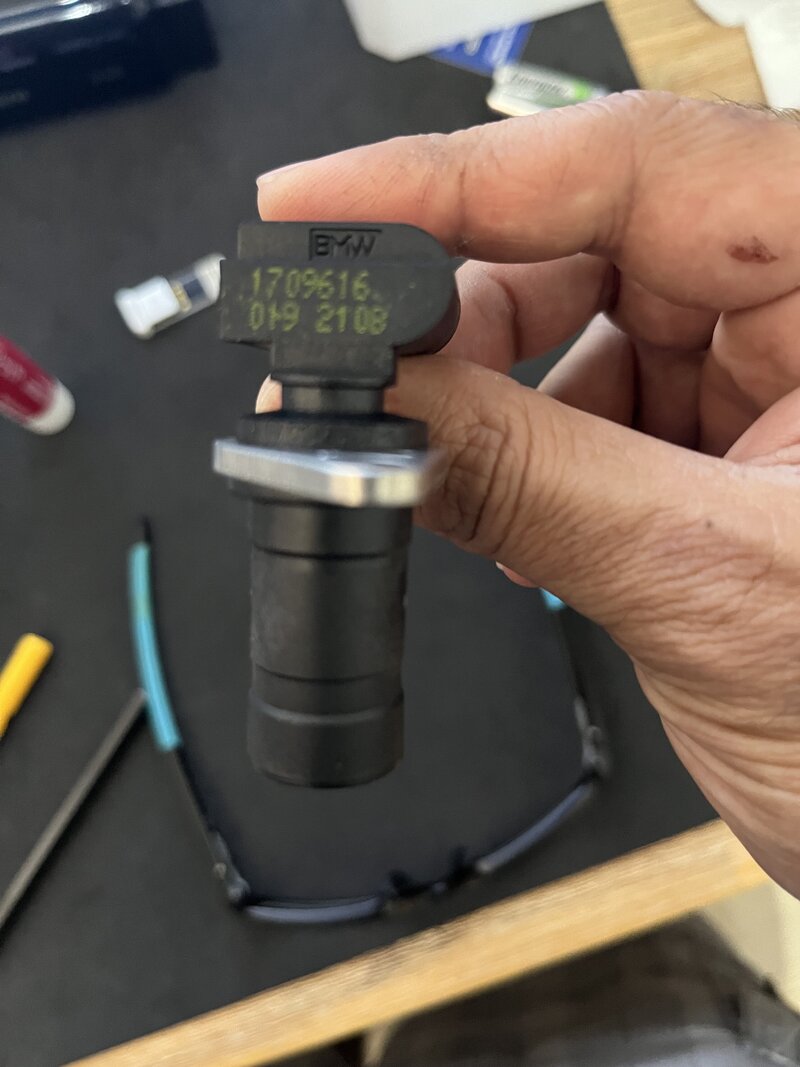
Was going to replace the crank sensor anyway, mainly due to how hard it is to get to; on close inspection, I realised the old one had a hairline crack and was letting oil in, so it was just a matter of time.
IMG_9124.jpeg


All the pipes and plastic bits will eventually fail. There is an aluminium version of one of the plastic pipes available from Turner MS, but that still leaves the other. Ended up just using OE; will see if they make both in aluminium; may change someday
IMG_8621.jpeg


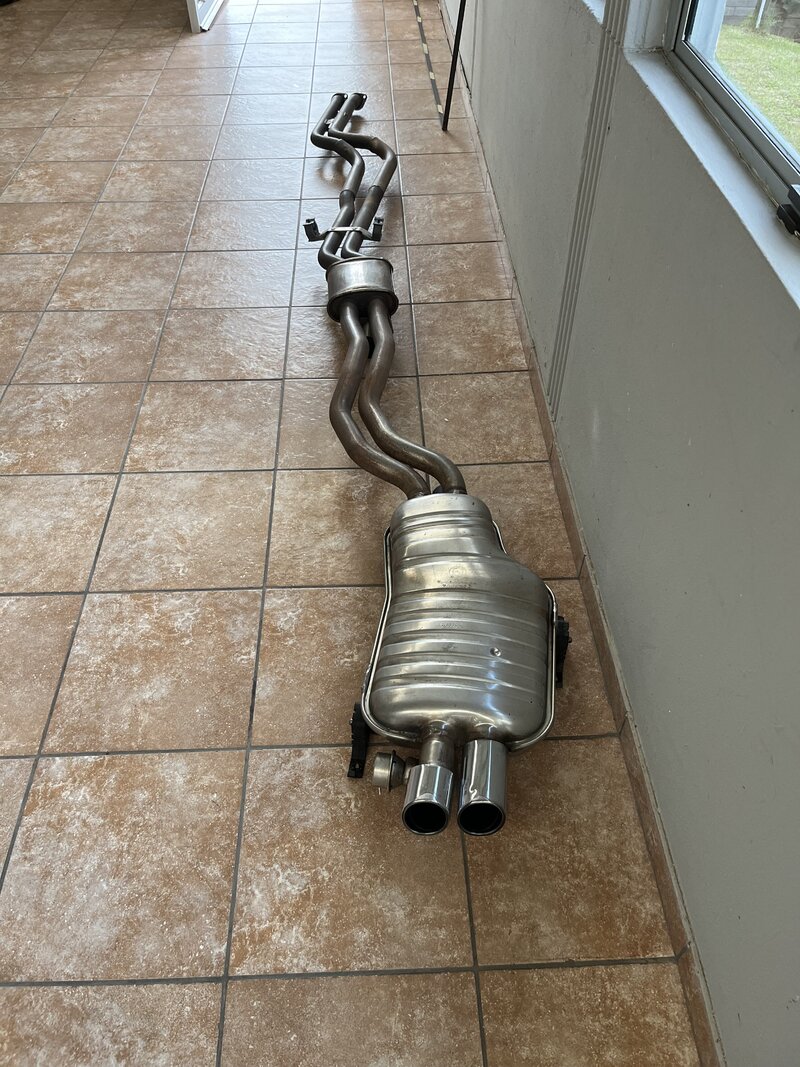
The exhaust cleaned up nicely; had the secondary cats removed when the car was close to new. I like the standard look; maybe if I get an AC rear box, I will change it; for now, I will use this. I thought the flap was stuck, but I see it only works when the car is moving; plugging it only makes a slight difference to the sound at low RPM, so I left it working.

IMG_8764.jpeg

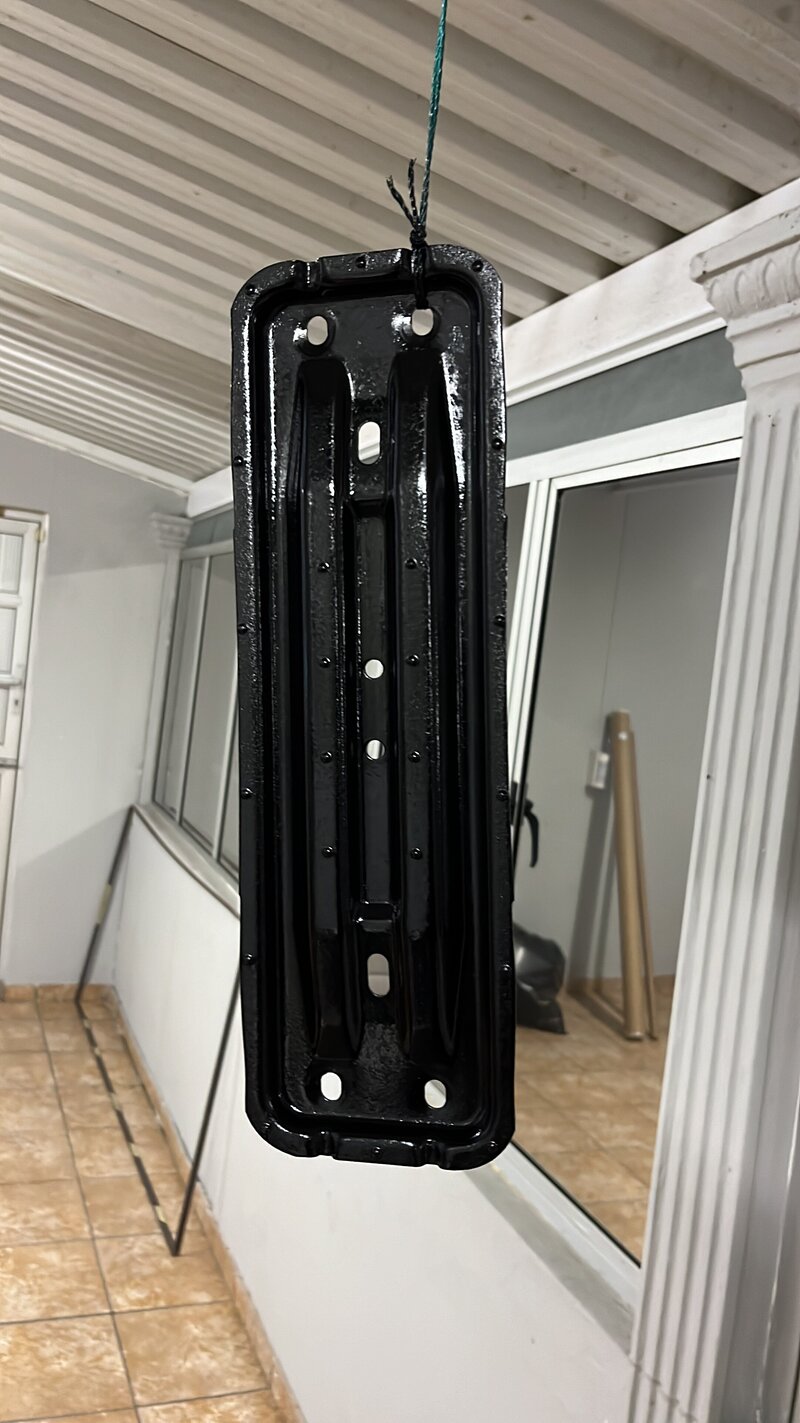
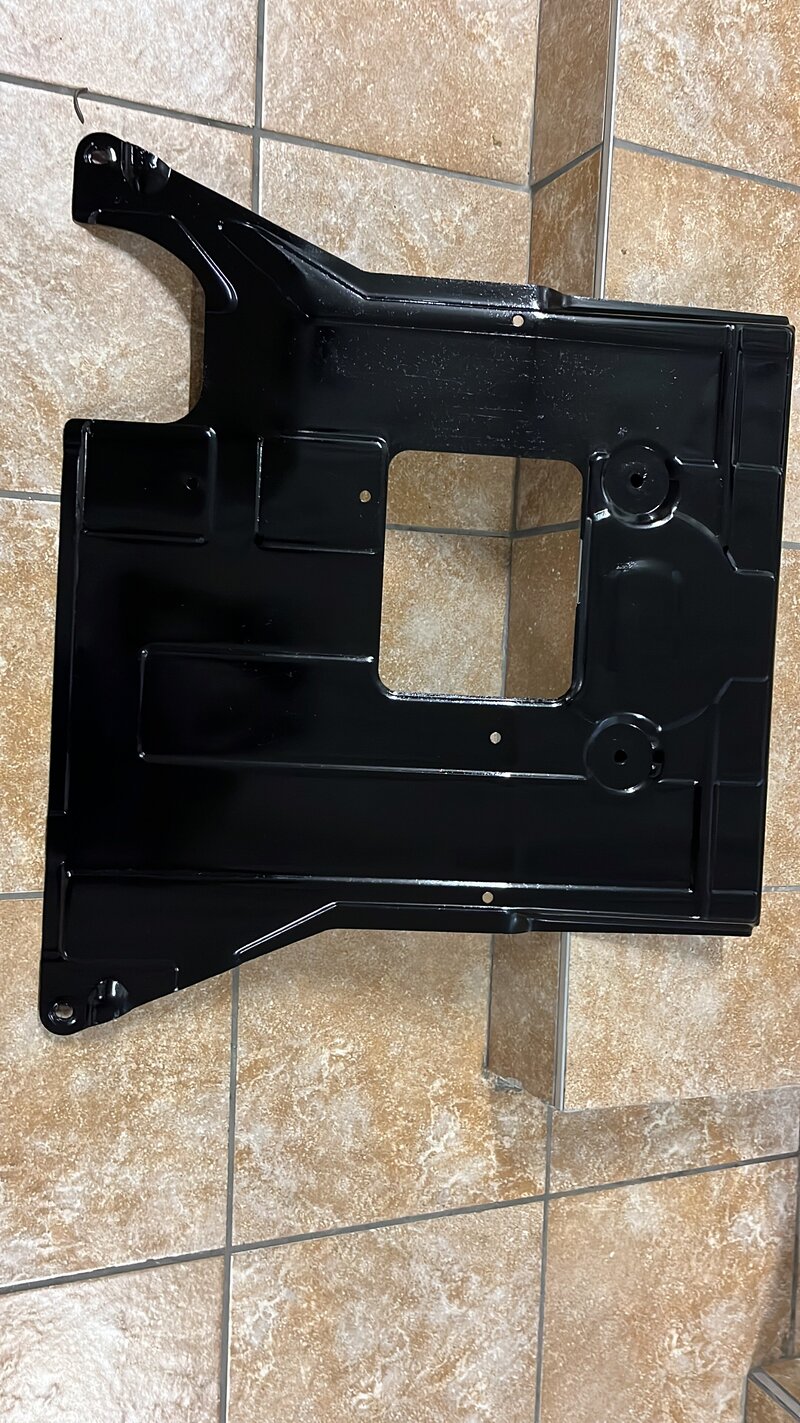
Gave some of the plates under the car a cleanup and some fresh paint
8870F397-69FC-4021-AAE4-5C5784418631.jpg

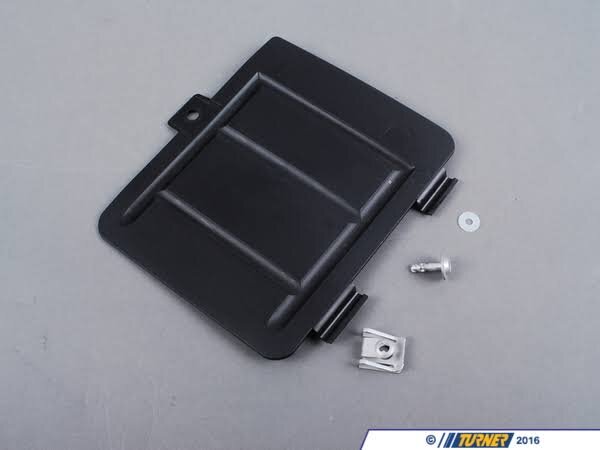
My car never came with the little trap door to access the sump nut. I thought BMW had lost it when it went for a service with them, but I remember checking while it was under Motorplan, and they said it wasn't specified for this car
658052DA-B9EC-494C-97FB-8D6F0A500832.jpg


Decided to fit one anyway.

IMG_8826.JPG


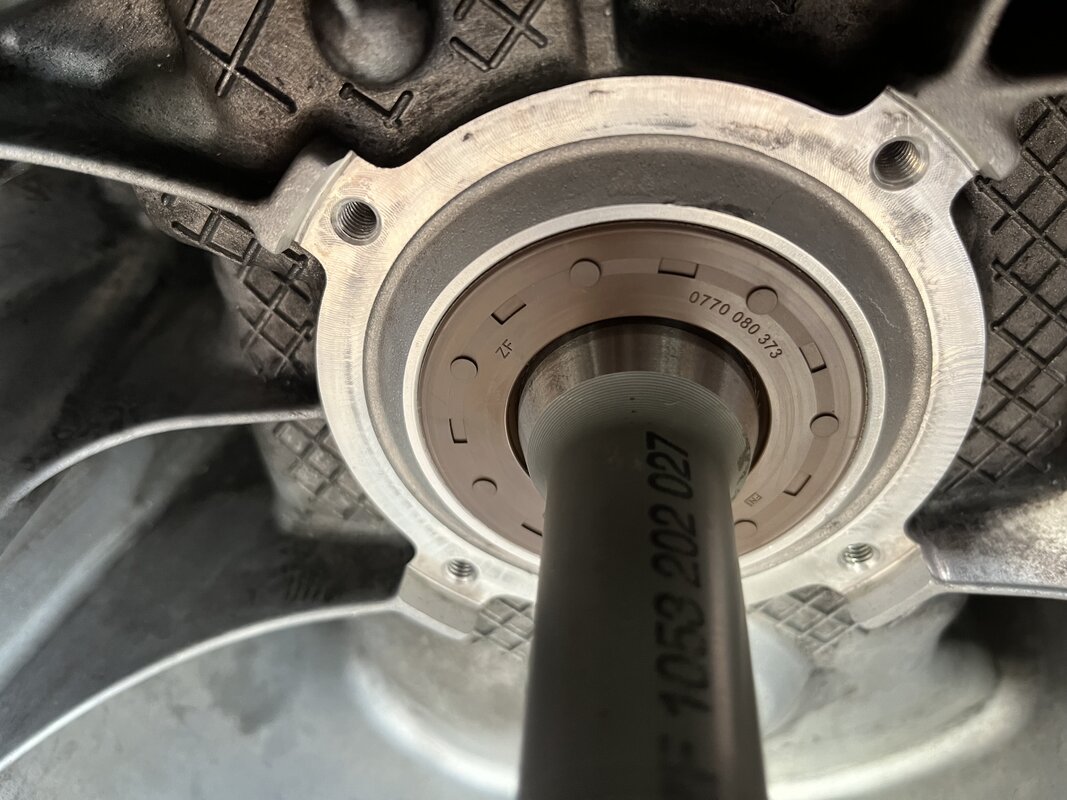
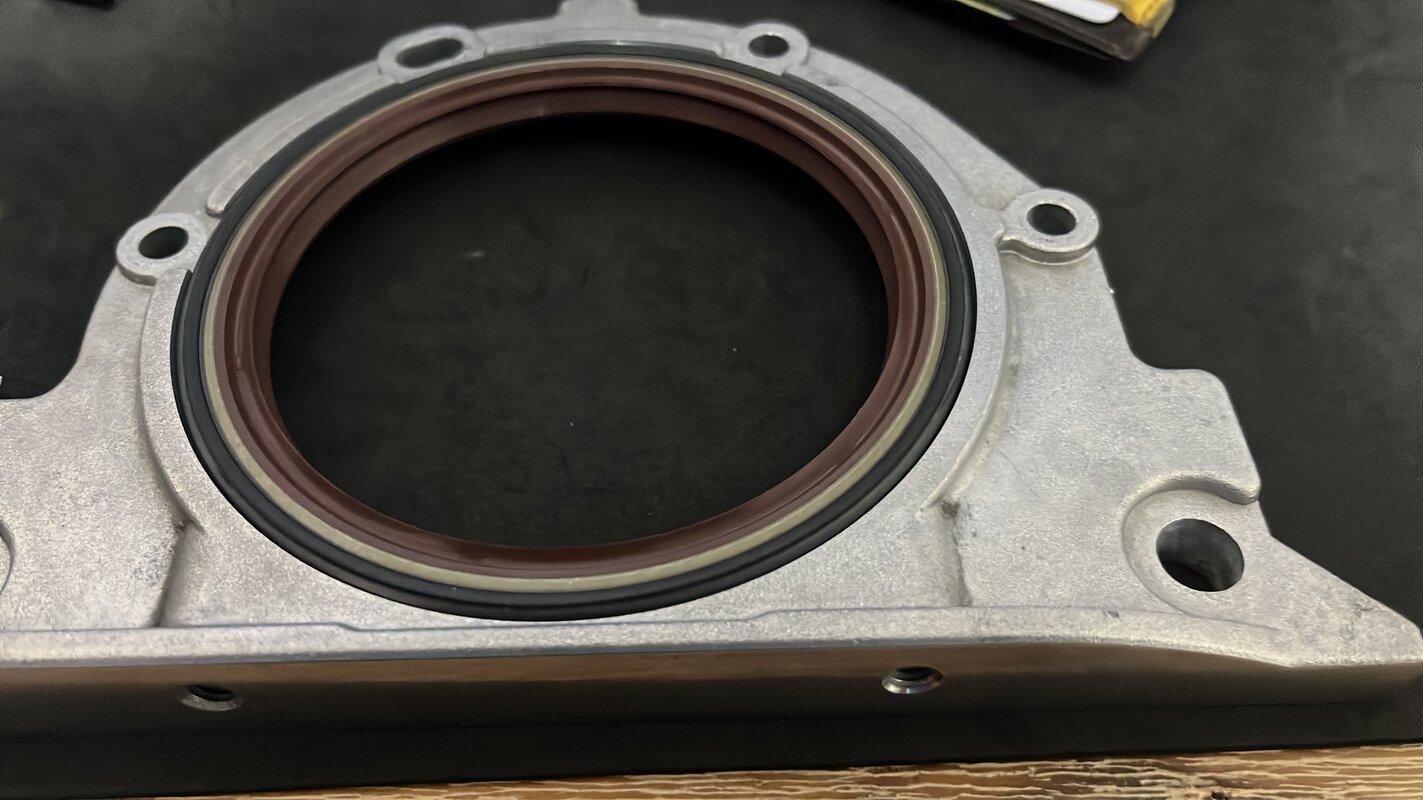
Cleaned up the rear main seal cover and installed a new seal with a 3D-printed tool to set the depth.
CD0C51DB-046B-473E-8236-D8F0119AEEF2.jpg


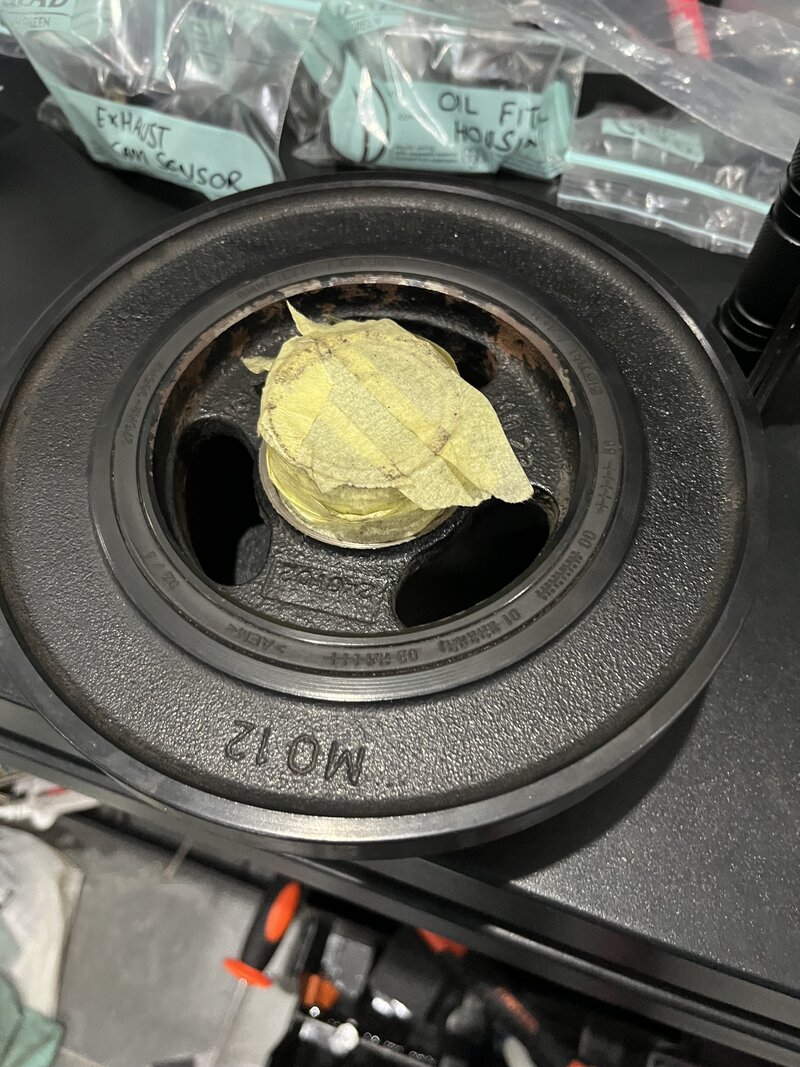
Cleaned up and painted the damper pulley; it had no cracks. If I replace it, I will probably use a Super Damper

IMG_9170.jpeg


I noticed one of the tensioners failed. This one was replaced along with belts, pulleys, and other tensioners less than a year ago; anyway, just dropped in a new one

IMG_8946.jpeg

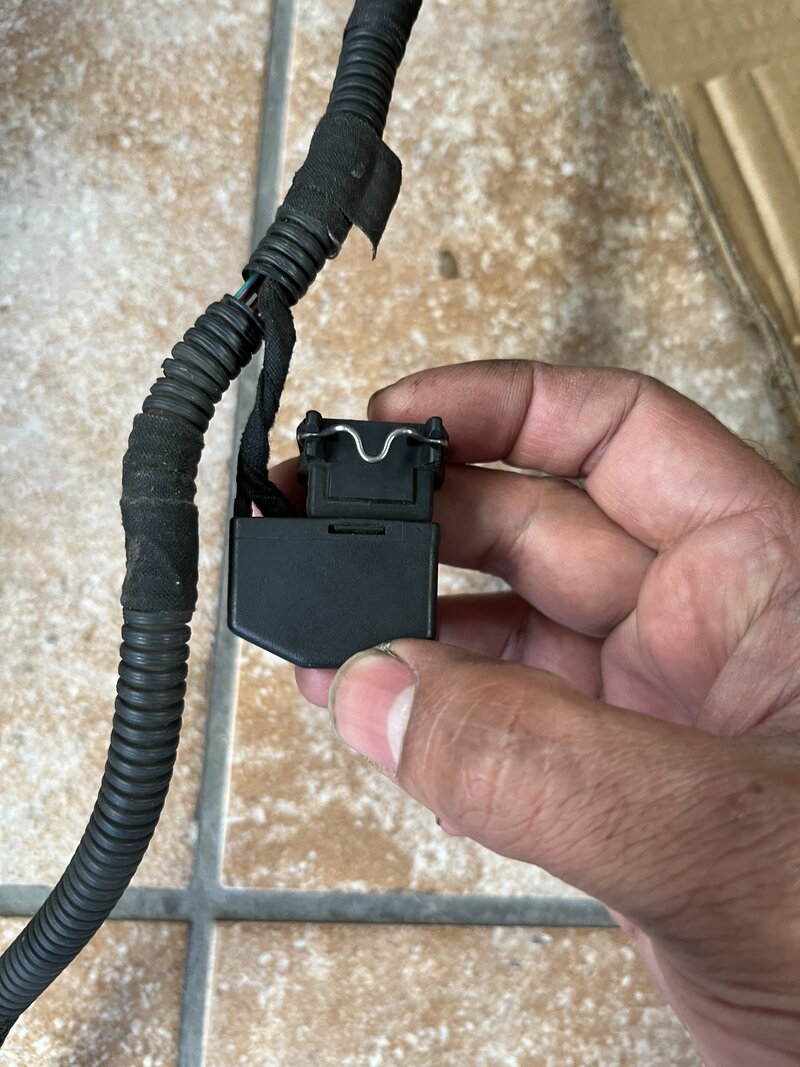
When going through the entire wiring harness, some of the spring sleeving was old and brittle, especially the section that goes around the oil filter housing. I was going to replace it with new unsplit sleeving but realised that even if I depin it, it would require cutting terminals and recrimping, so I decided to use split spring sleeving instead, with cloth tape, which should last better than the original.

IMG_8983.jpeg


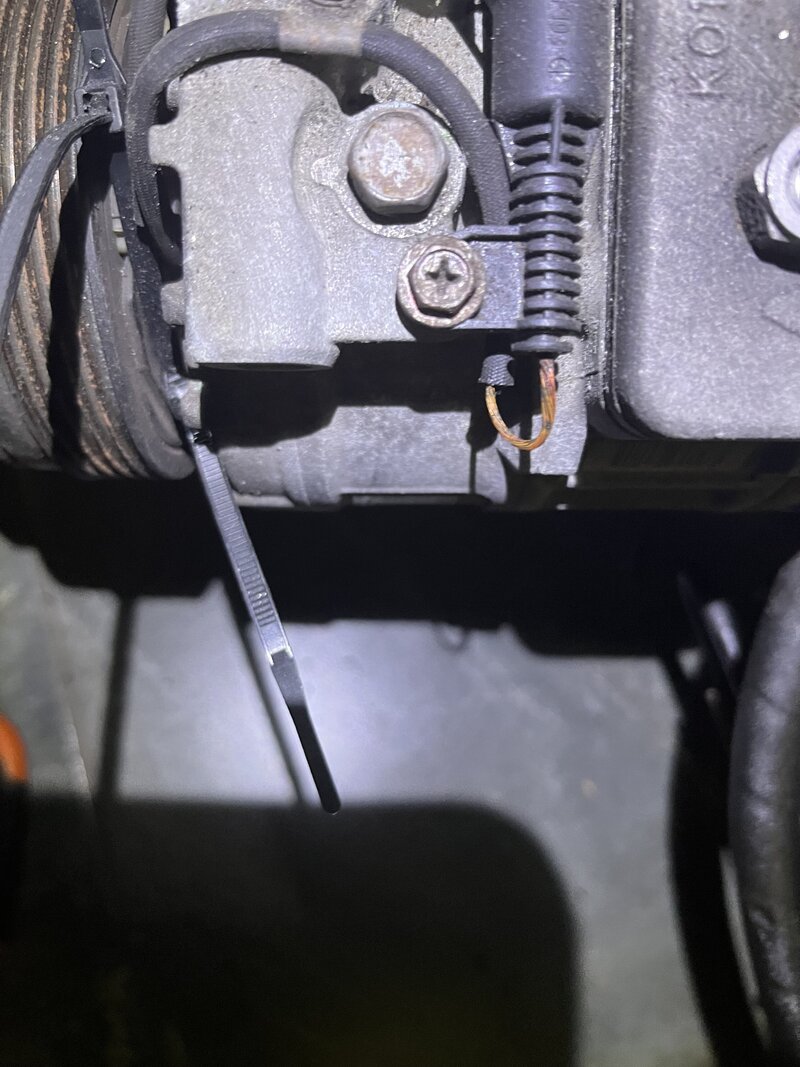
The AC wiring has had its insulation become brittle and fall off. I glued some silicone insulation around it and made a little heat shield to stop the heat from getting to it. I suspect heat is also the reason the windscreen washer pump fails. It does have a little plastic shield; I wrapped that in foil tape to help it too.

I had replaced the water pump and the thermostat a short while ago, interestinly BMW has a core charge on their water pump. I guess they probably recondition them.
IMG_9416.jpeg


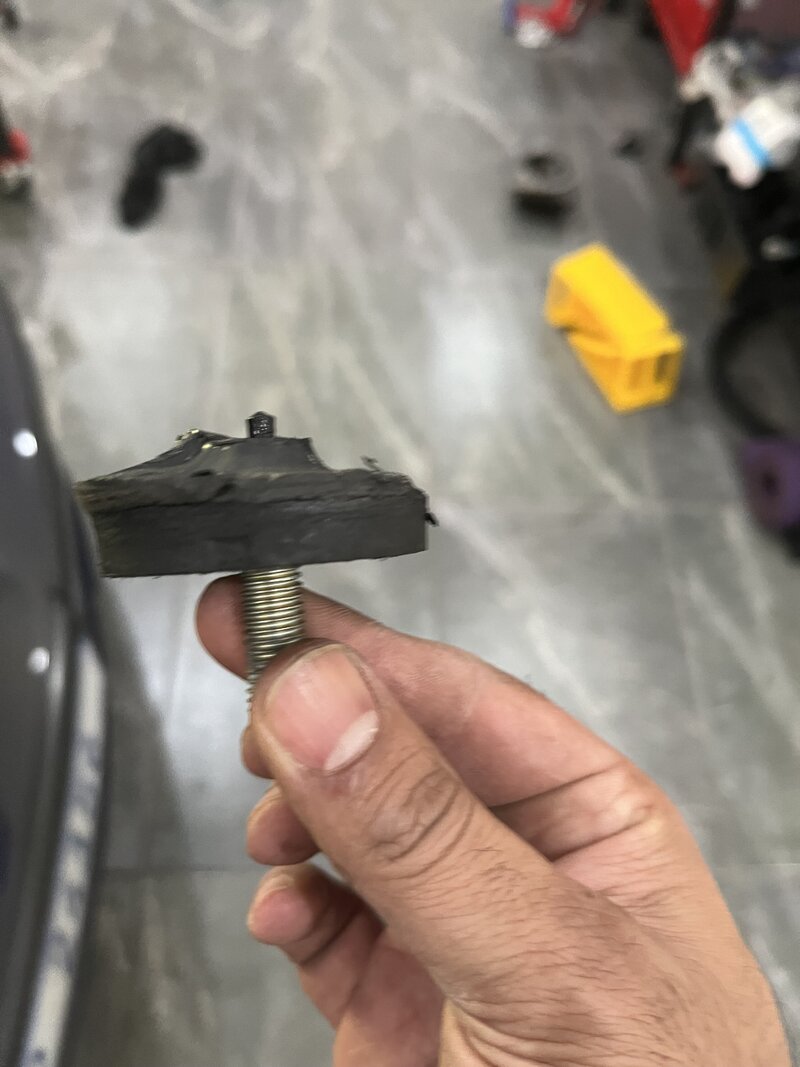
The old engine mount, which barely had any symptoms of its failure

IMG_9159.jpeg

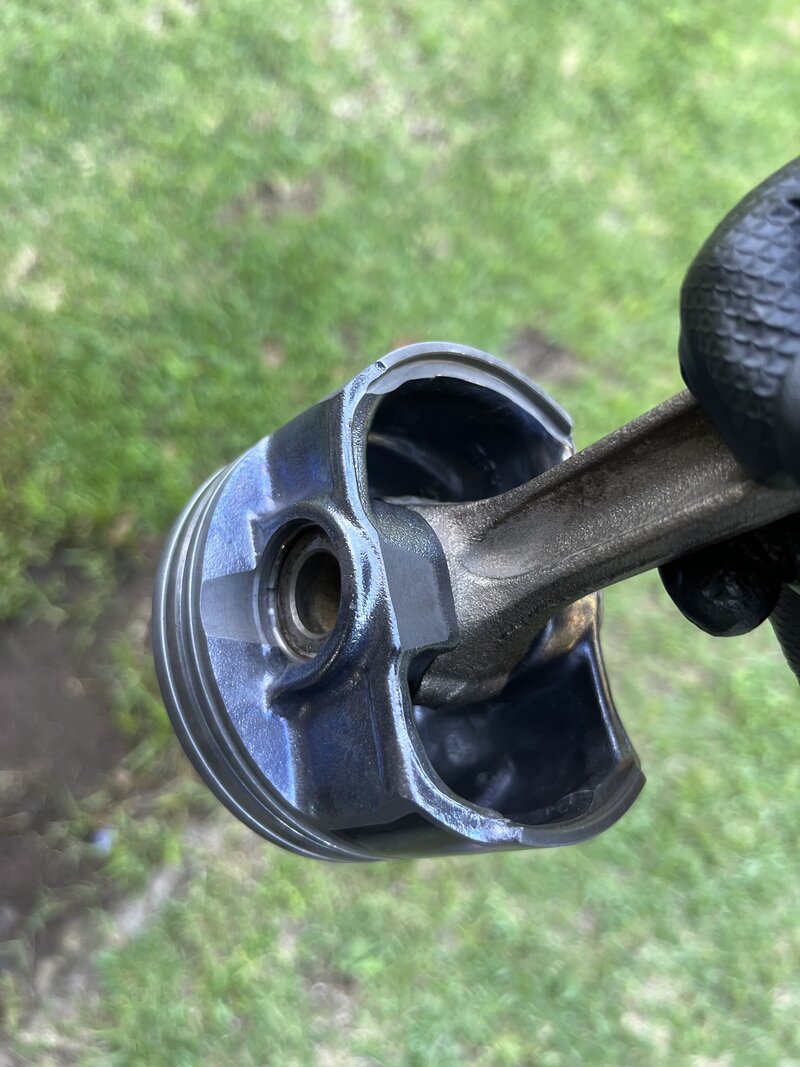
Clean piston; the main area to get clean is the ring grooves and the holes for oil
IMG_9333.jpeg
 
Last edited:
TheFlash

Member
Chapter Nine - Measuring Things

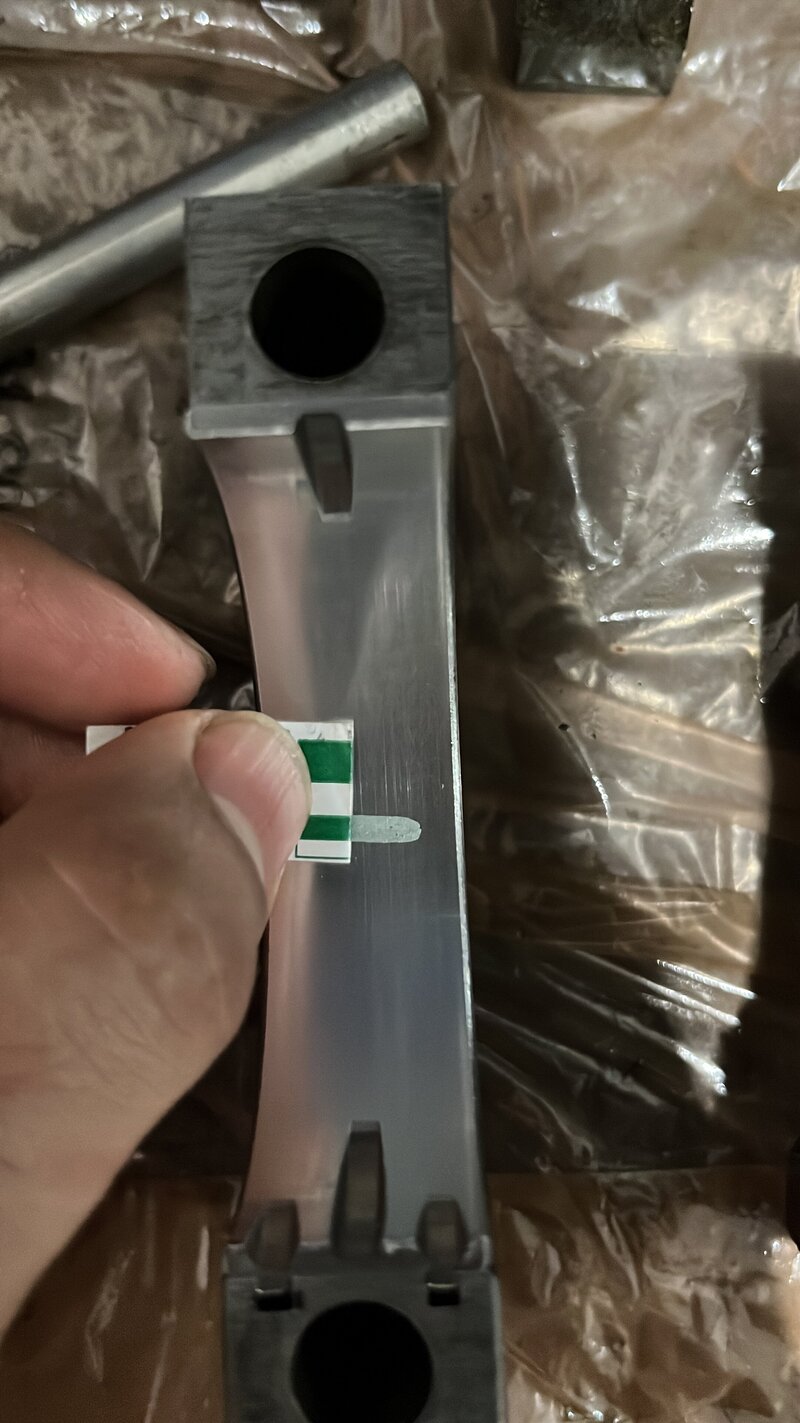
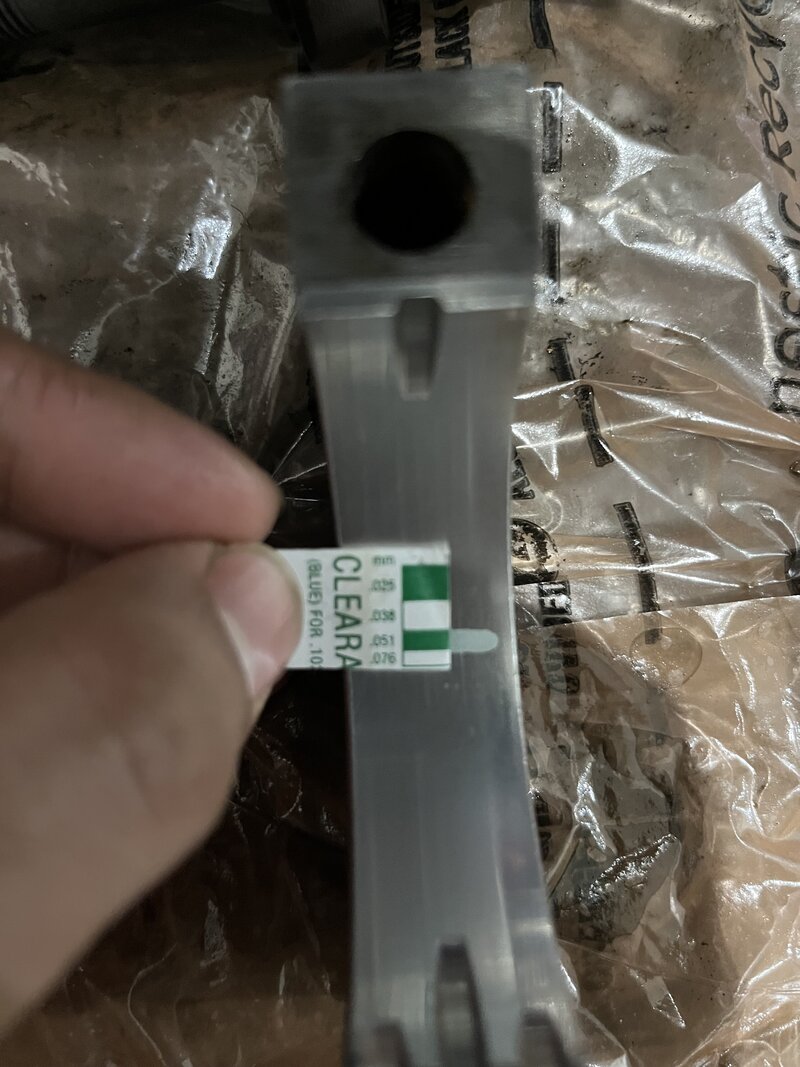
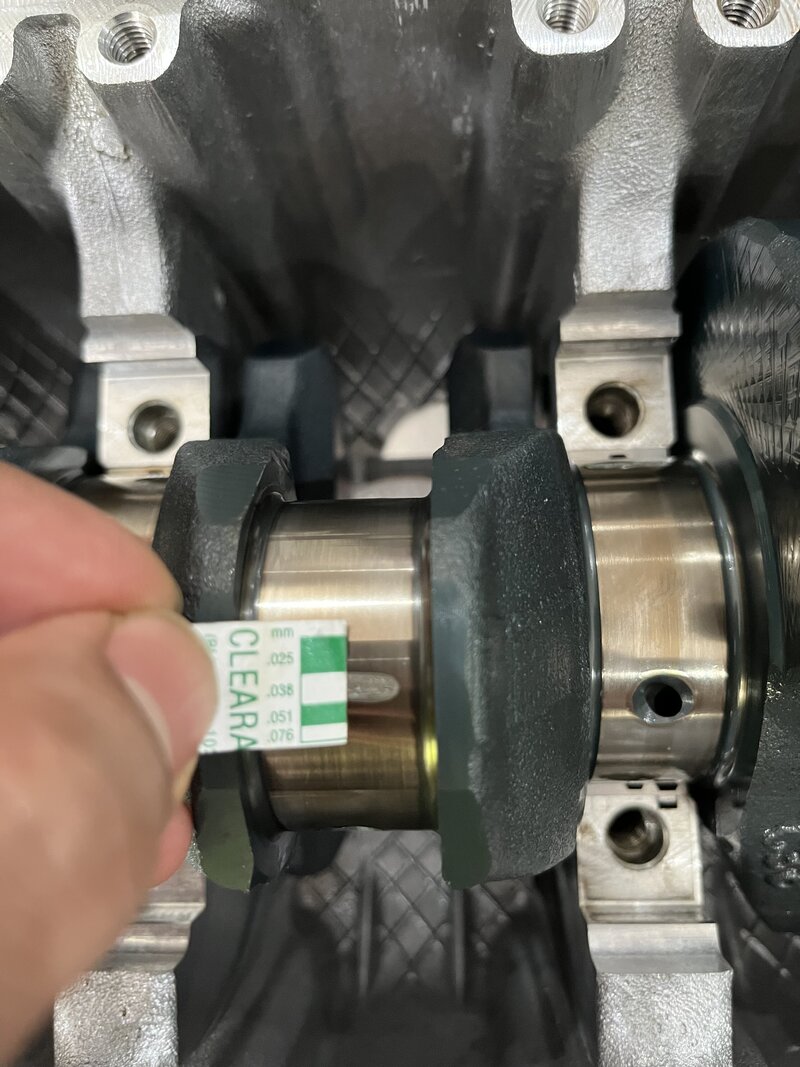
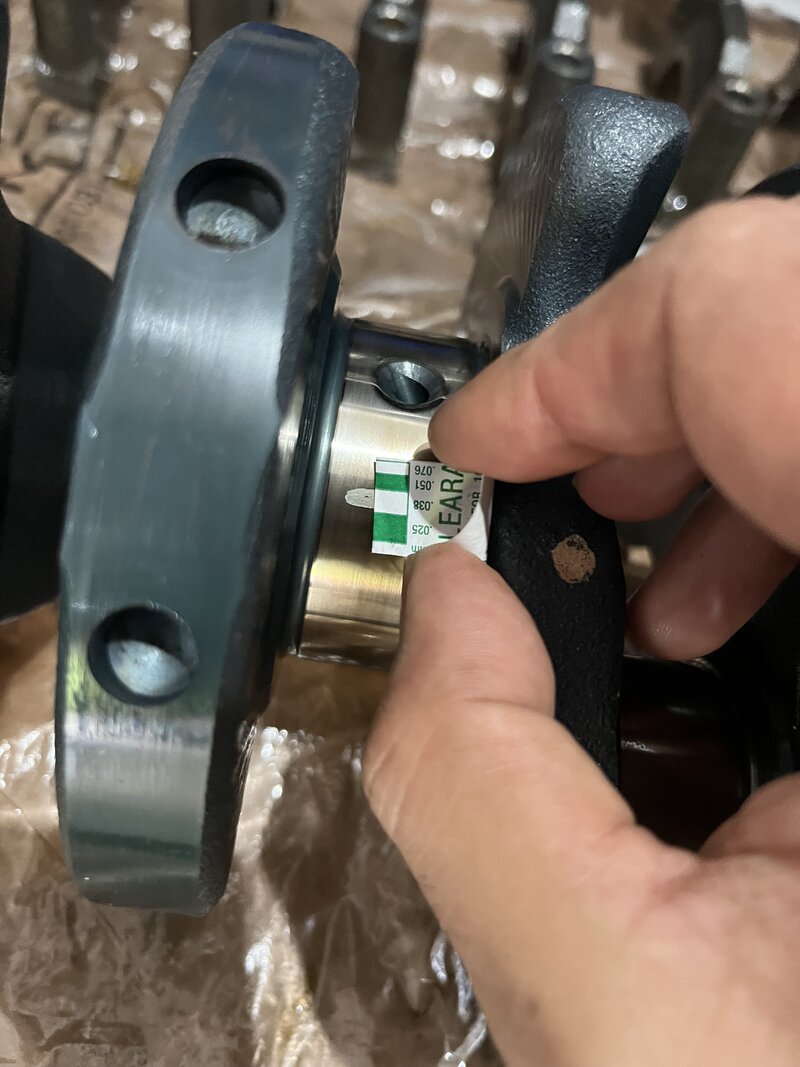
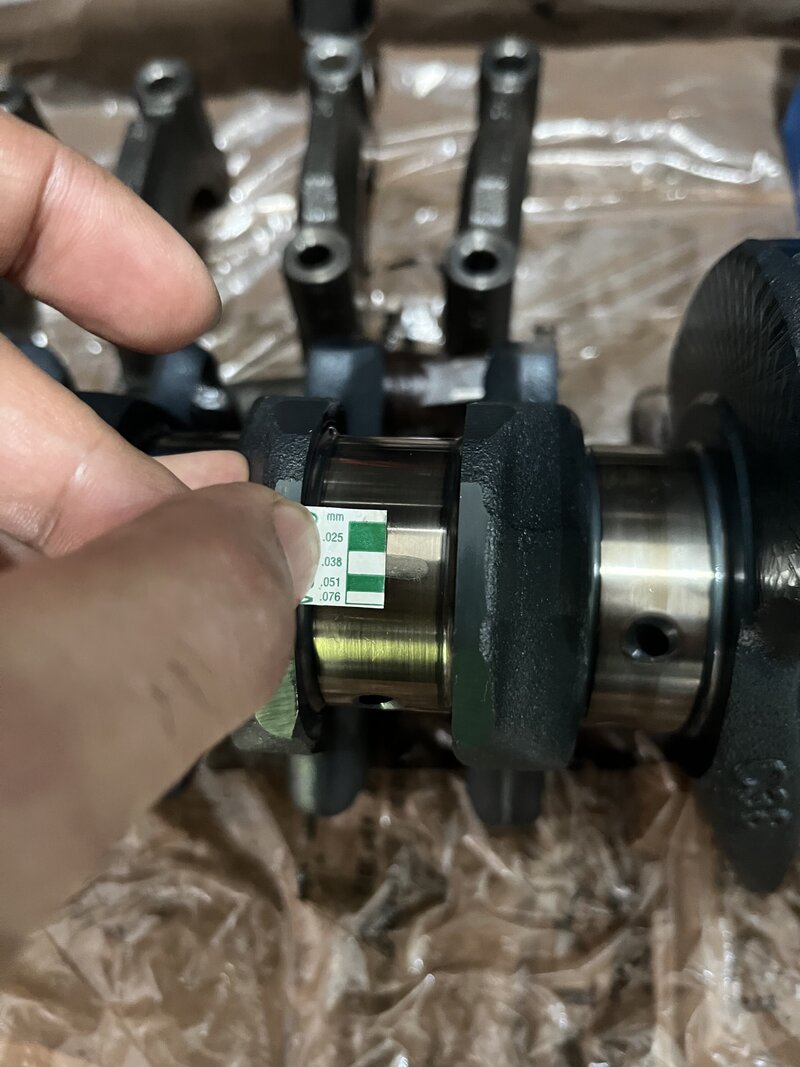
Main bearings measuring right in between tolerances

22BDC142-0F65-4EA5-88A1-E173E5C1EC4D.jpg


IMG_9351.jpeg


The big end measured fine as well

IMG_9352.jpeg


IMG_9354.jpeg

IMG_9356.jpeg

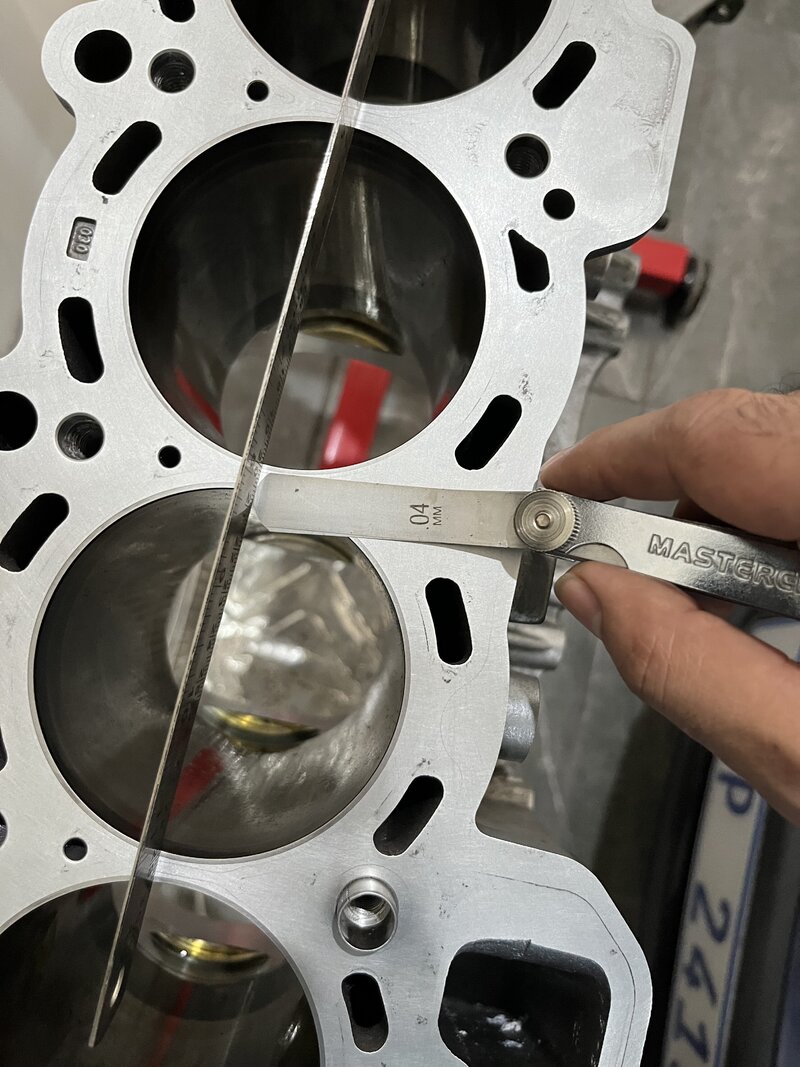
Double-checked block for straightness
IMG_9362.jpeg


The piston ring clearance was also checked, and all was within tolerance. Interesting to note the three-piece oil rings have wider tolerance than two piece this is probably because the upper and lower work together and don't have a straight pass-through like the two-piece.
 

TheFlash

Member
Chapter Ten - Assembly

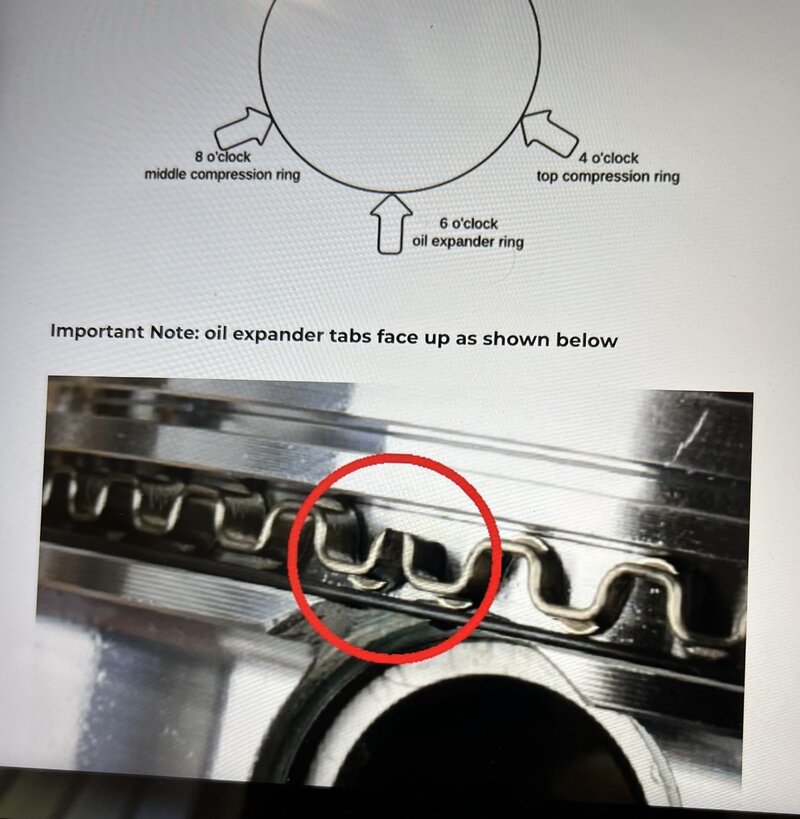
Clocking rings and the separator for the oil ring.

IMG_9407.jpeg


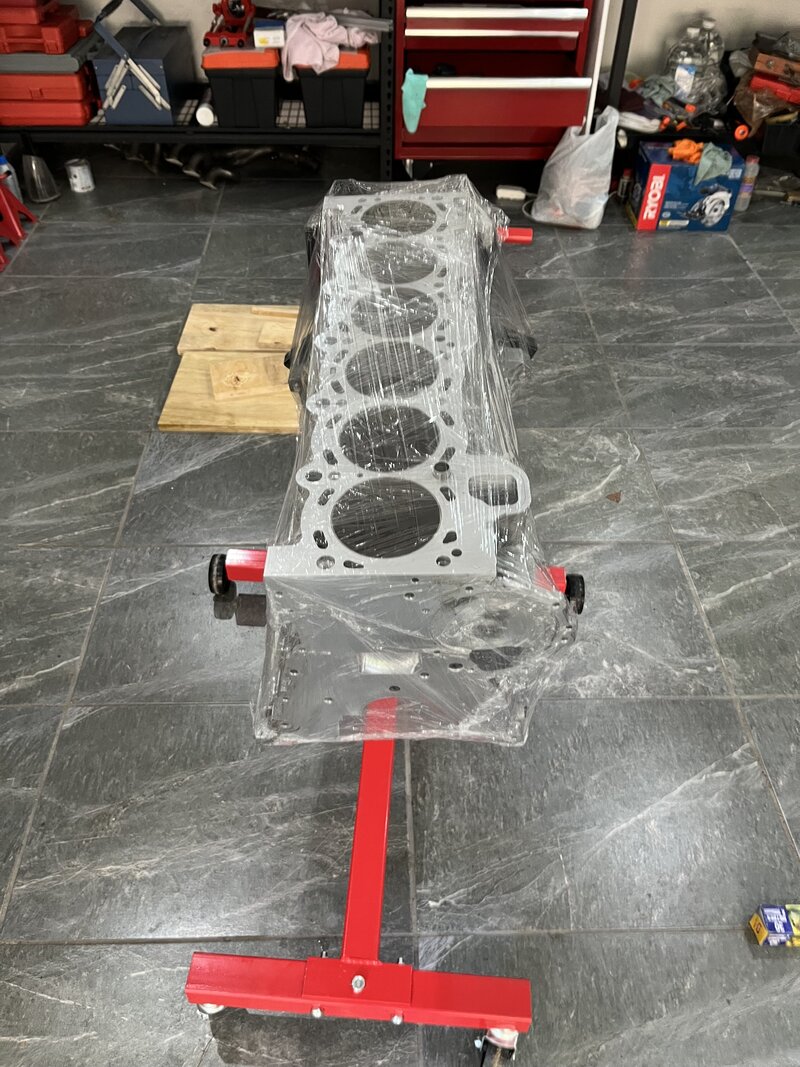
Unpack the wrapped block

IMG_9404.jpeg

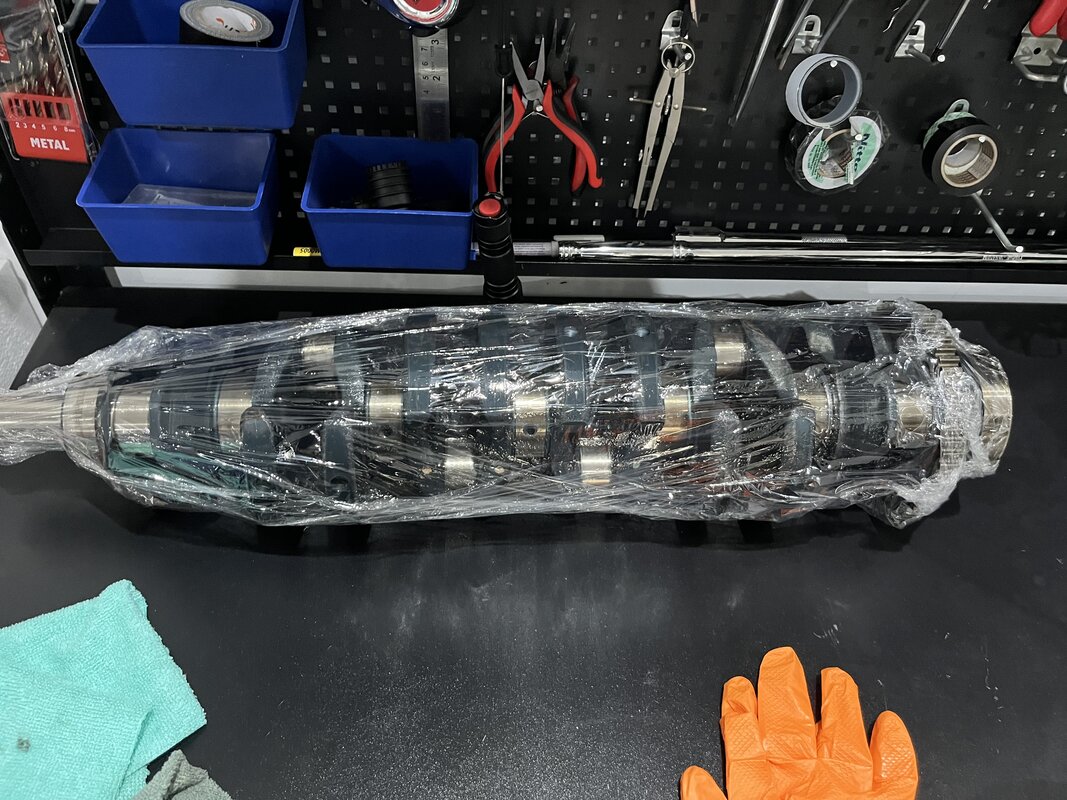
Unwrap the cleaned crank

IMG_9403.jpeg

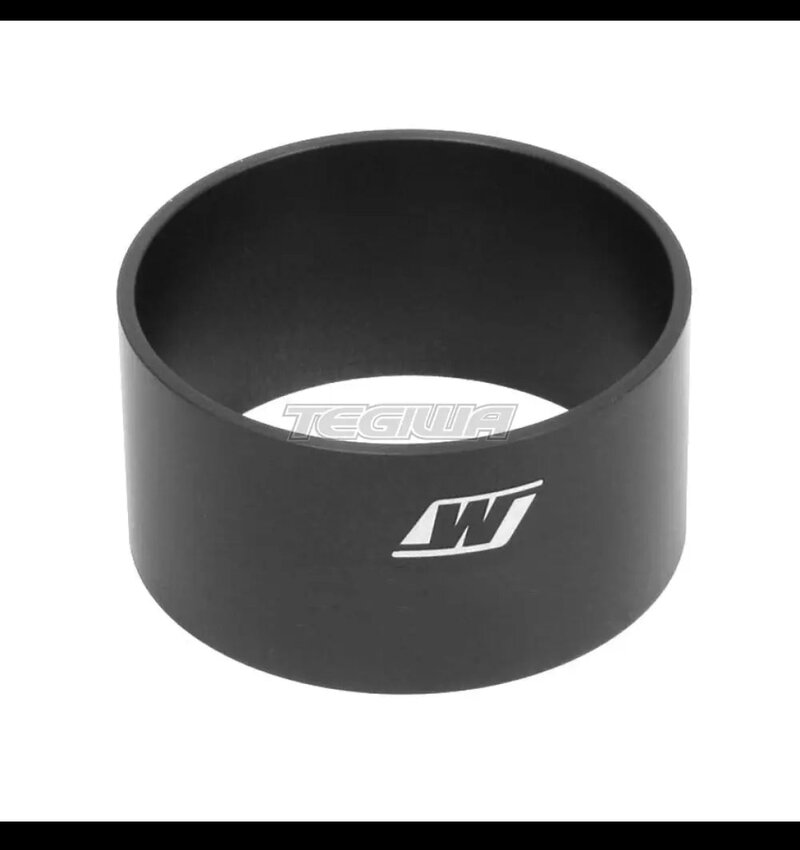
I wanted a ring squeezer that would not scratch the aluminum block surface, so this was the safest and easiest-to-use one I found, even better than the Snap-on universal one I have. Wiespeco tapered 84mm.

IMG_9426.jpeg


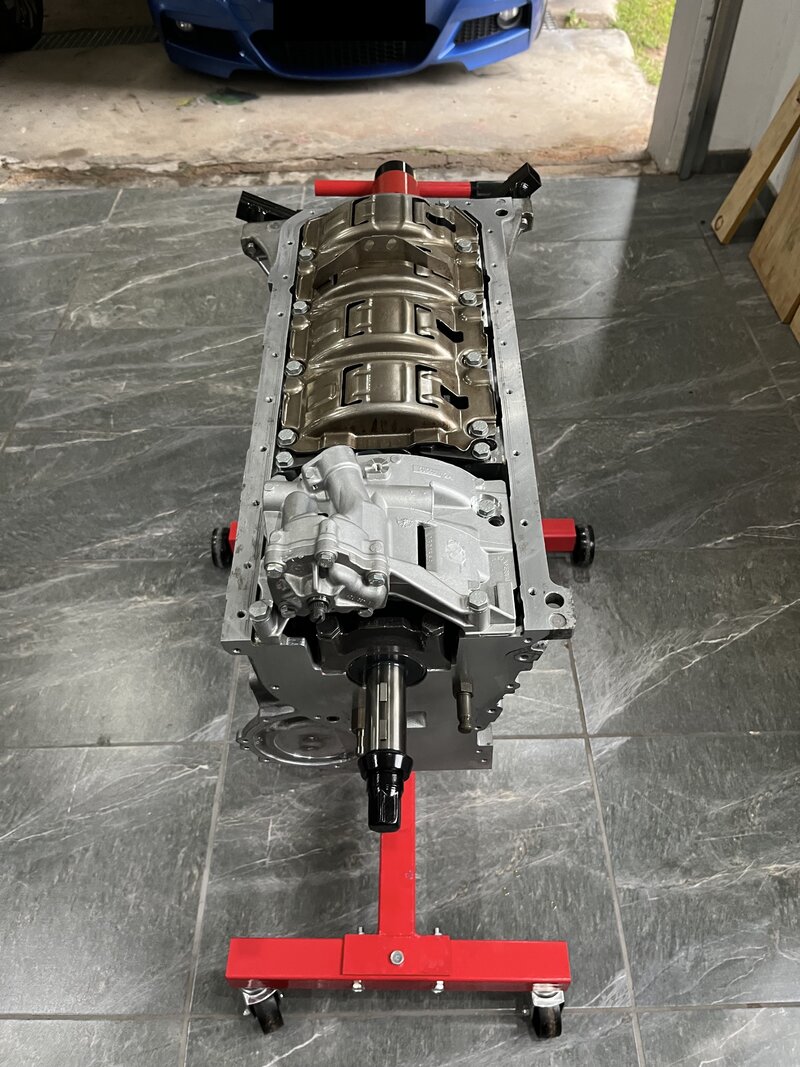
Bottom-end crank, pistons, baffle, oil squirters, and oil pump all installed.
IMG_9516.jpeg

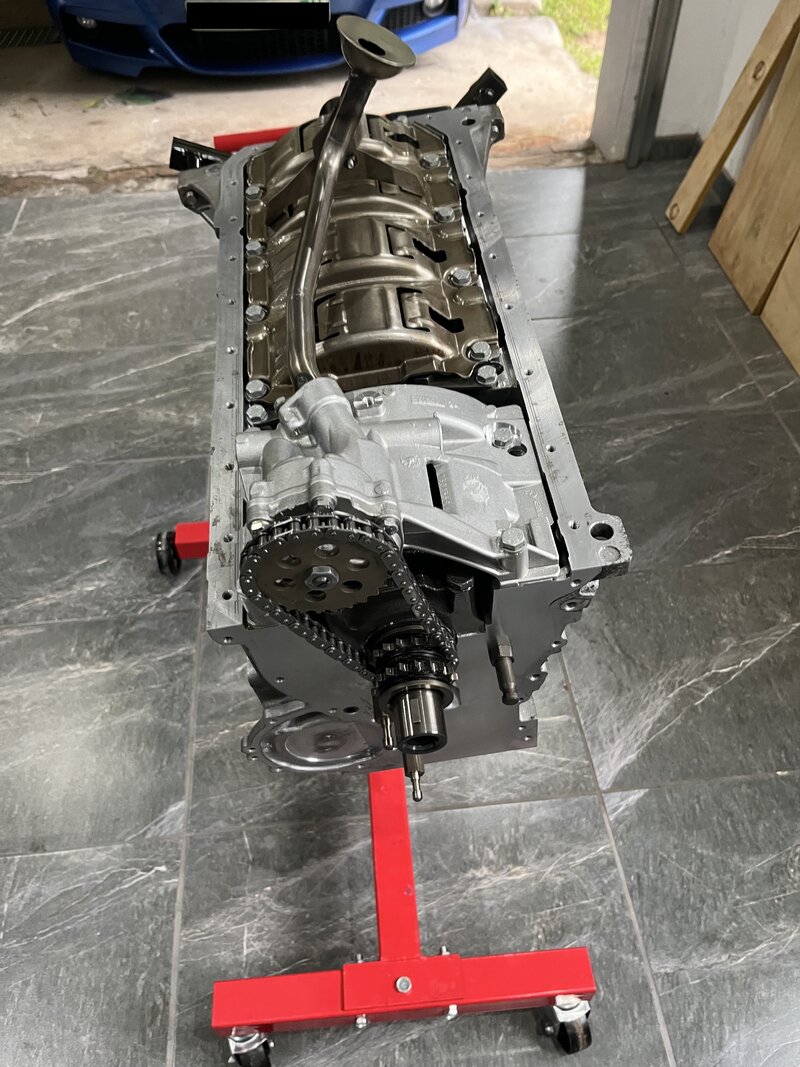
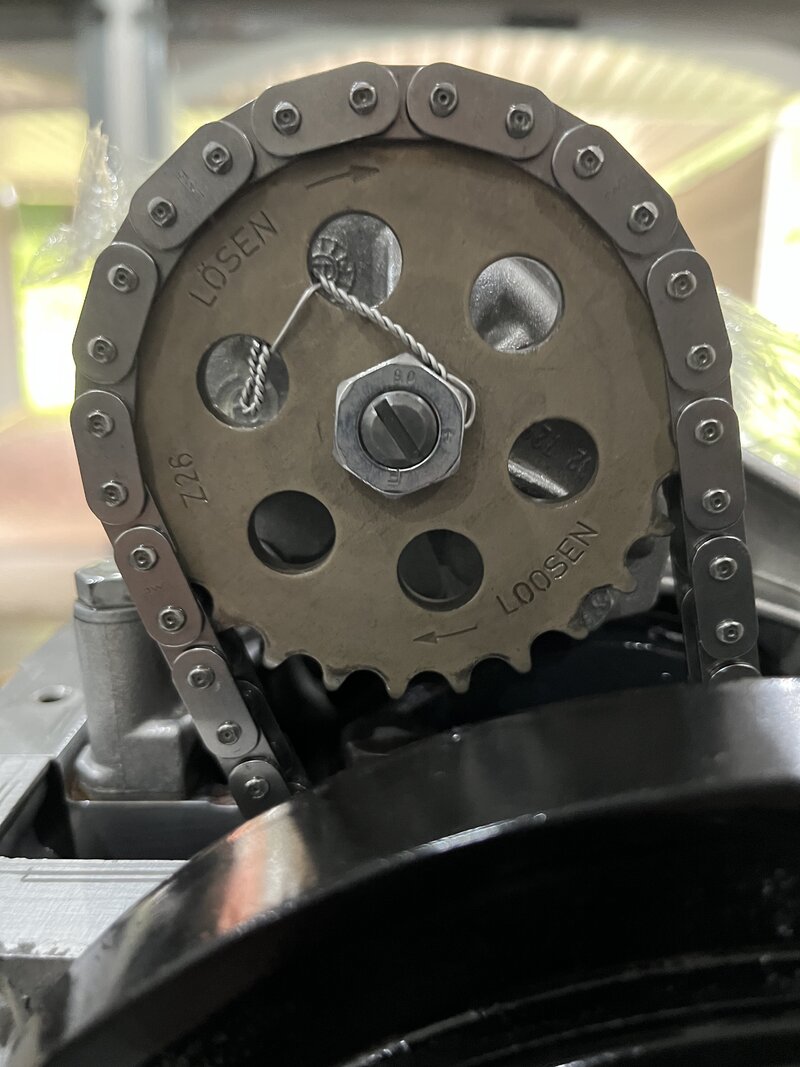
Oil pump with new chain and pickup tube, and a new drilled nut for safety wire.
IMG_9517.jpeg

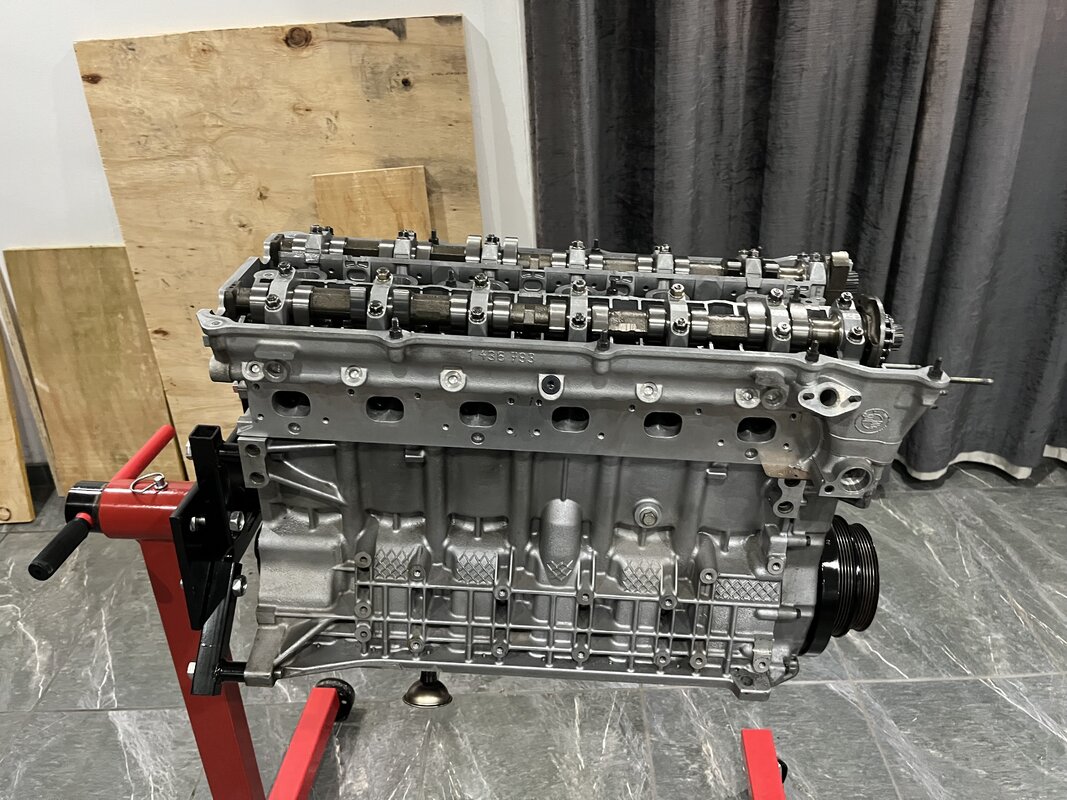
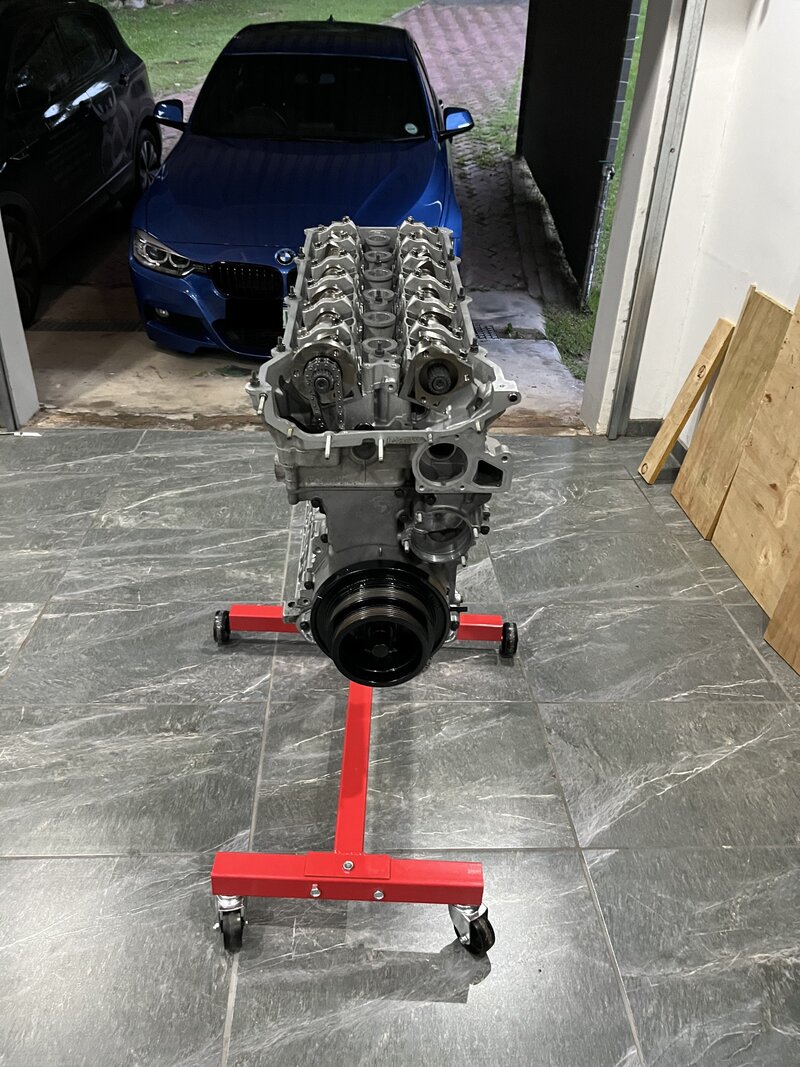
Head installed with OE head gasket and head bolts.
IMG_9526.jpeg


IMG_9525.jpeg

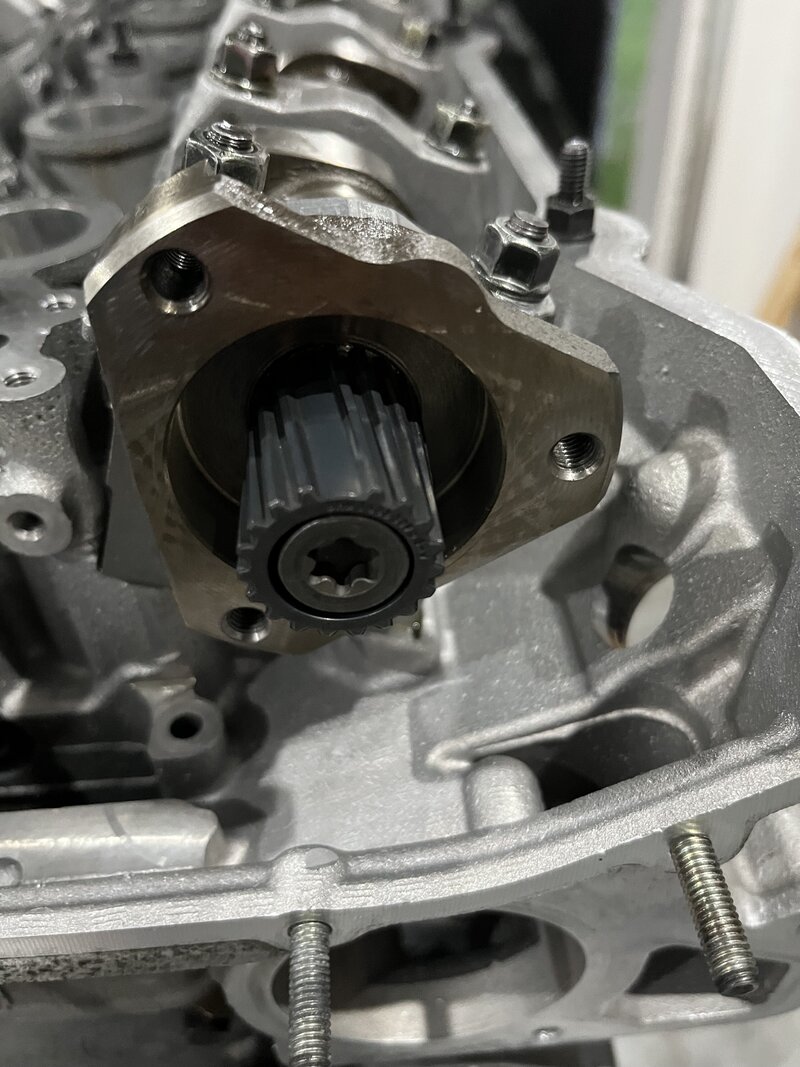
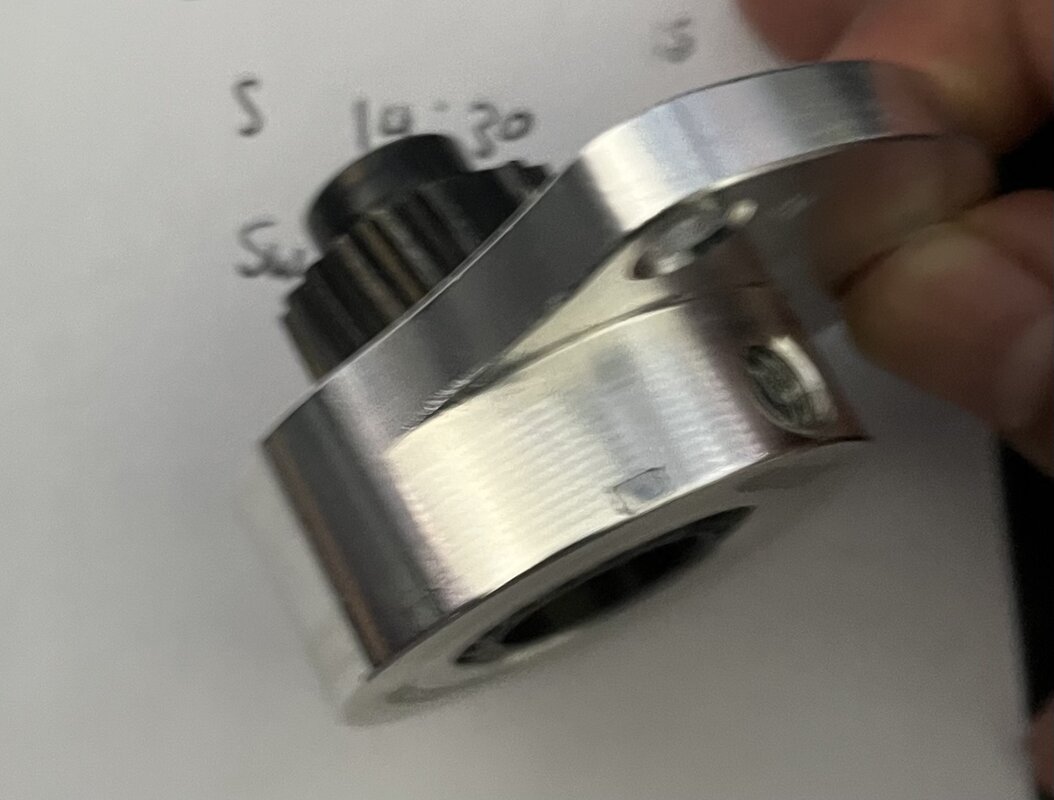
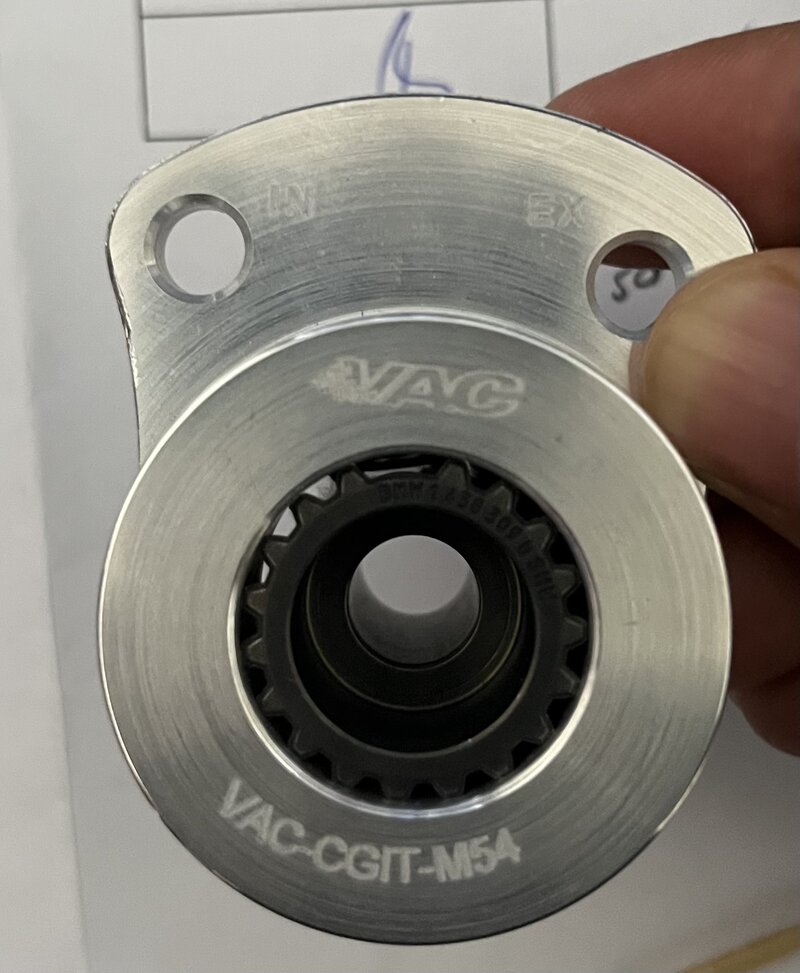
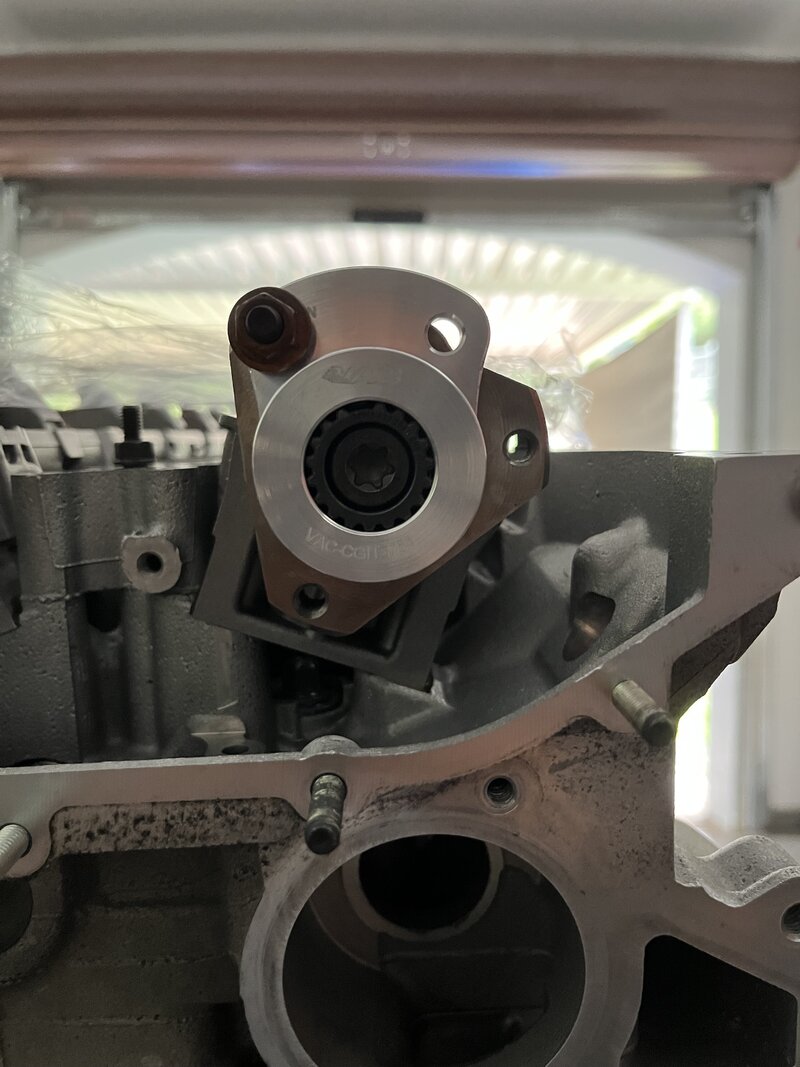
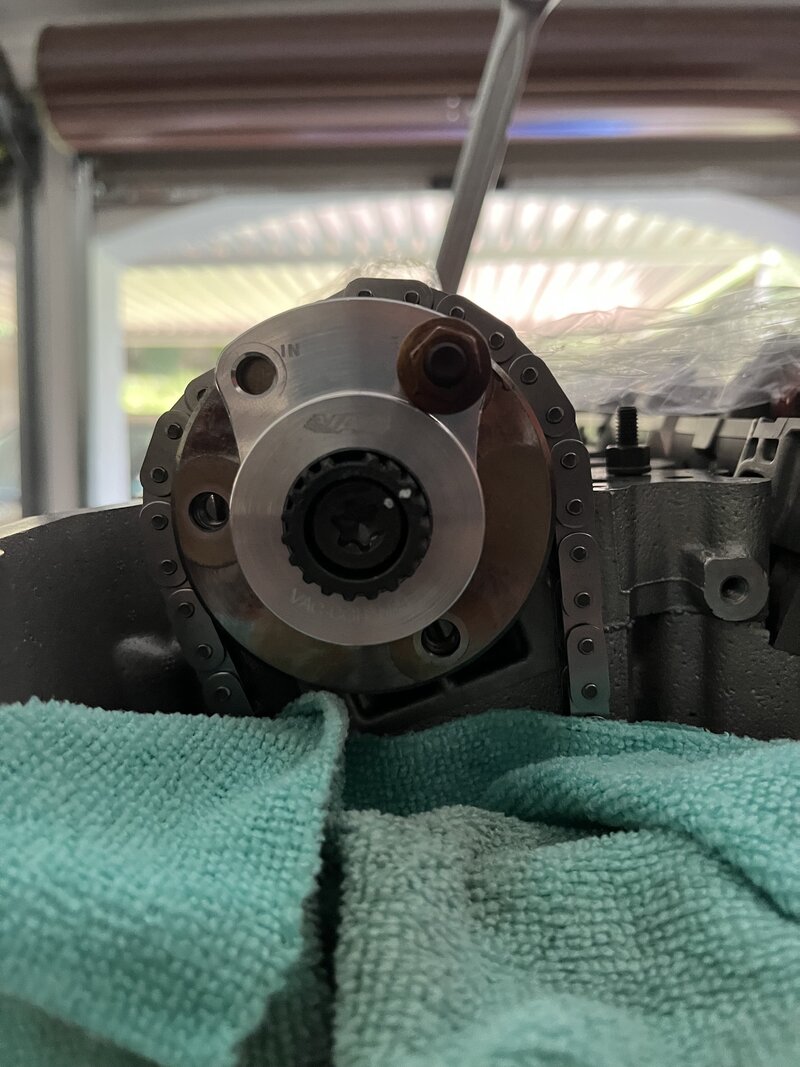
I expected these sprockets to come aligned from the engineer, but they were loose; this added a +/-6month delay, as the alignment tool was not available in SA, and the only place I found one was VAC Motorsport

IMG_9527.jpeg

The VAC Motorsport alignment tool
IMG_9575.jpeg


Its one tool for both intake and exhaust CAM, with markings on which hold to use

IMG_9576.jpeg

Bolt with threadlocker and hope you don't break the CAM due to the required procedure :)

IMG_9584.jpeg

Exhaust side

IMG_9585.jpeg

Guide to help with the torque angle
IMG_9550.jpeg

Safetywire the oil pump nut; I don't expect to track this car. Its intended use was fun daily, but I decided to do this in case I move the limiter. If I do, it will probably only be 7000rpm max

IMG_9592.jpeg
 
Top